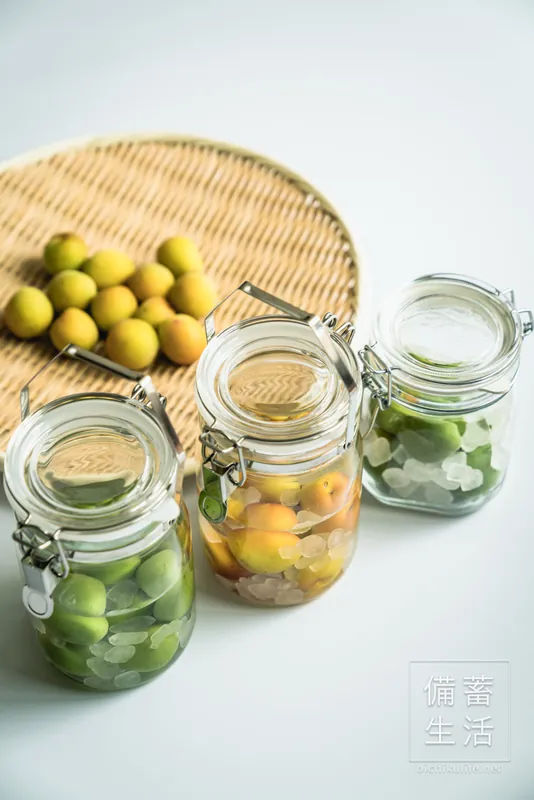
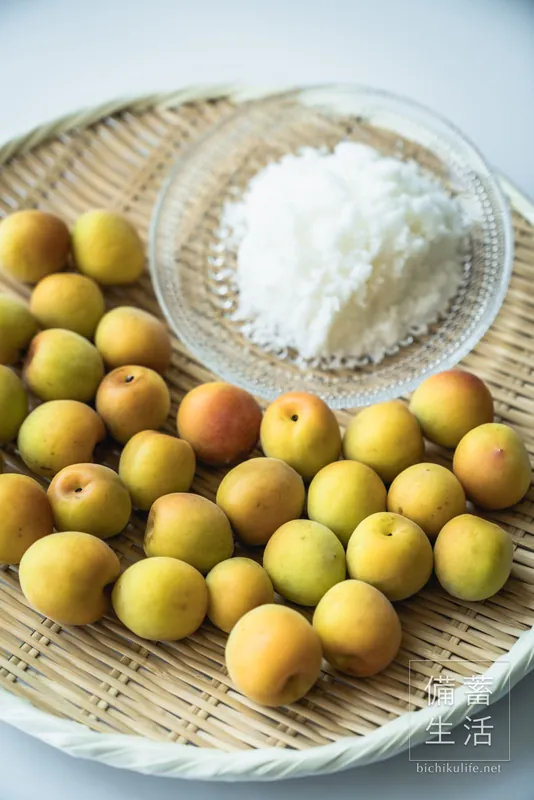
Ume (Japanese plums)
How to Make Ume JamUsing the Leftover Ume from Ume Syrup
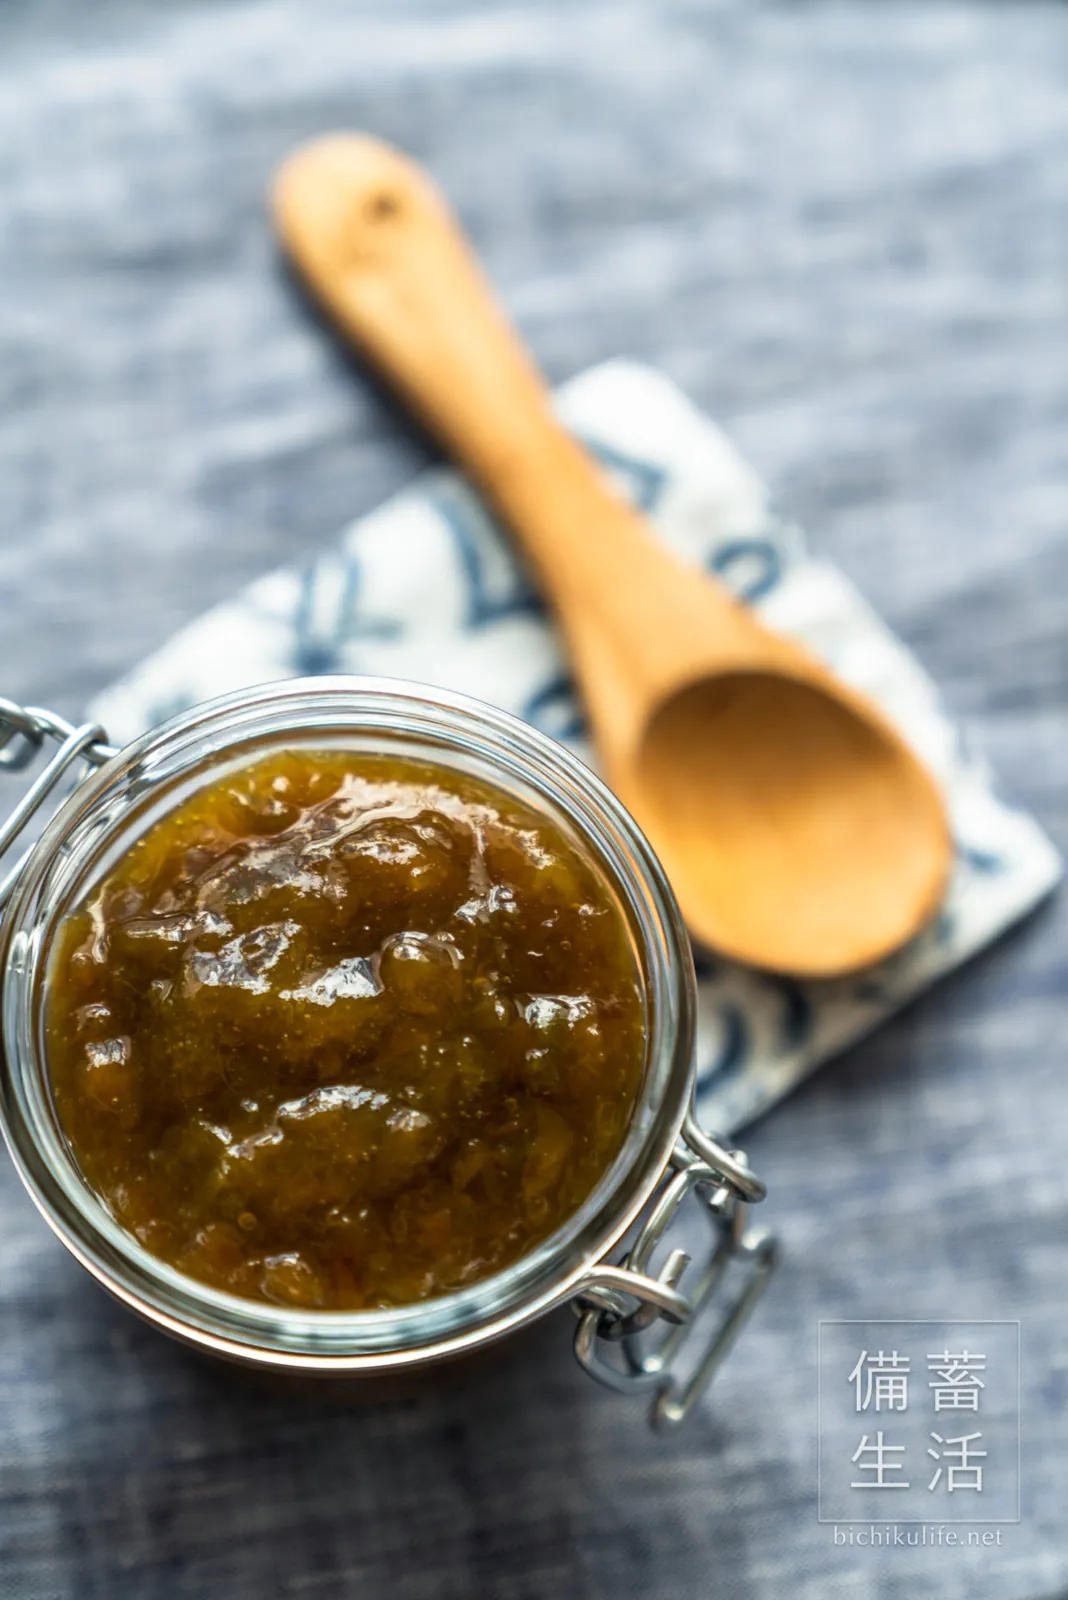
After enjoying your ume syrup, turn the wrinkled ume left in the jar into homemade ume jam.
The sweet-tart jam is lovely and refreshing on yogurt or bread.
| When to make | When you take the ume out of the syrup (around July) |
| Time | About 15 minutes of simmering |
| Storage | 2–3 weeks in the fridge. Sealed by heat processing, it keeps much longer unopened |
Ingredients and tools
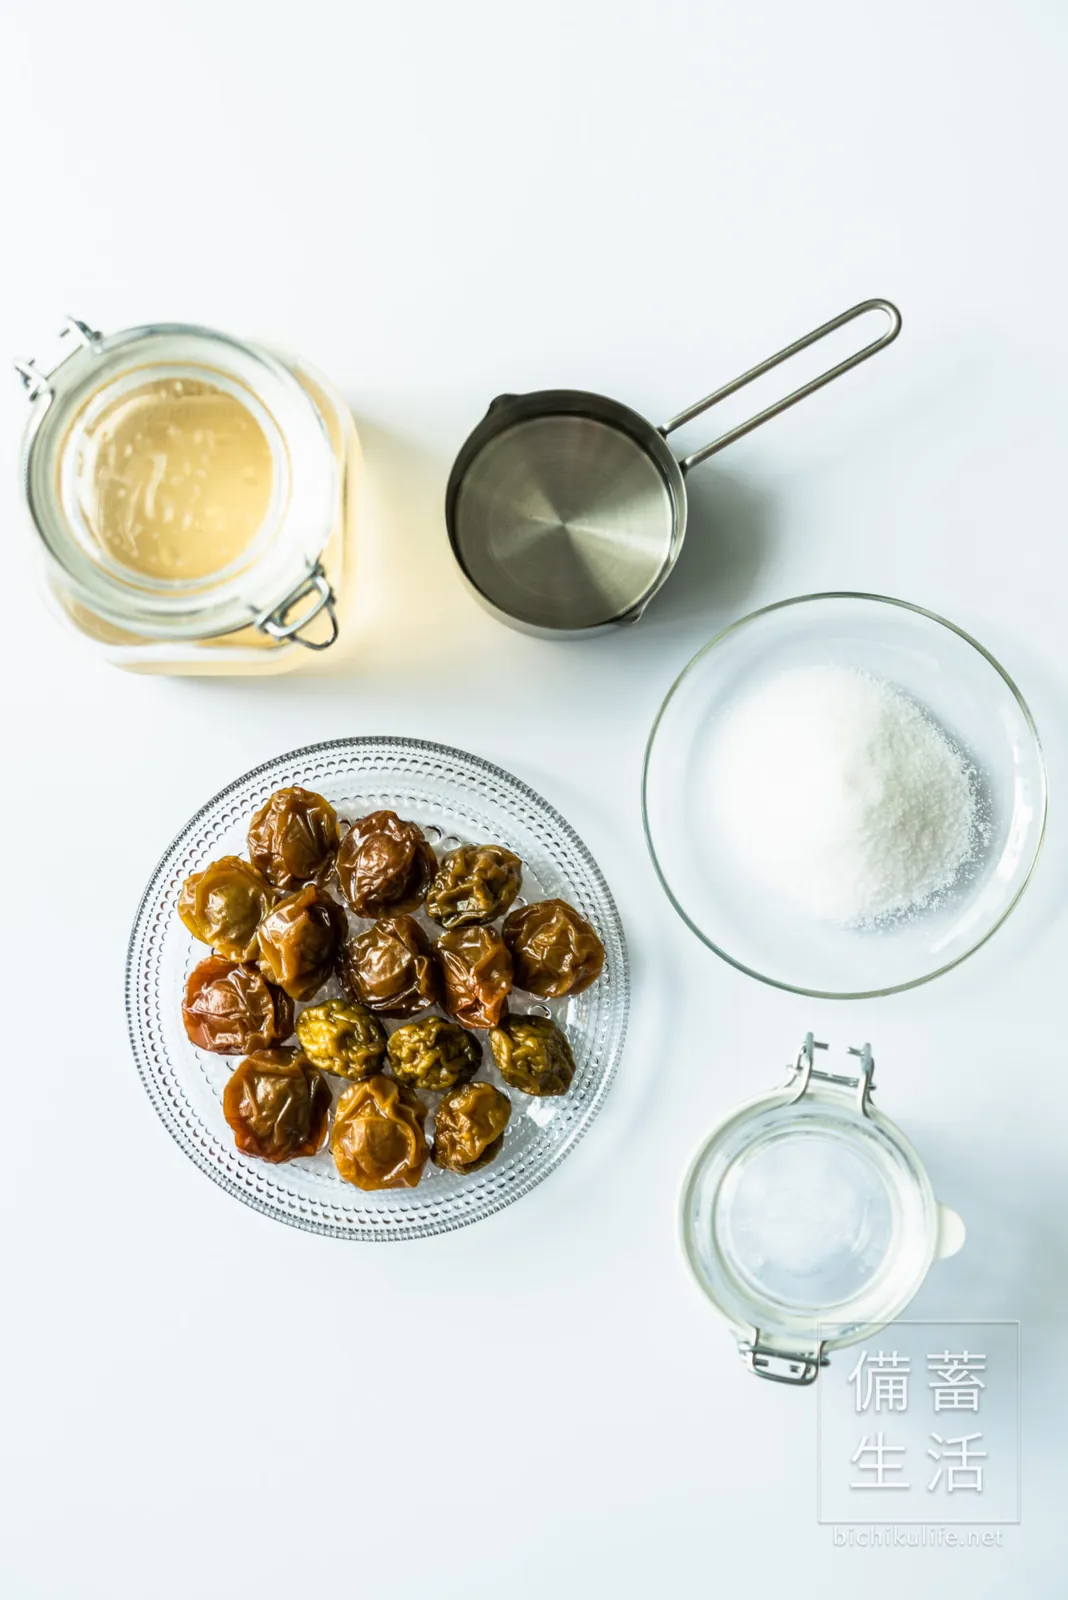
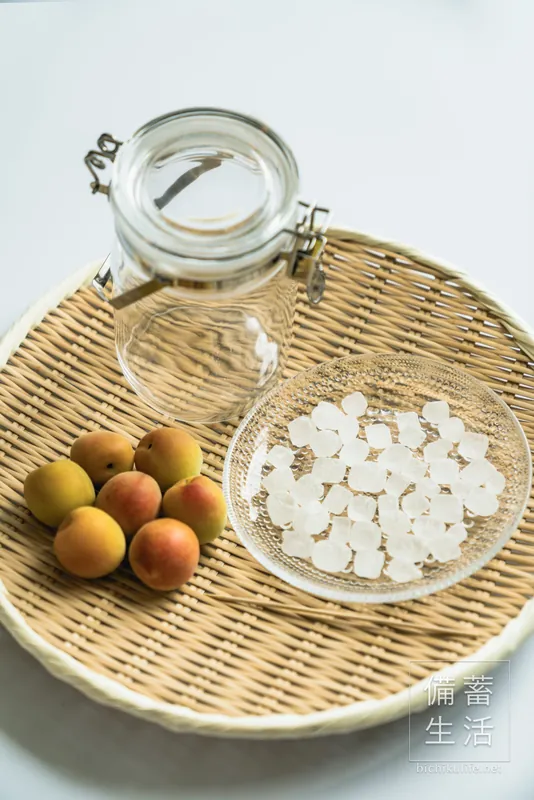
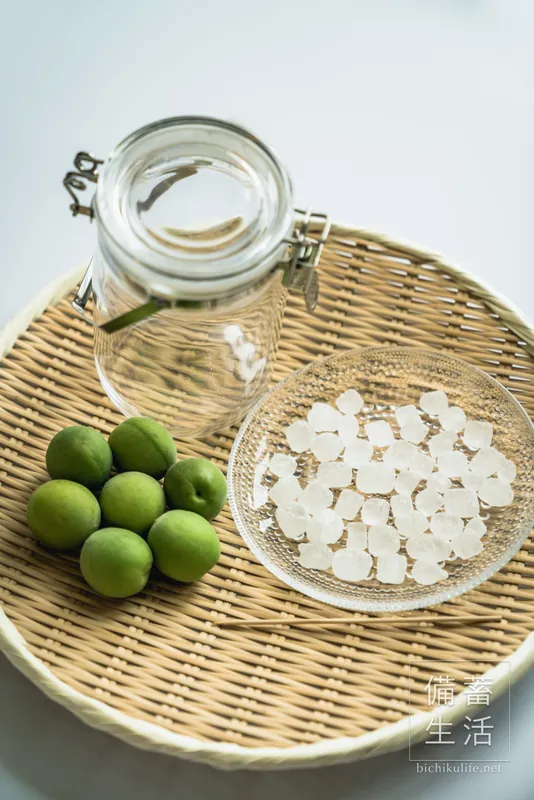
The ingredients are simple: just sugar and water. This time we also added a little ume syrup to round out the flavor. The jar is Muji’s 225 ml soda glass sealed jar.
- About 15 ume (left over from 500 ml of ume syrup)
- 4 tbsp granulated sugar
- 1 tbsp ume syrup
- 200 ml (about ⅘ cup) water
- A storage jar
How to make ume jam
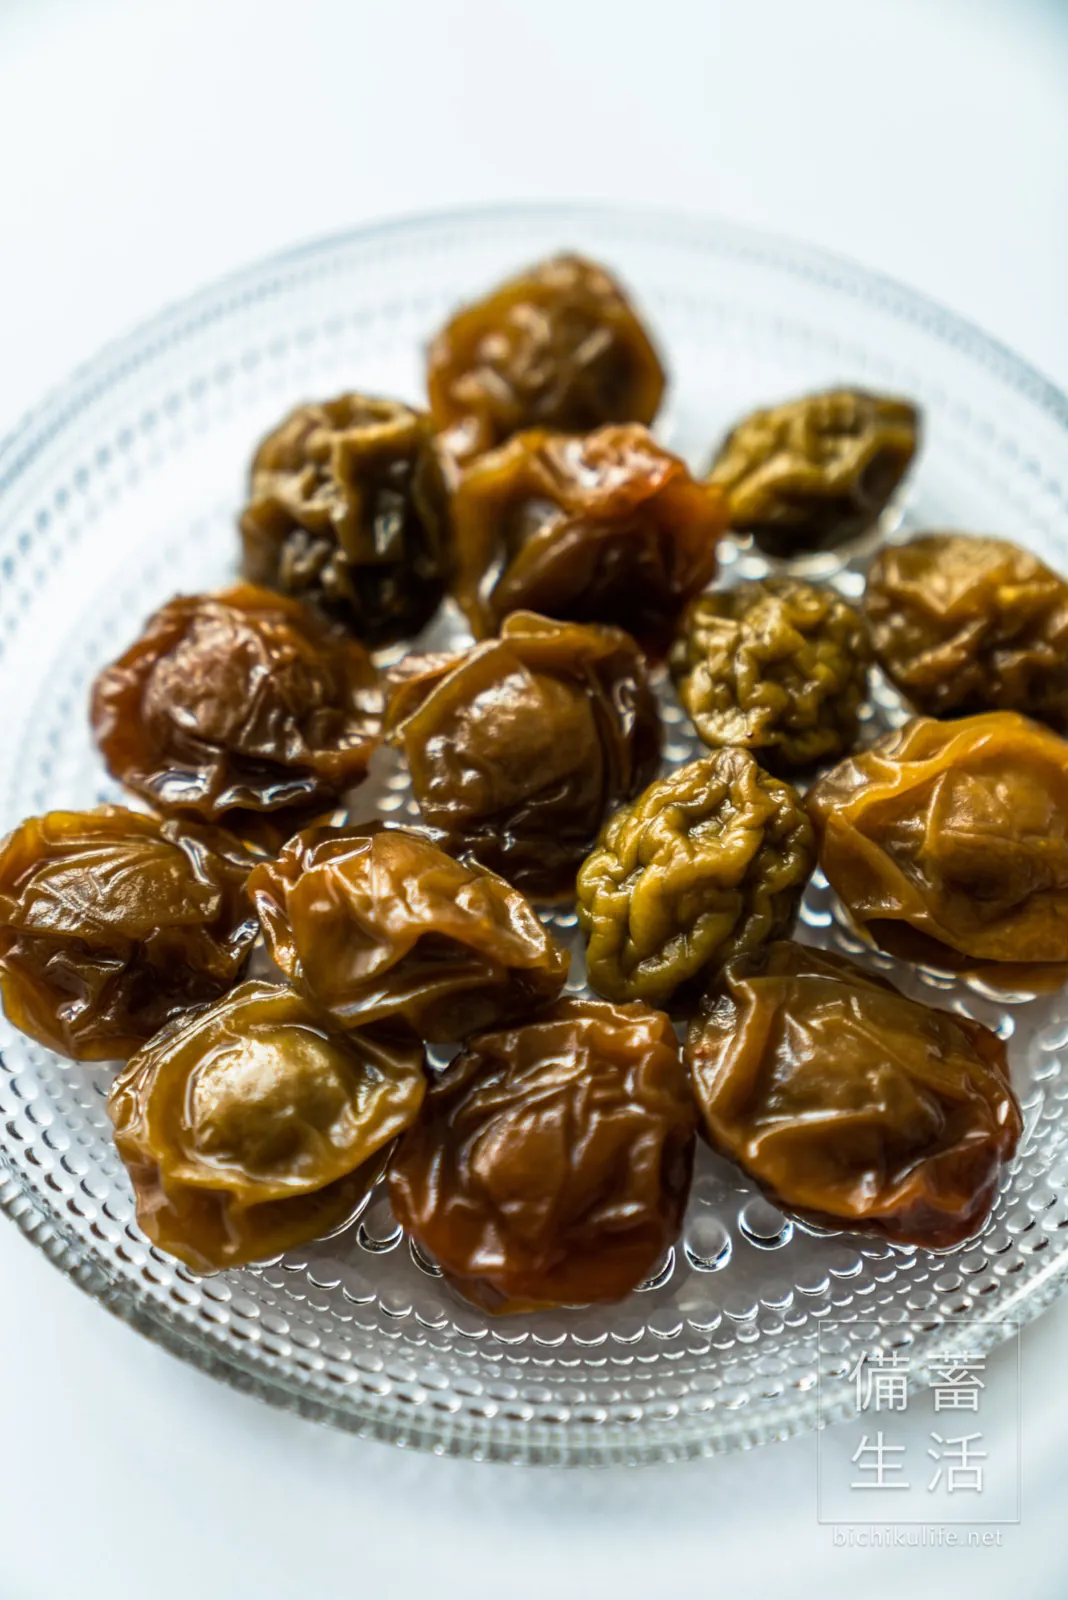
We wanted a chunky jam, so we didn’t sieve the ume; they go straight into the pot. Removing the pits at the end saves effort.
Put everything in a pot
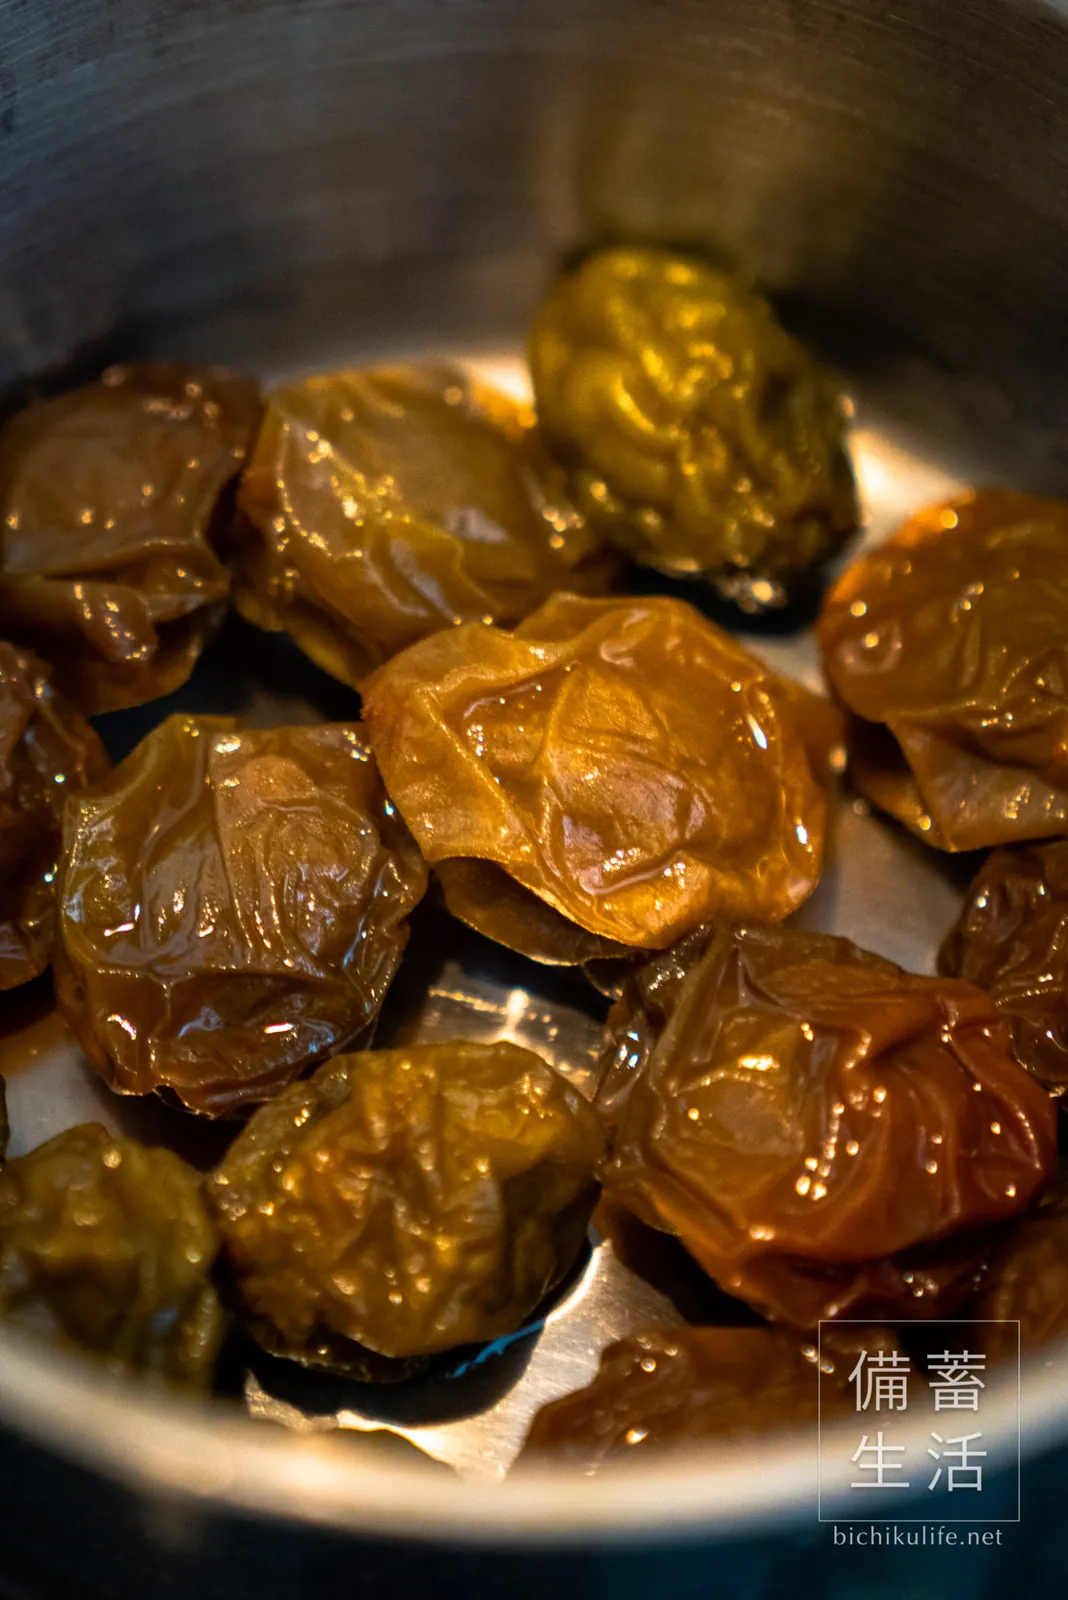
Put the ume, water, sugar and ume syrup in a pot over medium heat. (Avoid aluminum or iron pots, which react with acid.)
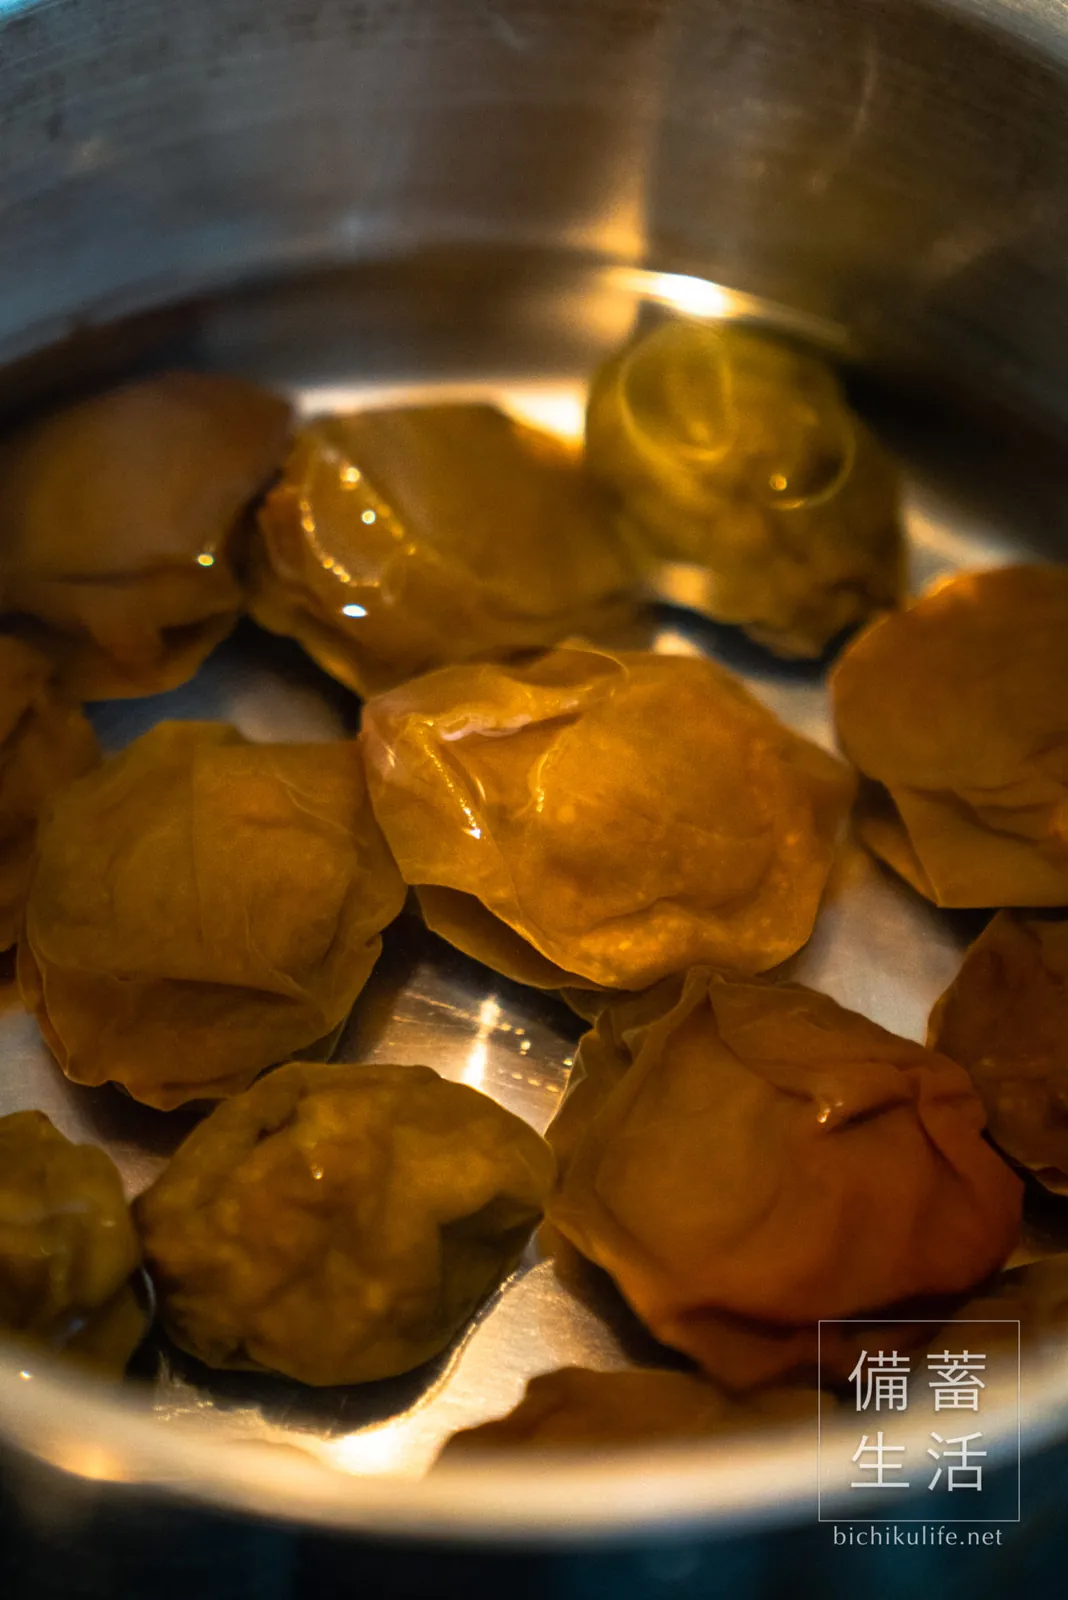
200 ml (about ⅘ cup) water
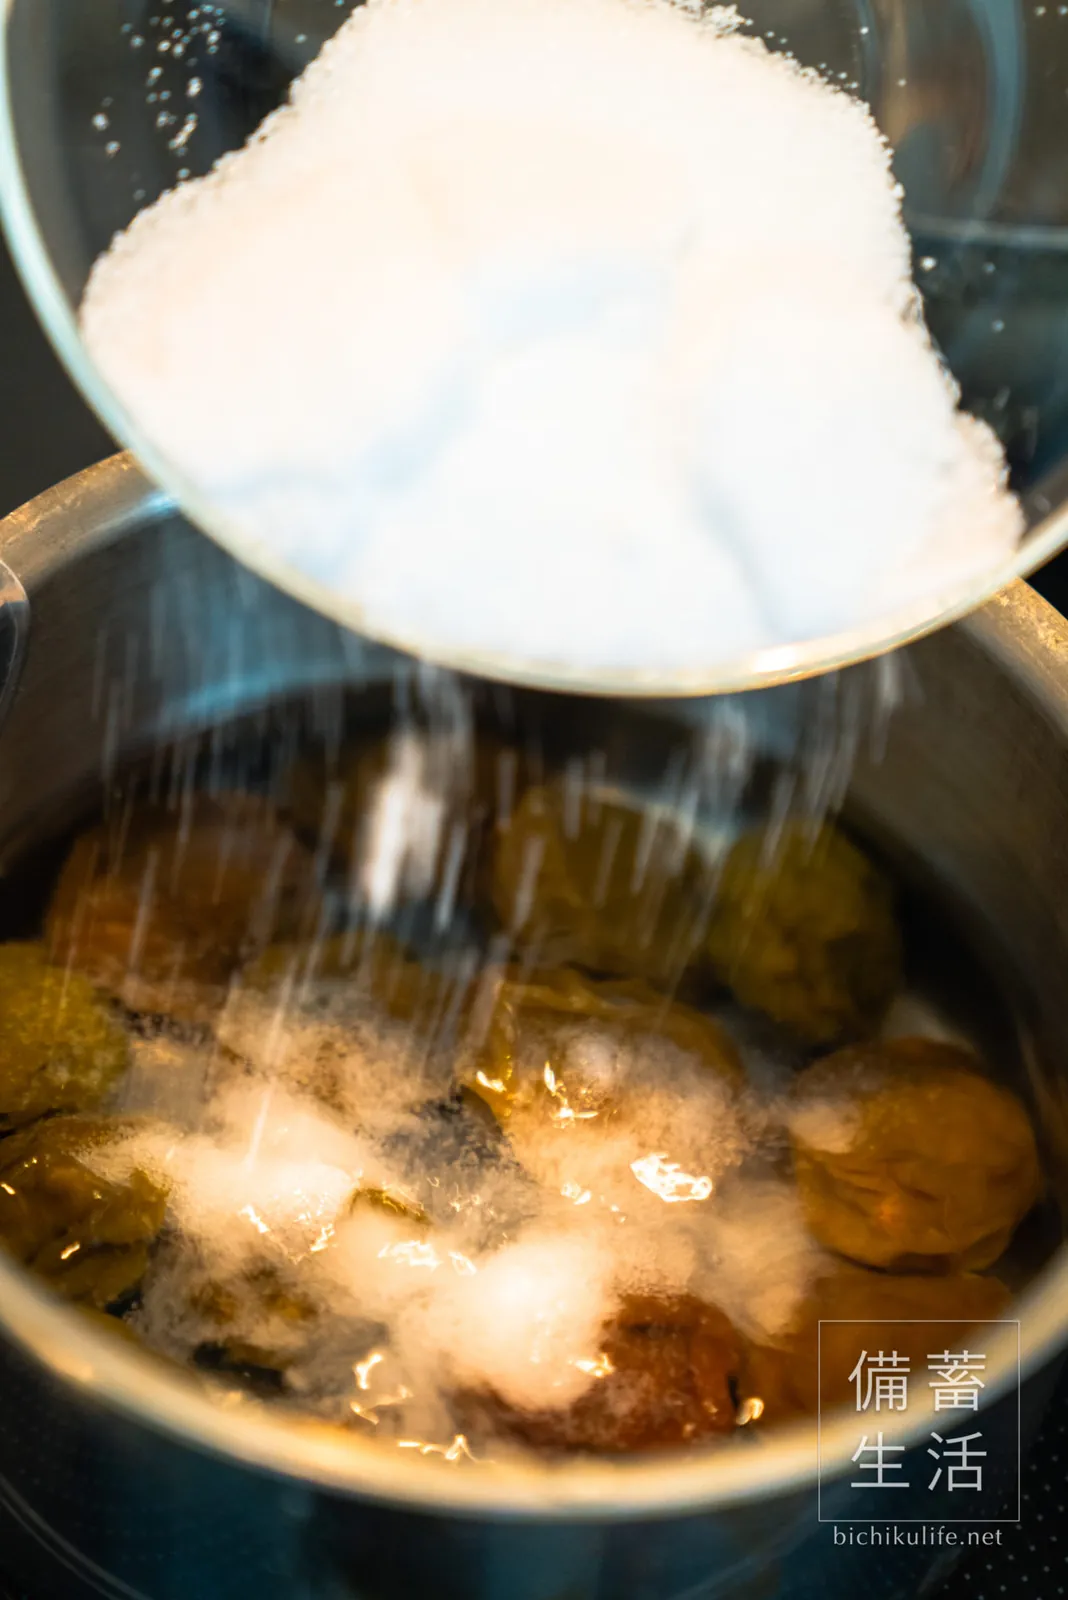
4 tbsp granulated sugar
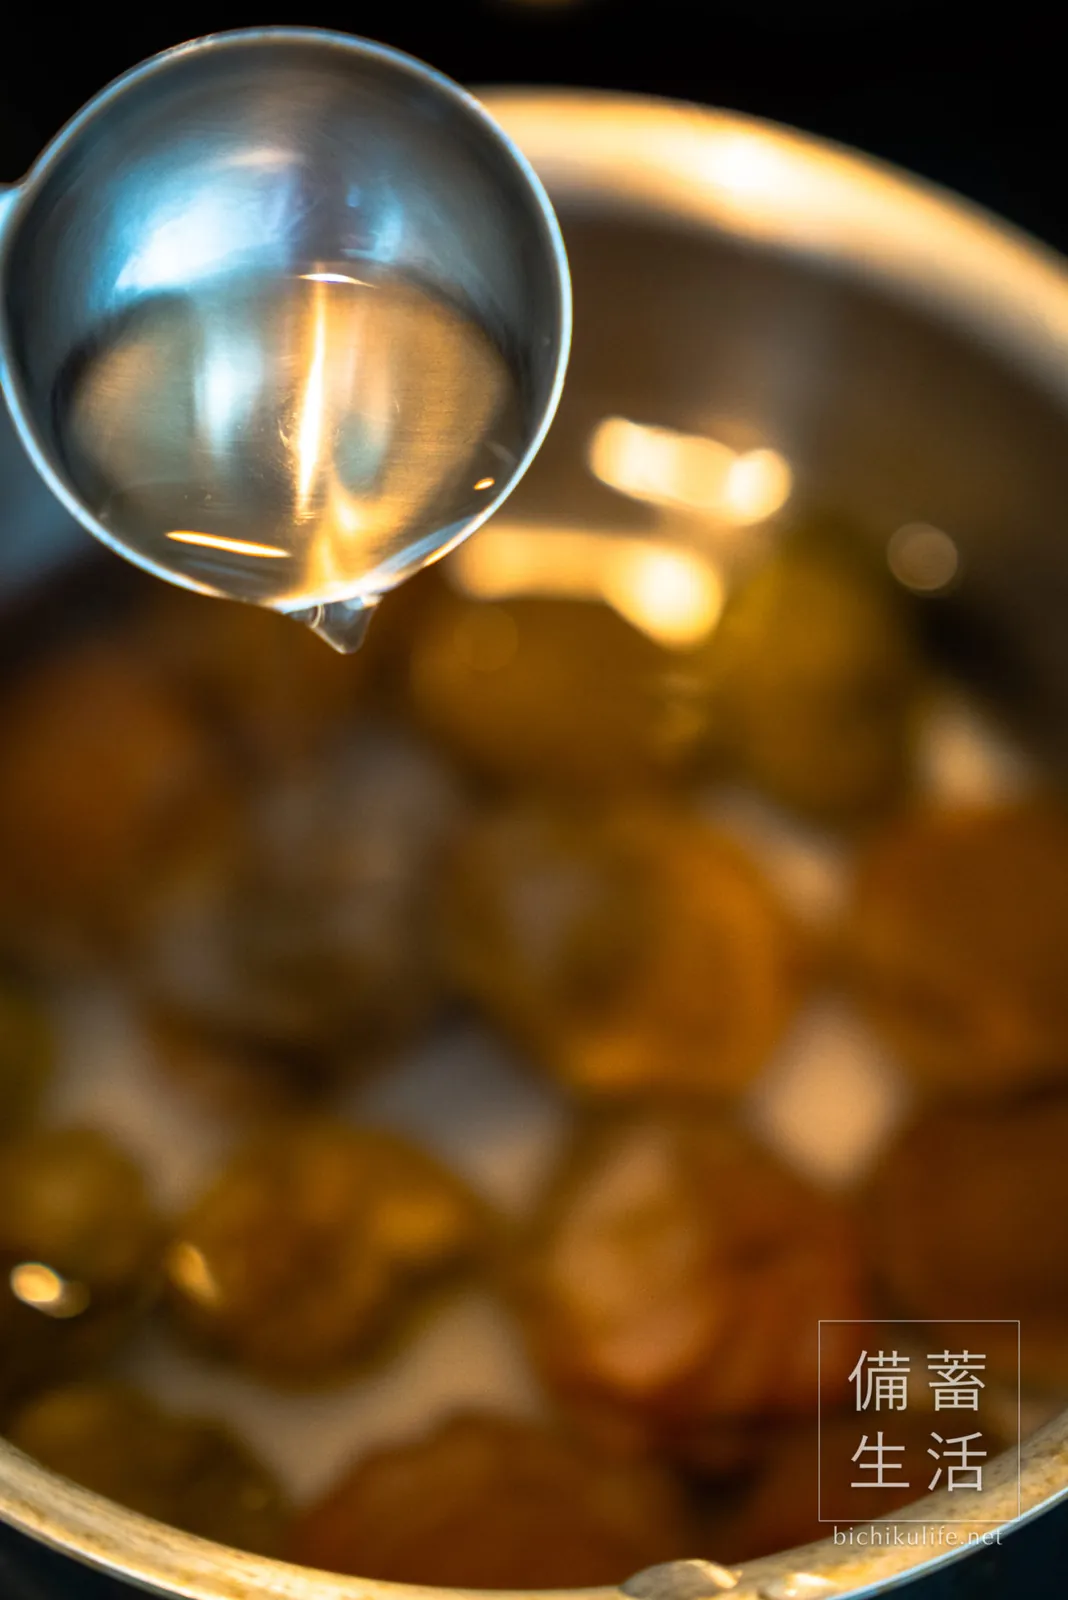
1 tbsp ume syrup
Simmer
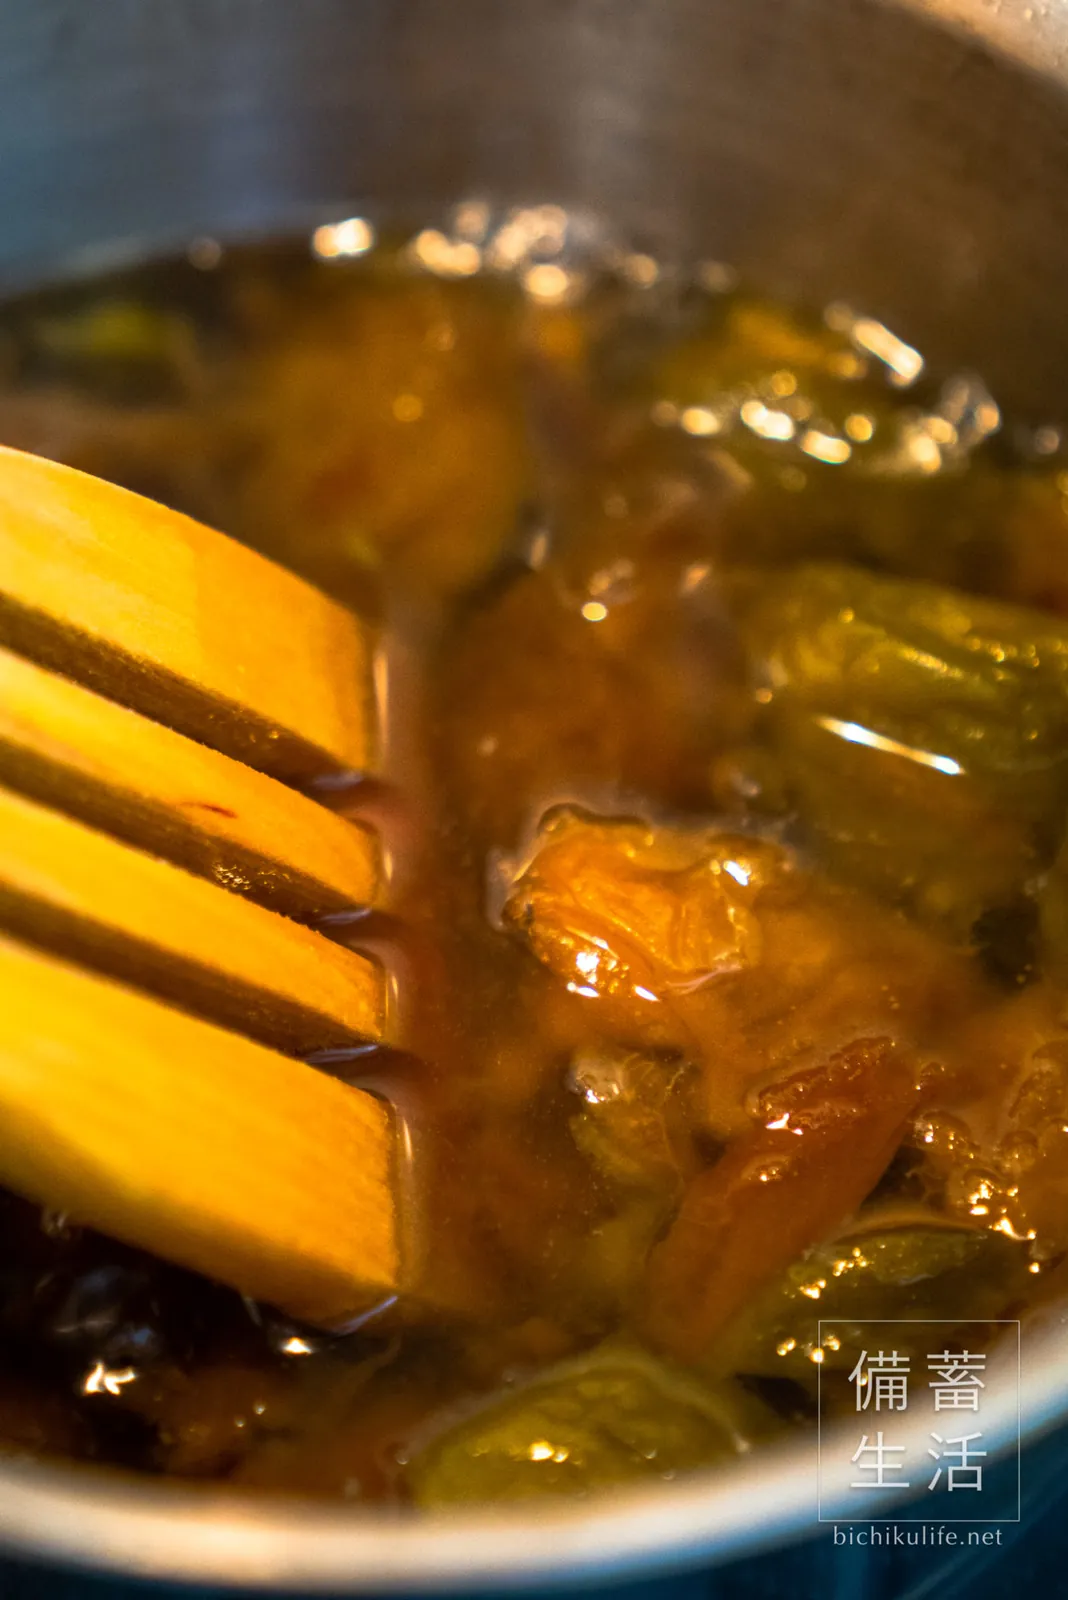
When it starts to bubble, turn the heat to low and simmer for about 15 minutes, until it thickens. Stir with a wooden spatula so the bottom doesn’t burn.
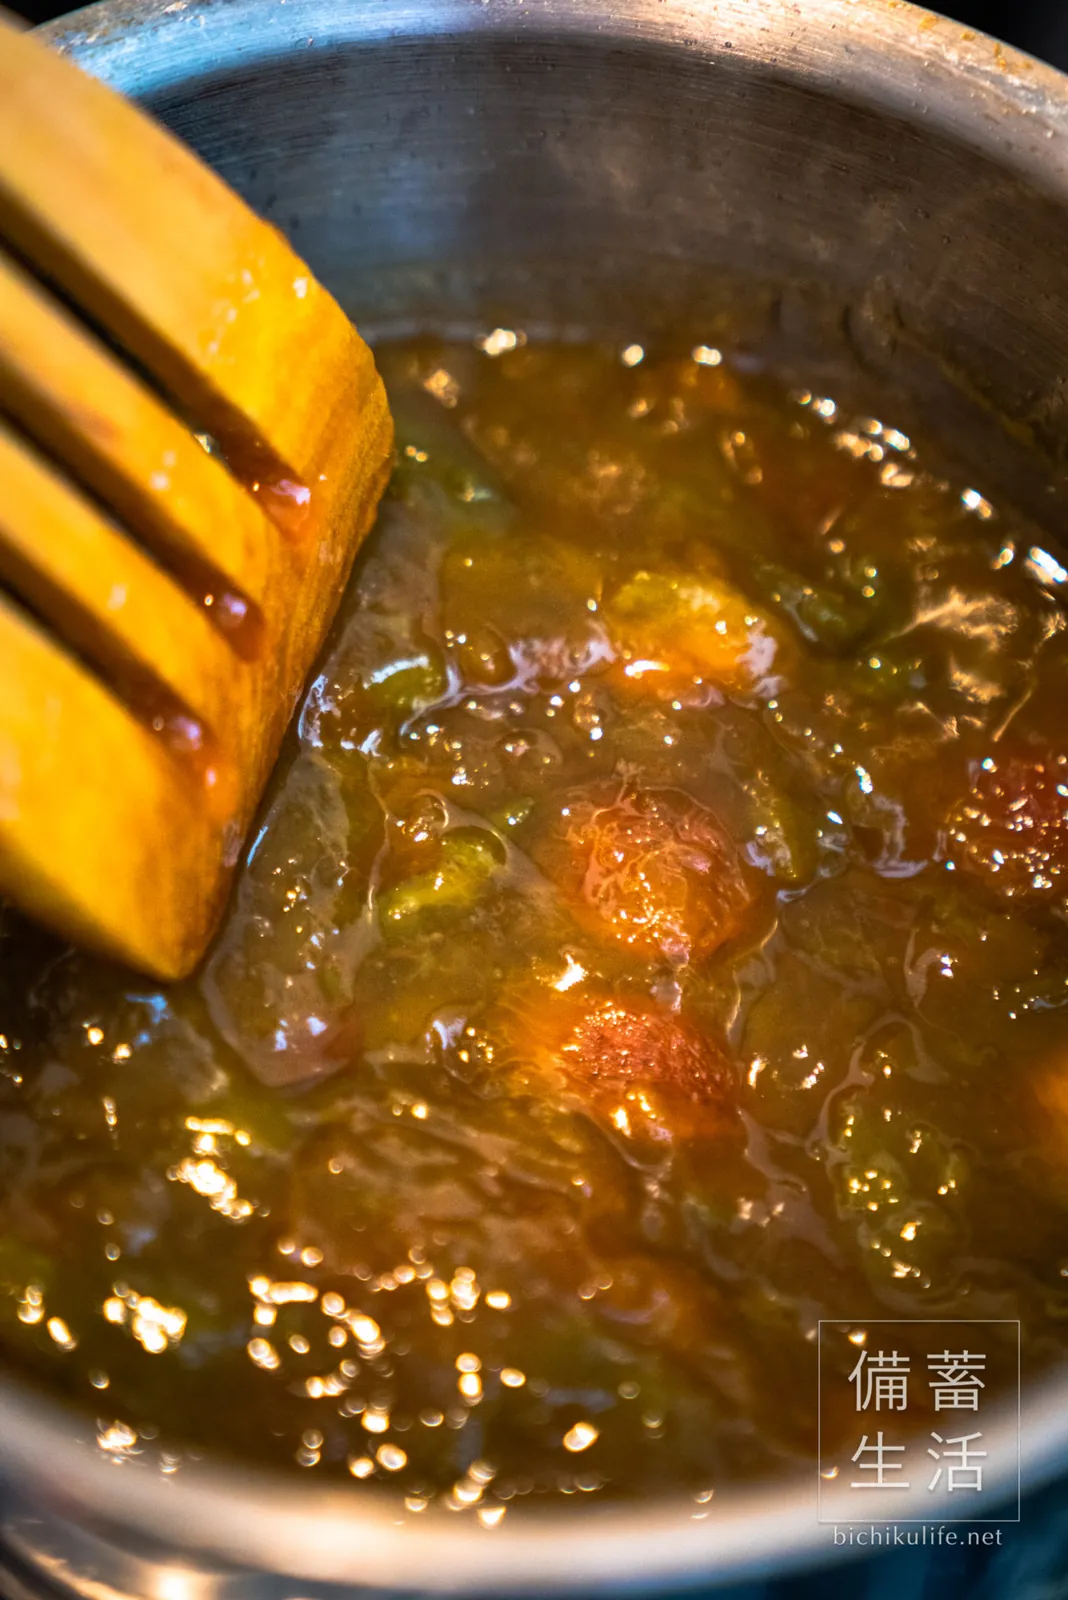
As it simmers, the flesh softens and comes away from the pits easily. Scrape it off with the spatula as you stir.
Done
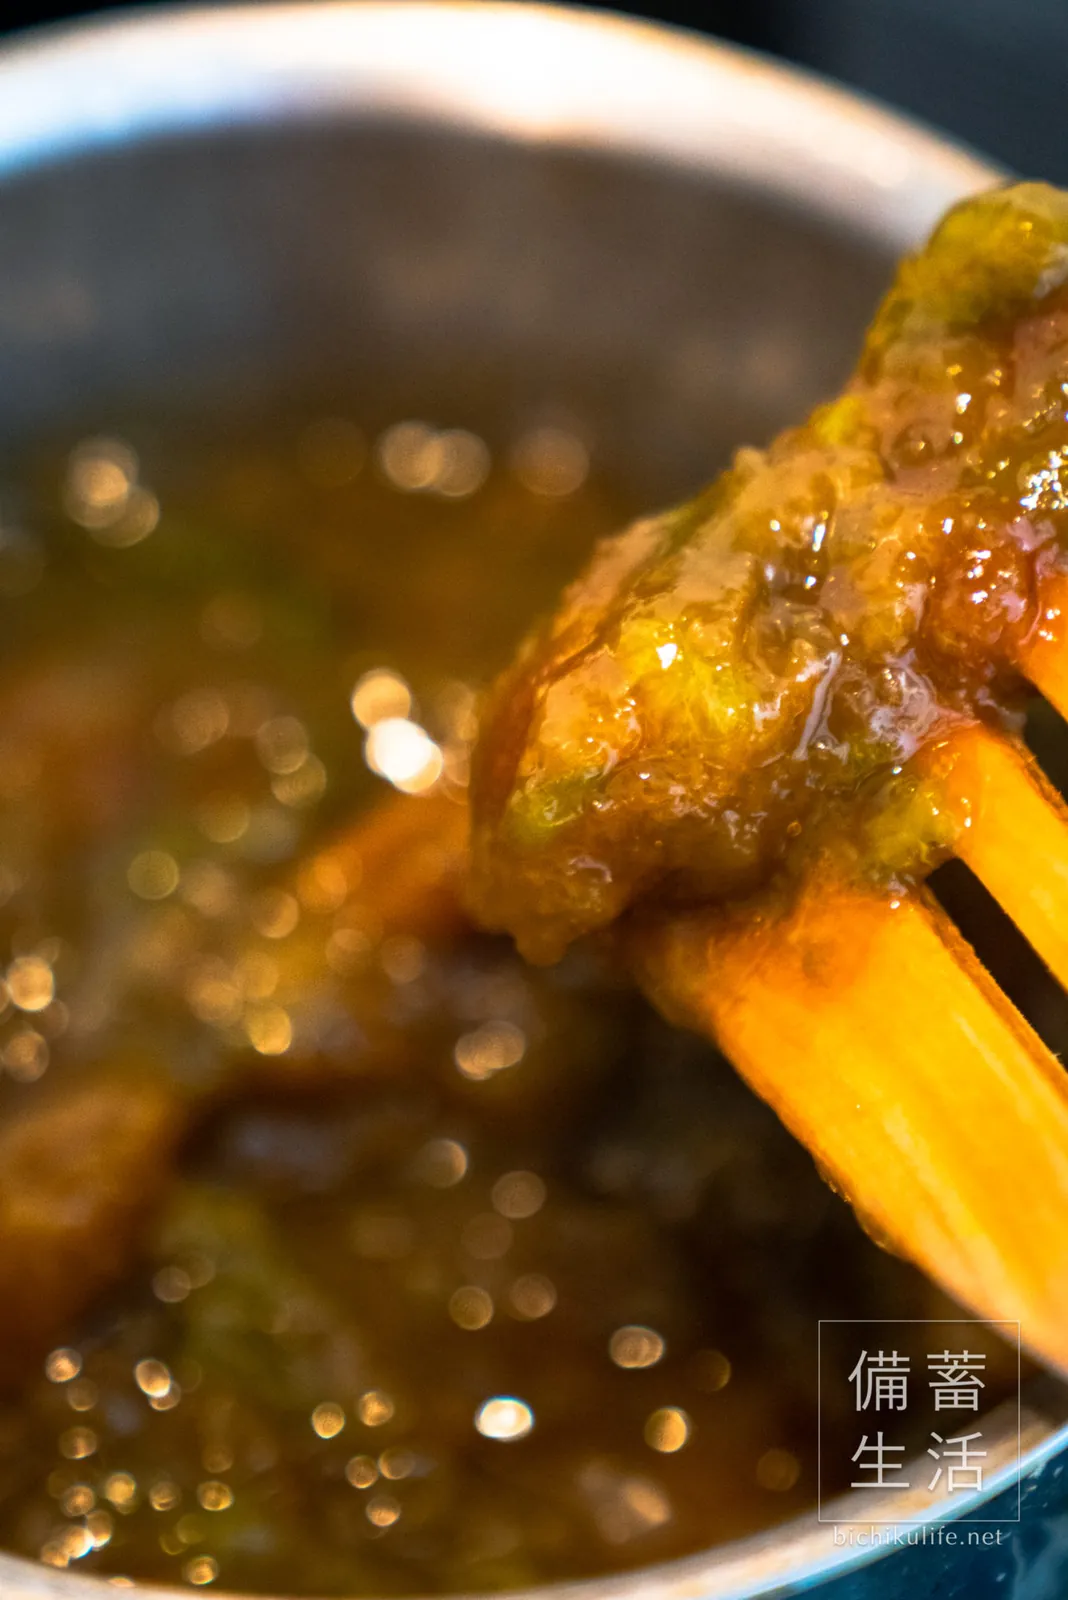
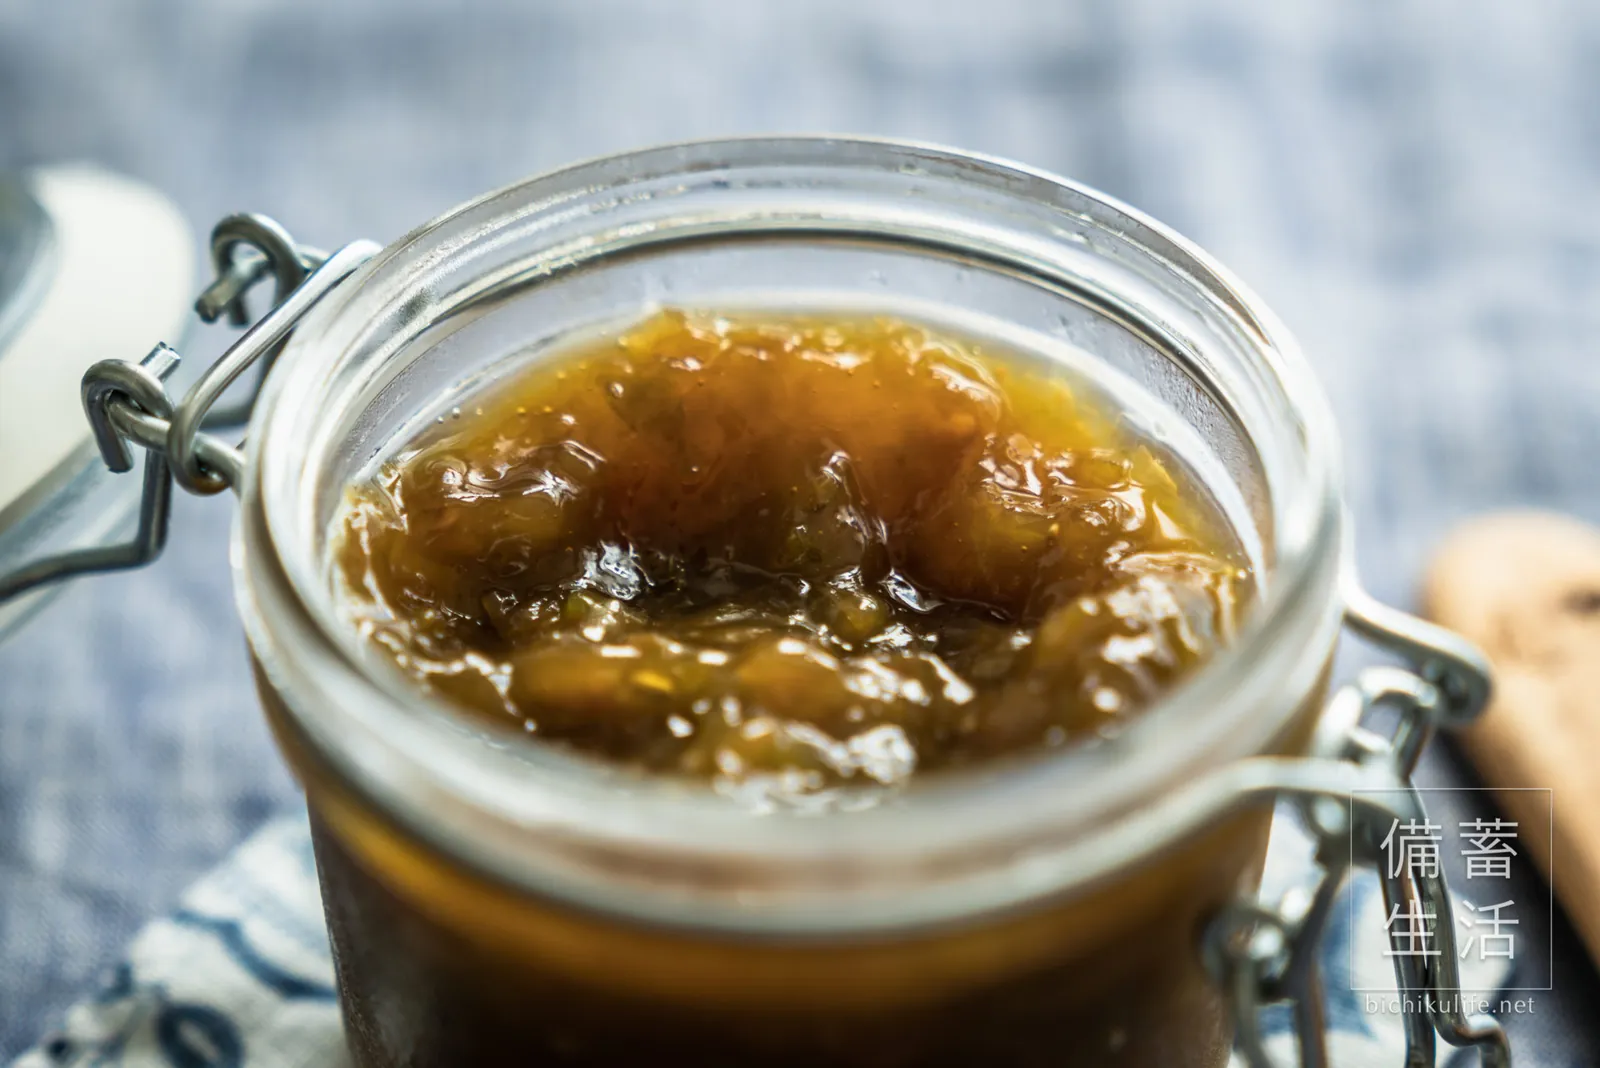
It has thickened and turned glossy. It firms up as it cools, so even if it seems a little loose, there’s no need to simmer it longer.
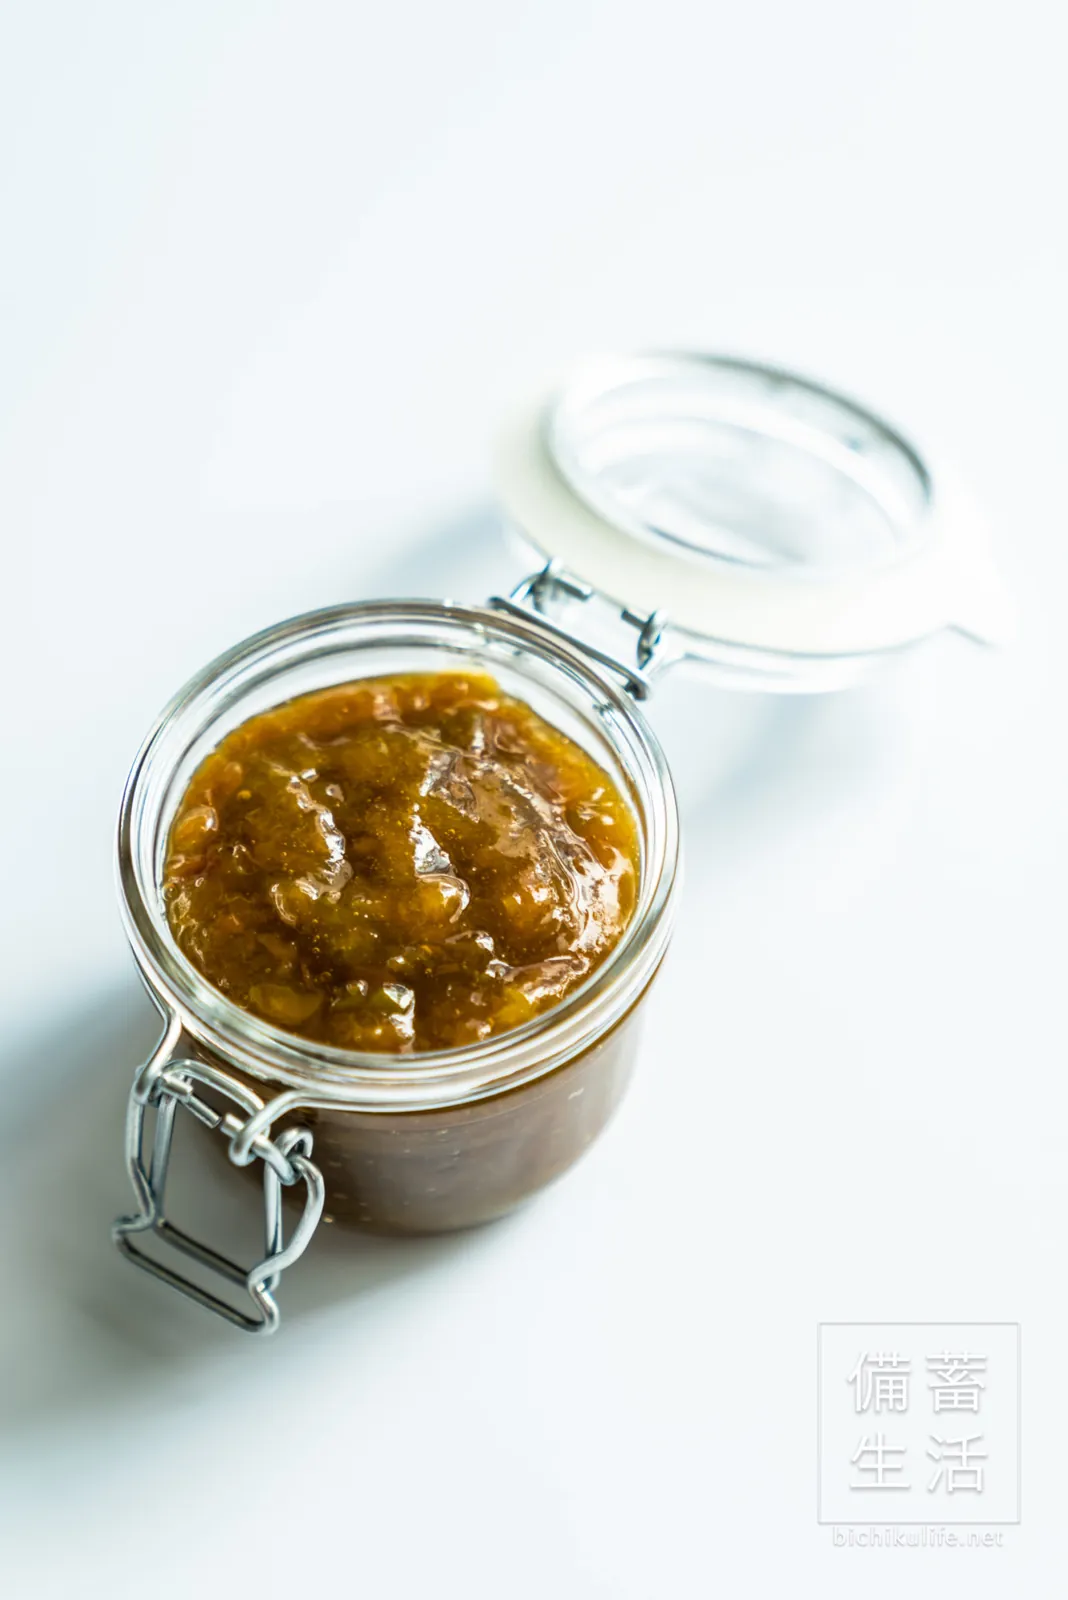
Let it cool a little and remove the pits. Pack it into a jar that has been sterilized in boiling water and cooled, and your homemade ume jam is done.
Sterilizing the jar
Sterilize the jar in boiling water. (Remove rubber seals and metal clips first.) Be careful not to burn yourself.
Put the jar in a large pot with enough water to cover it and heat. When it boils, keep it at a gentle boil for 10 minutes.
Stand the jar upside down on a clean cloth and let it dry completely.
Storage
Keep ume jam in the fridge and eat it within 2–3 weeks. For longer storage, seal it by heating the filled jar.
Sealing for longer storage (unopened)
This is the method from the instructions for Muji’s soda glass sealed jars. If you use a different jar, follow its instructions.
- Fill a sterilized jar with the jam.
- Lay a cloth in the bottom of a pot and put in the jar and water. (Always put the jar in while the water is cold.)
- Heat for about 20 minutes with the lid open, then immediately close the lid and fasten the clip. (Be careful not to burn yourself.)
- Take it out, let it cool completely, and store.
Ways to enjoy it
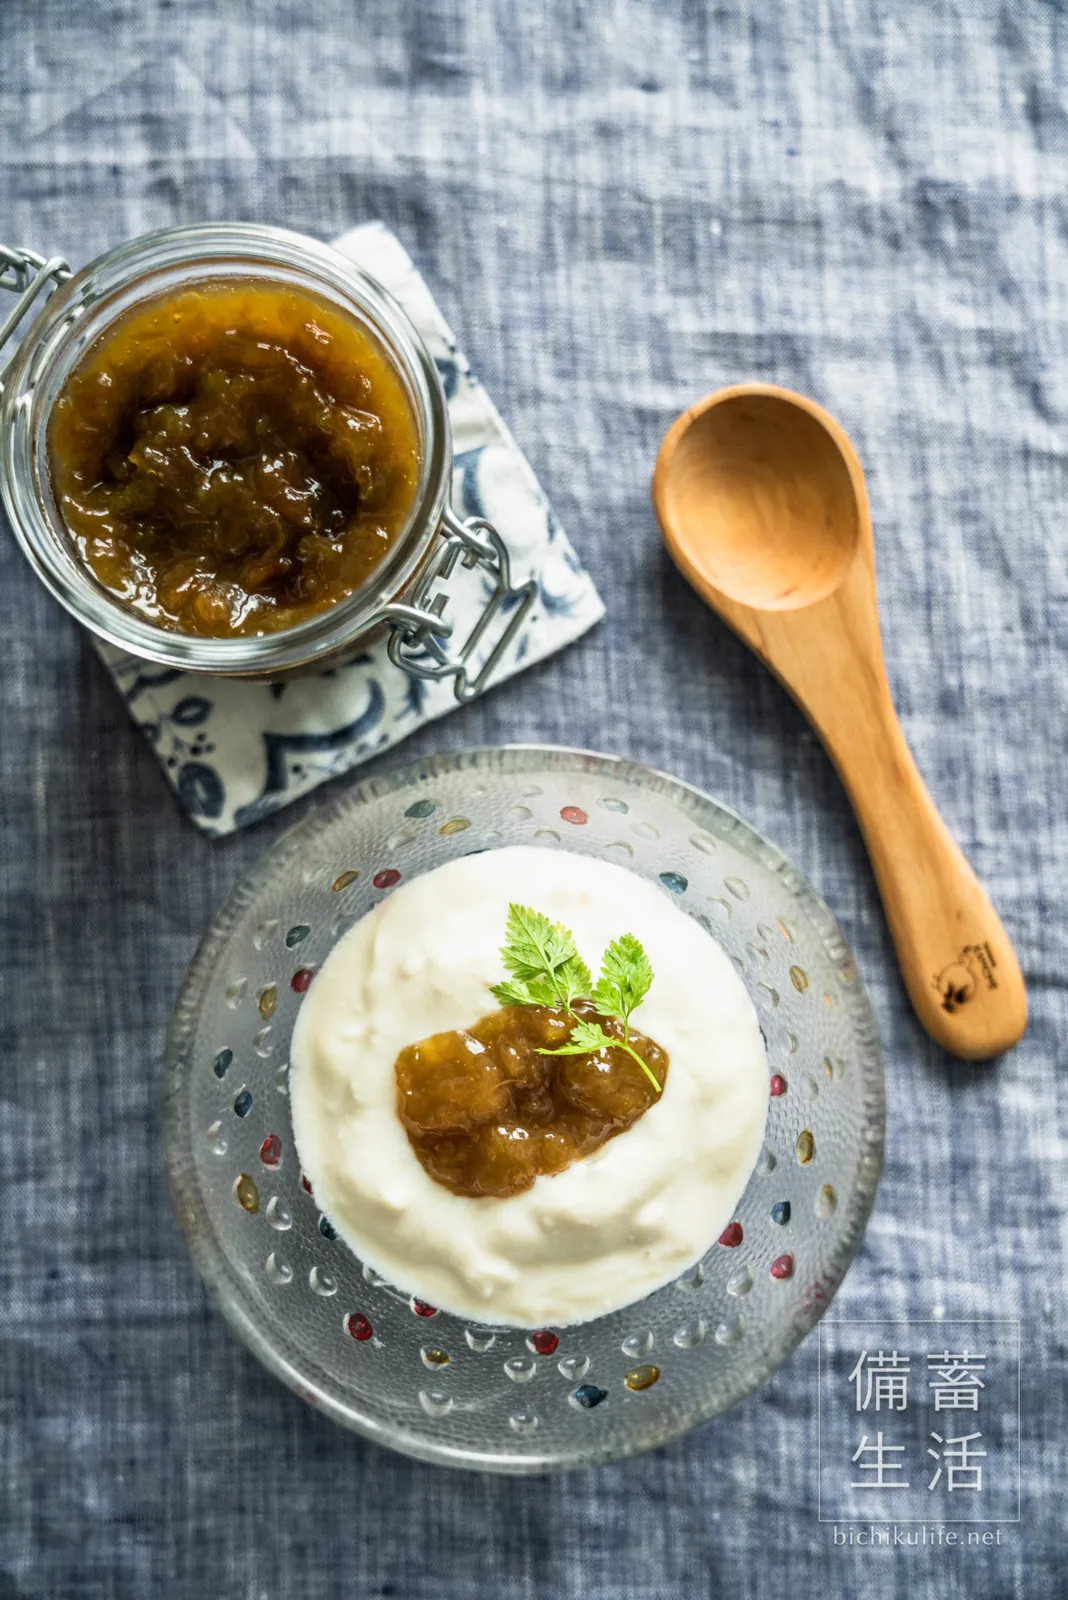
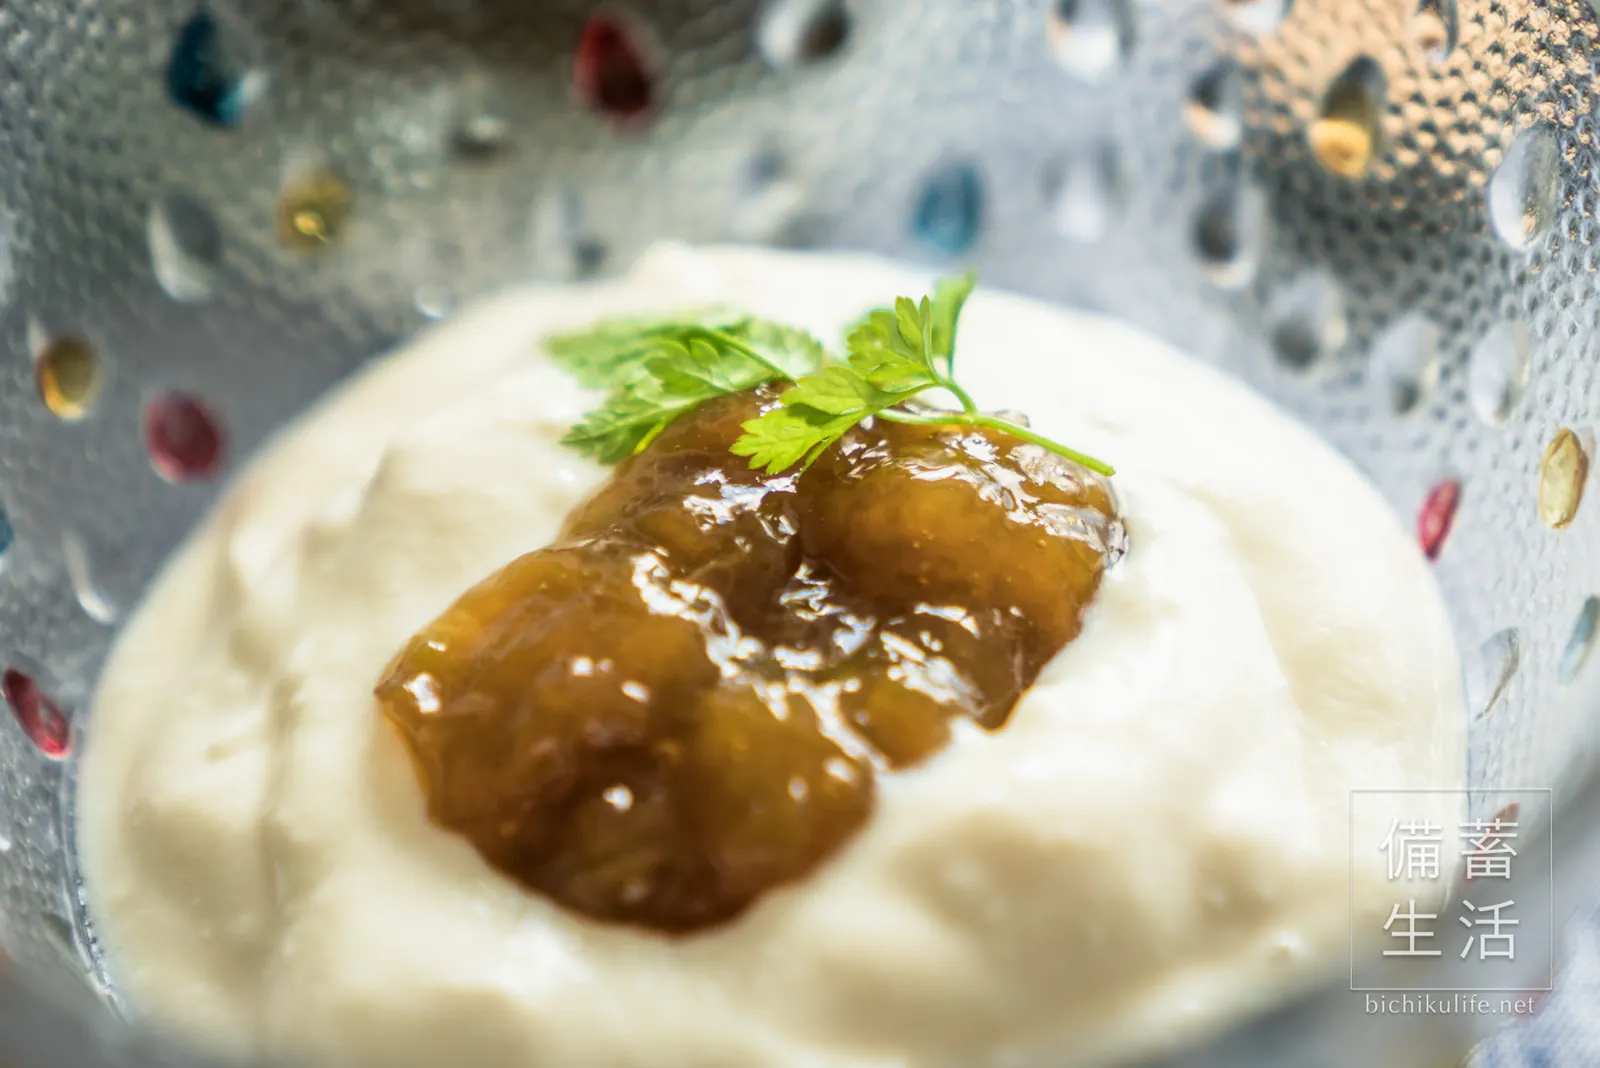
On plain yogurt.
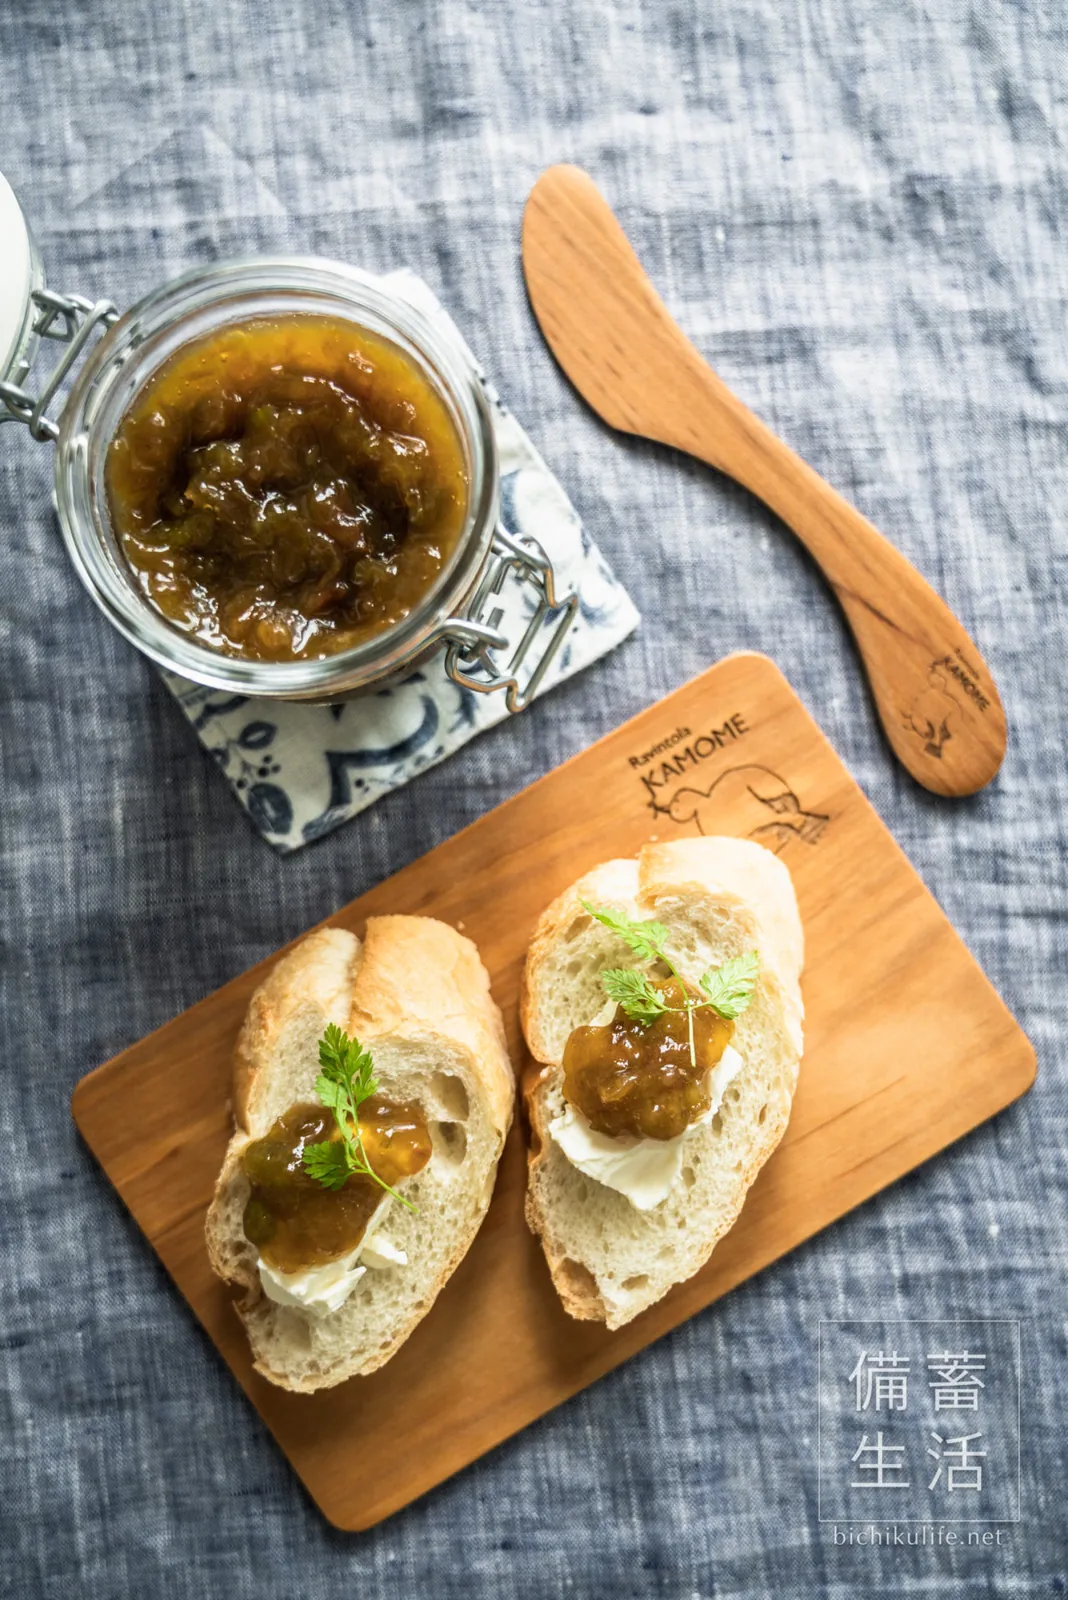
On a baguette with cream cheese. The tartness goes beautifully with it.