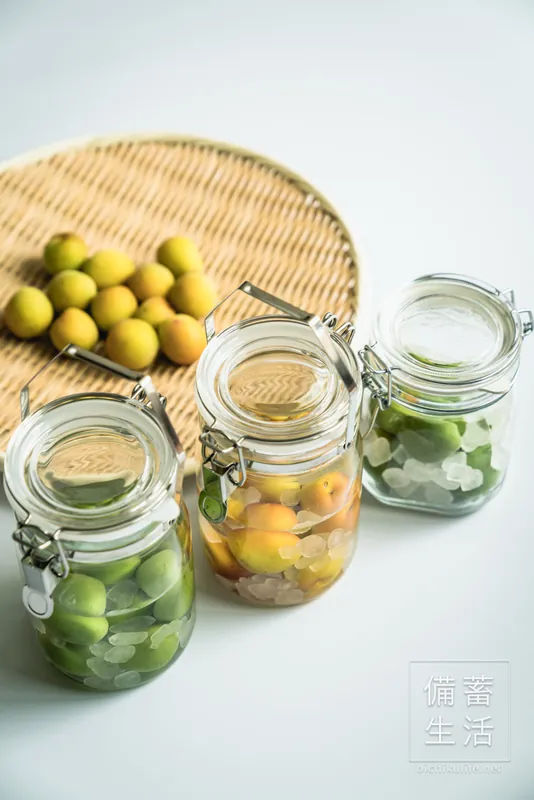
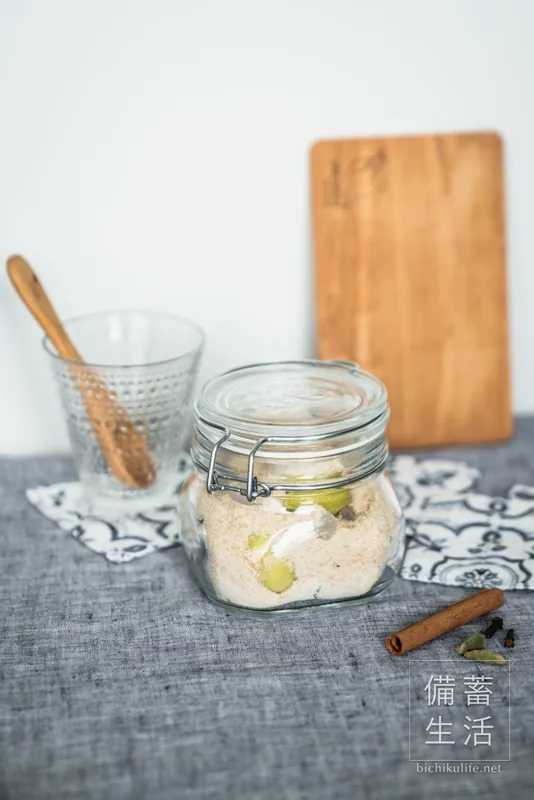
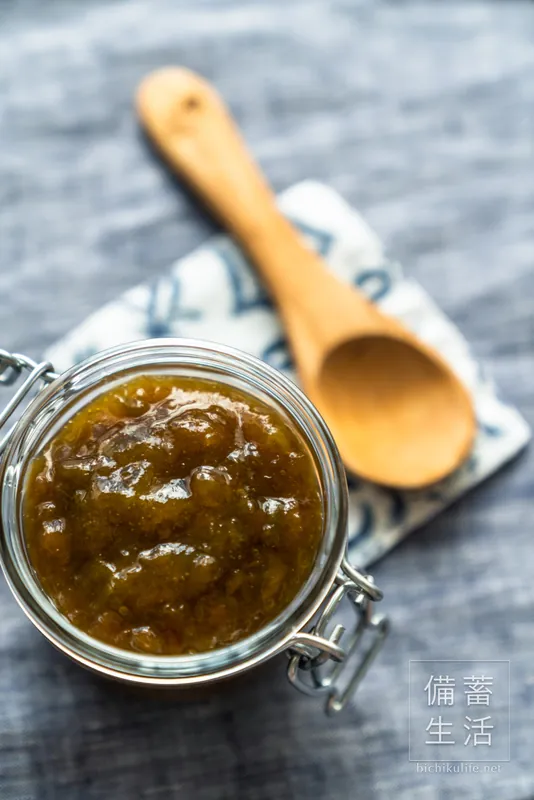
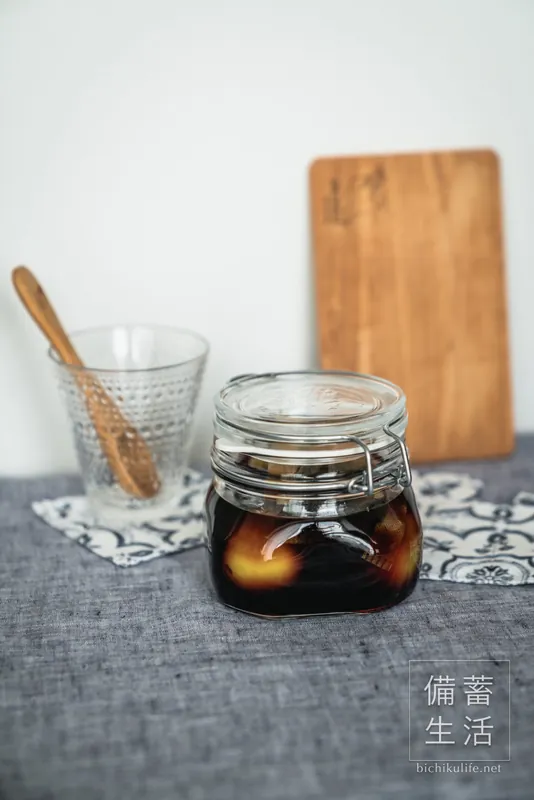
Ume (Japanese plums)
How to Make UmeboshiHomemade Japanese Salted Plums at 18% Salt, Pickled in a Zip-Top Bag
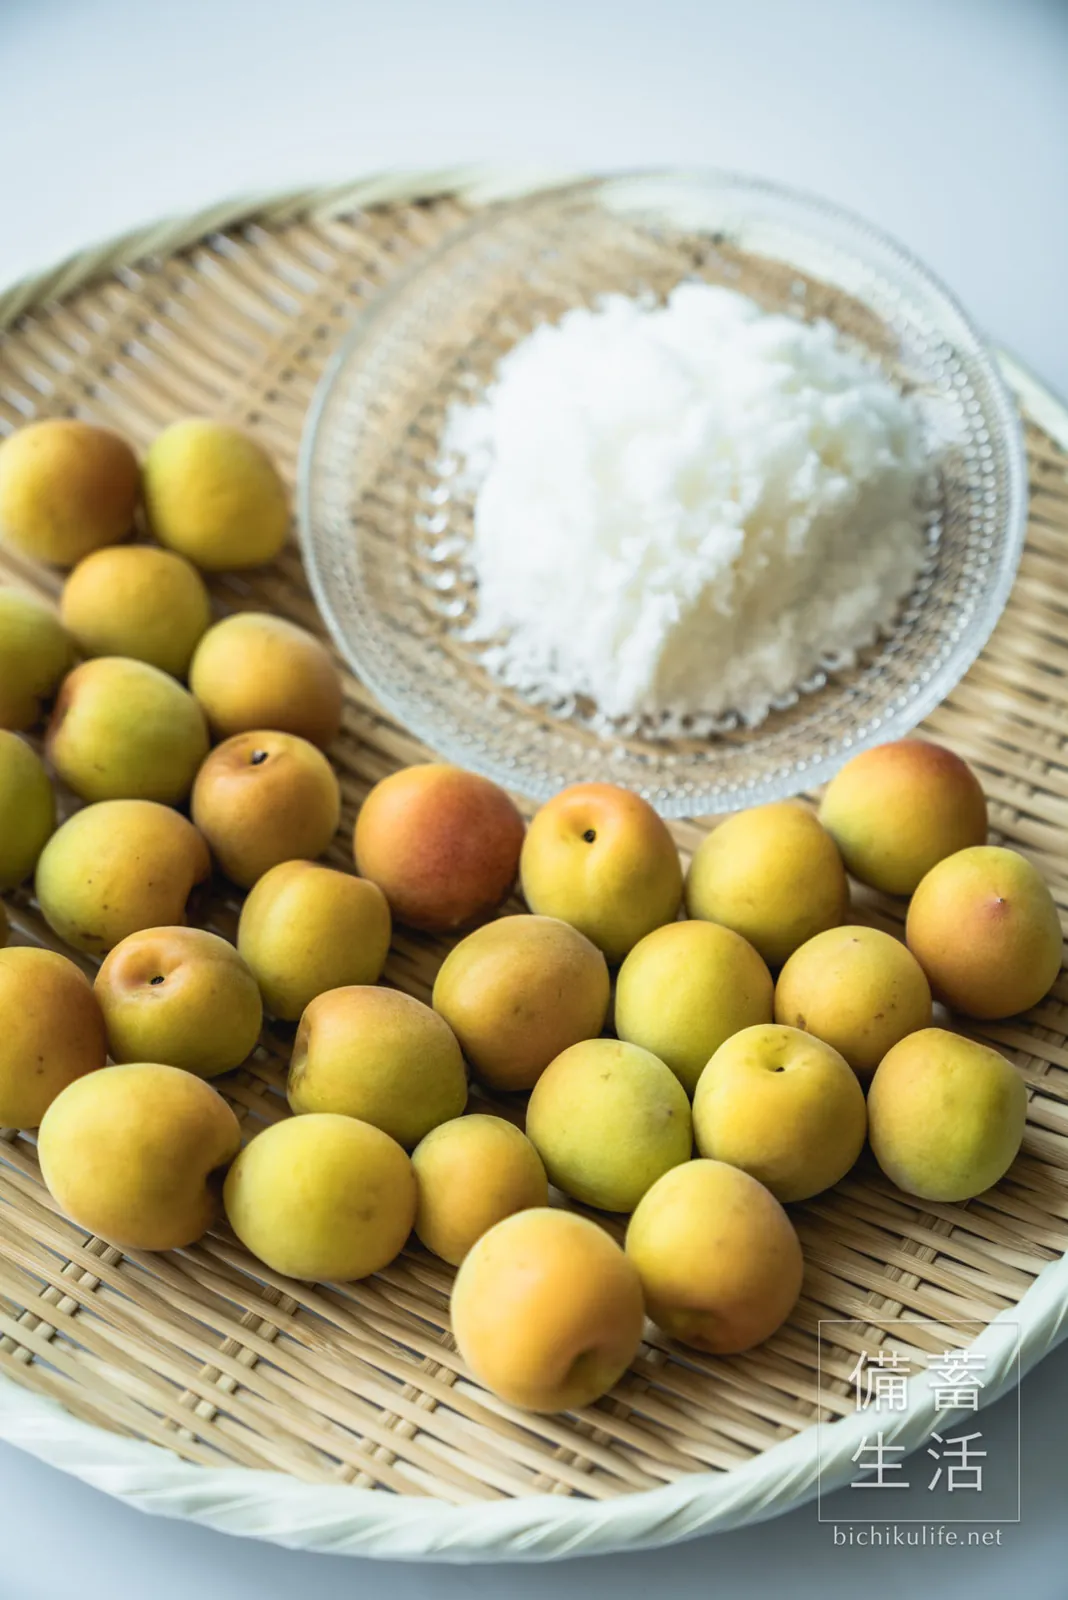
Umeboshi are Japanese salted plums: ripe ume pickled in salt with red shiso, then dried in the summer sun. They’re intensely sour and salty, eaten a little at a time with rice, tucked into rice balls, or chopped into dressings.
This is how we make them at home, in a zip-top bag, so you don’t need a crock or heavy weights. After ume syrup and umeshu, umeboshi are the last and most iconic of the year’s ume preserves. Take your time with each step and enjoy the sweet scent of ripe ume.
| When to make | June (salting the ume) to late July (sun-drying) |
| Time | Salt 4 days → add red shiso and leave until the rainy season ends → dry 3 days. Best after 2 months |
| Salt | 18% (adjust between 13% and 18%; less salt means more risk of mold) |
Ingredients and tools
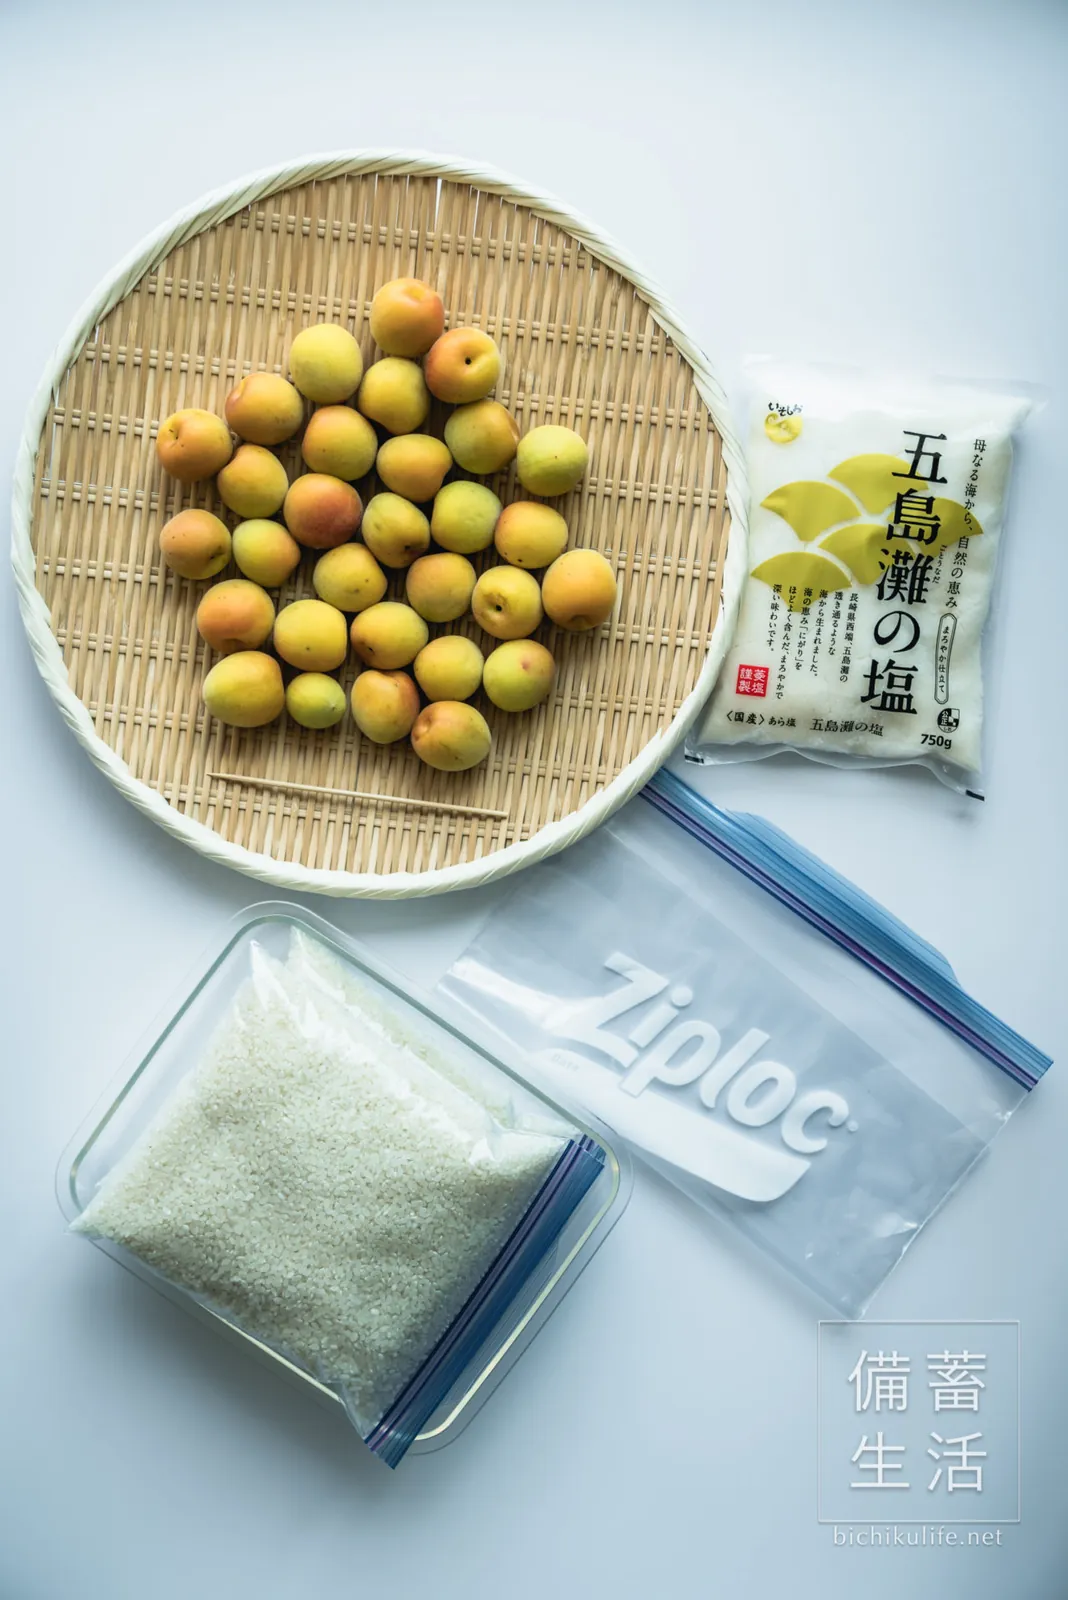
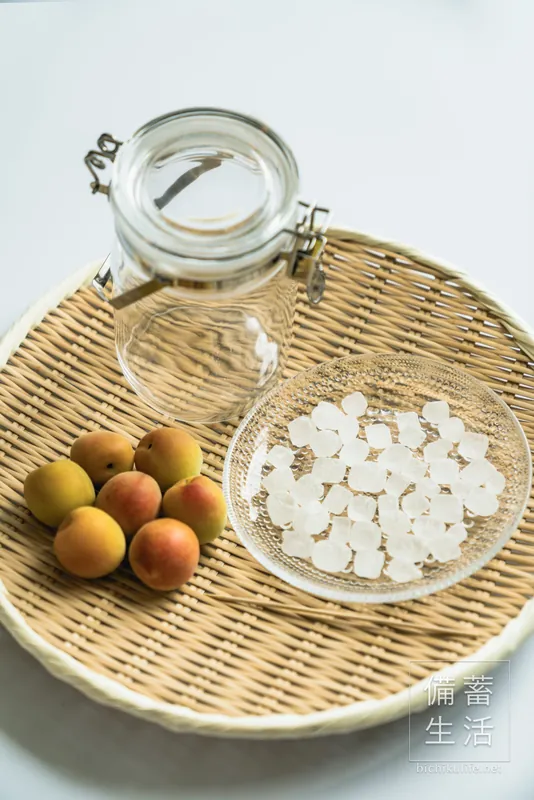
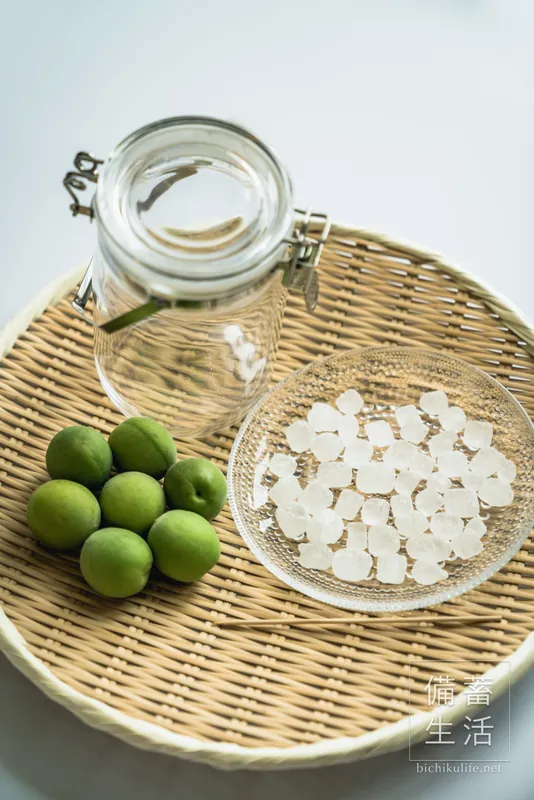
Umeboshi are made with ripe yellow ume that smell sweet. If the ume you bought are still greenish, leave them at room temperature for 2–3 days to ripen.
This time we pickled 1 kg (2.2 lb) of Nanko ume at 18% salt. Too little salt makes them mold easily, so we recommend 13% to 18%, to taste.
Fresh ume are hard to find outside Japan. See finding ume outside Japan on the overview page.
- 1 kg (2.2 lb) ripe yellow ume
- About 180 g (6⅓ oz) coarse salt (18% of the weight of the ume)
- 200 g (7 oz) red shiso leaves (20% of the weight of the ume)
- 40 g (1½ oz) coarse salt (20% of the weight of the red shiso)
- 1 large zip-top bag
- A tray
- A weight
- A basket or colander
- A bamboo skewer
- Paper towels
Calculate the amounts
The lower the salt, the more easily umeboshi mold. Below 13%, keep them in the fridge.
How to make umeboshi
Salting the ume
Wash the ume
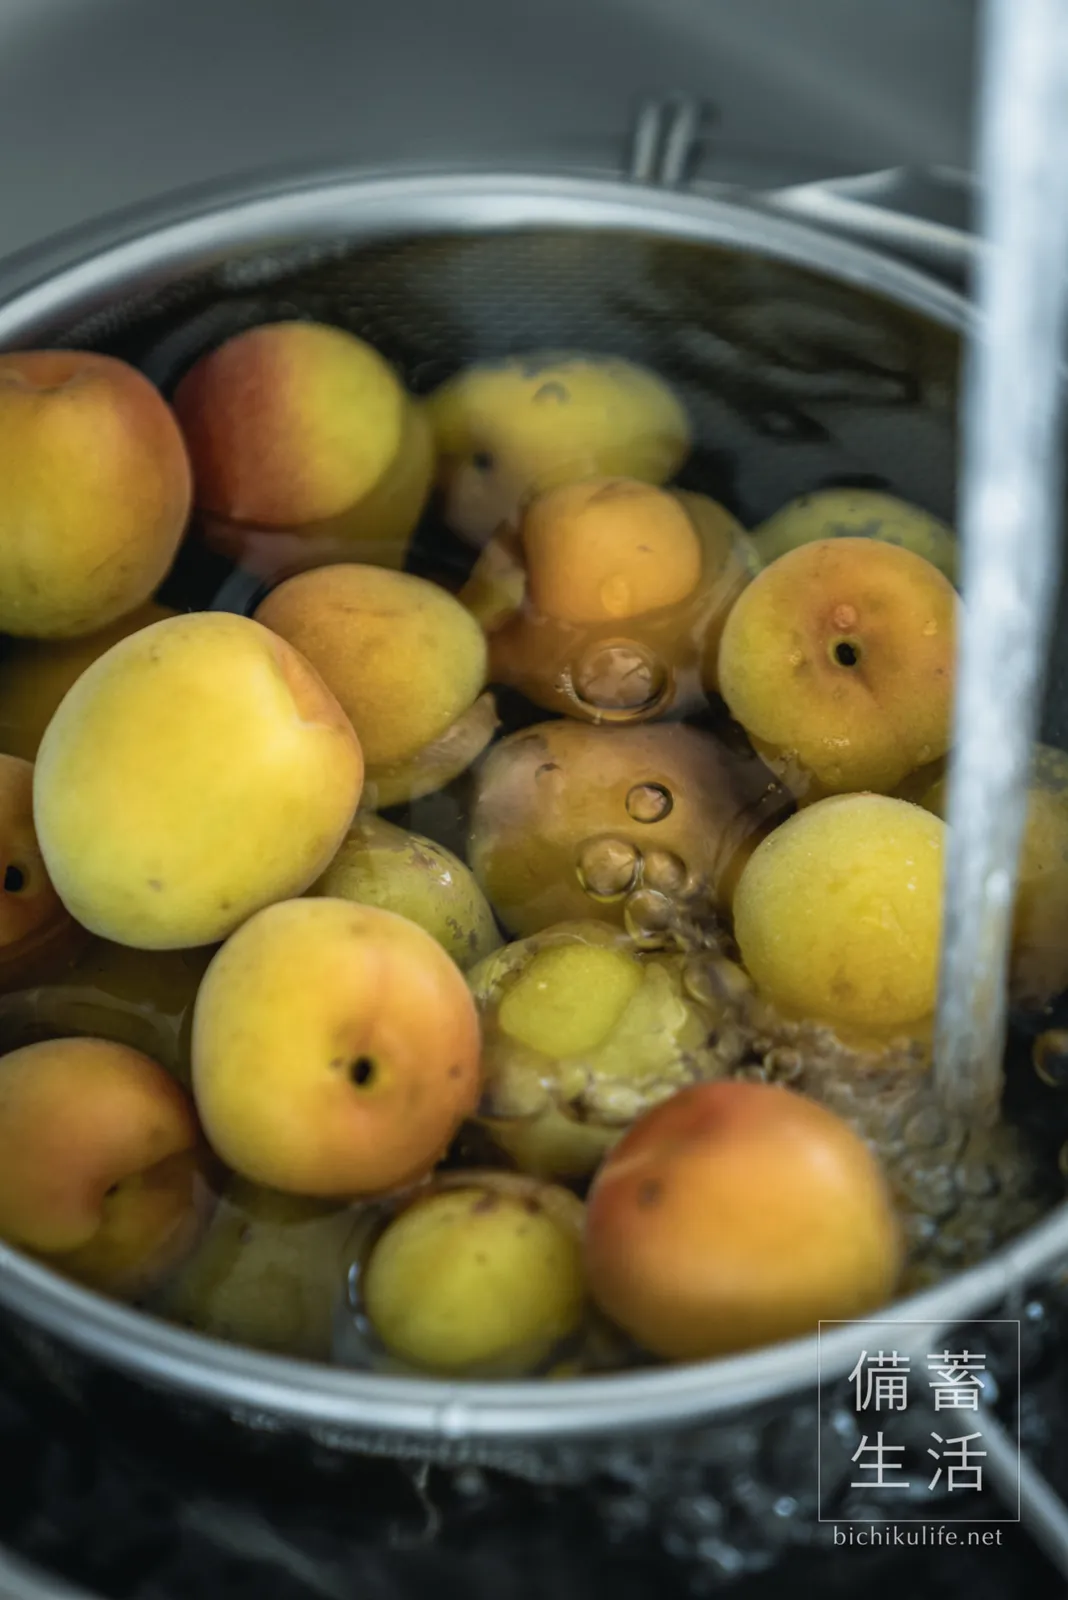
Put the ume in a bowl and gently wash off dust and dirt in plenty of water. Drain and put them in a colander or on a tray.
Dry the ume
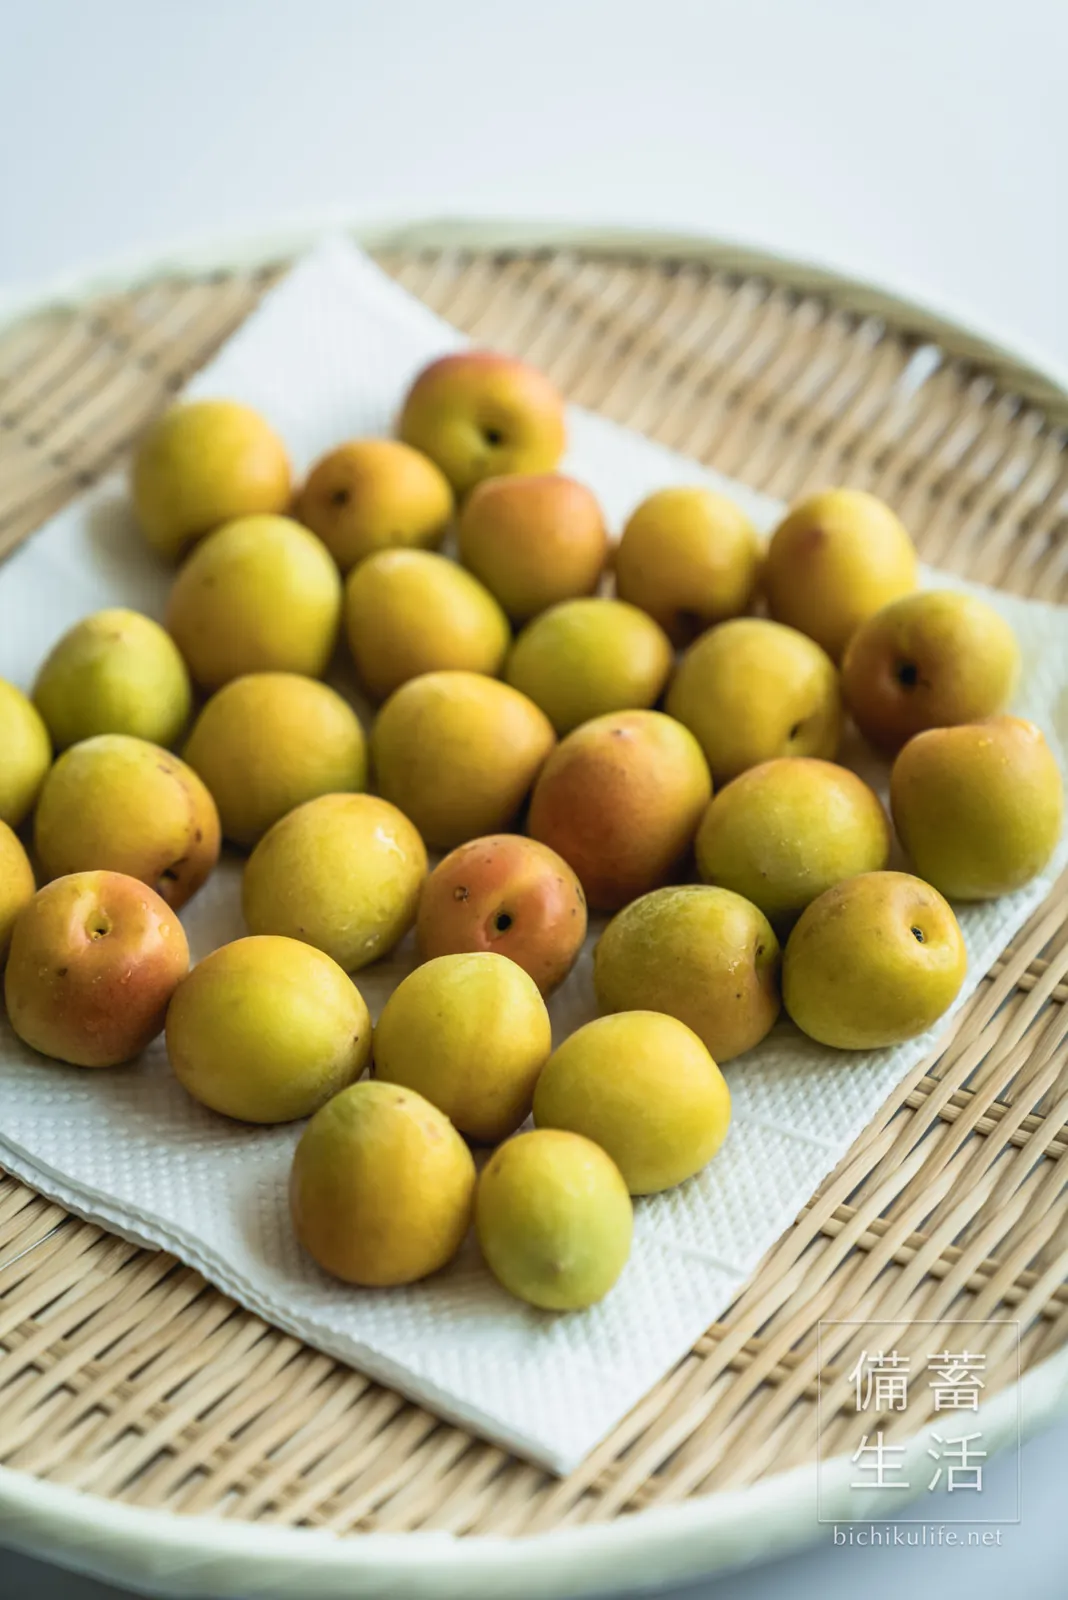
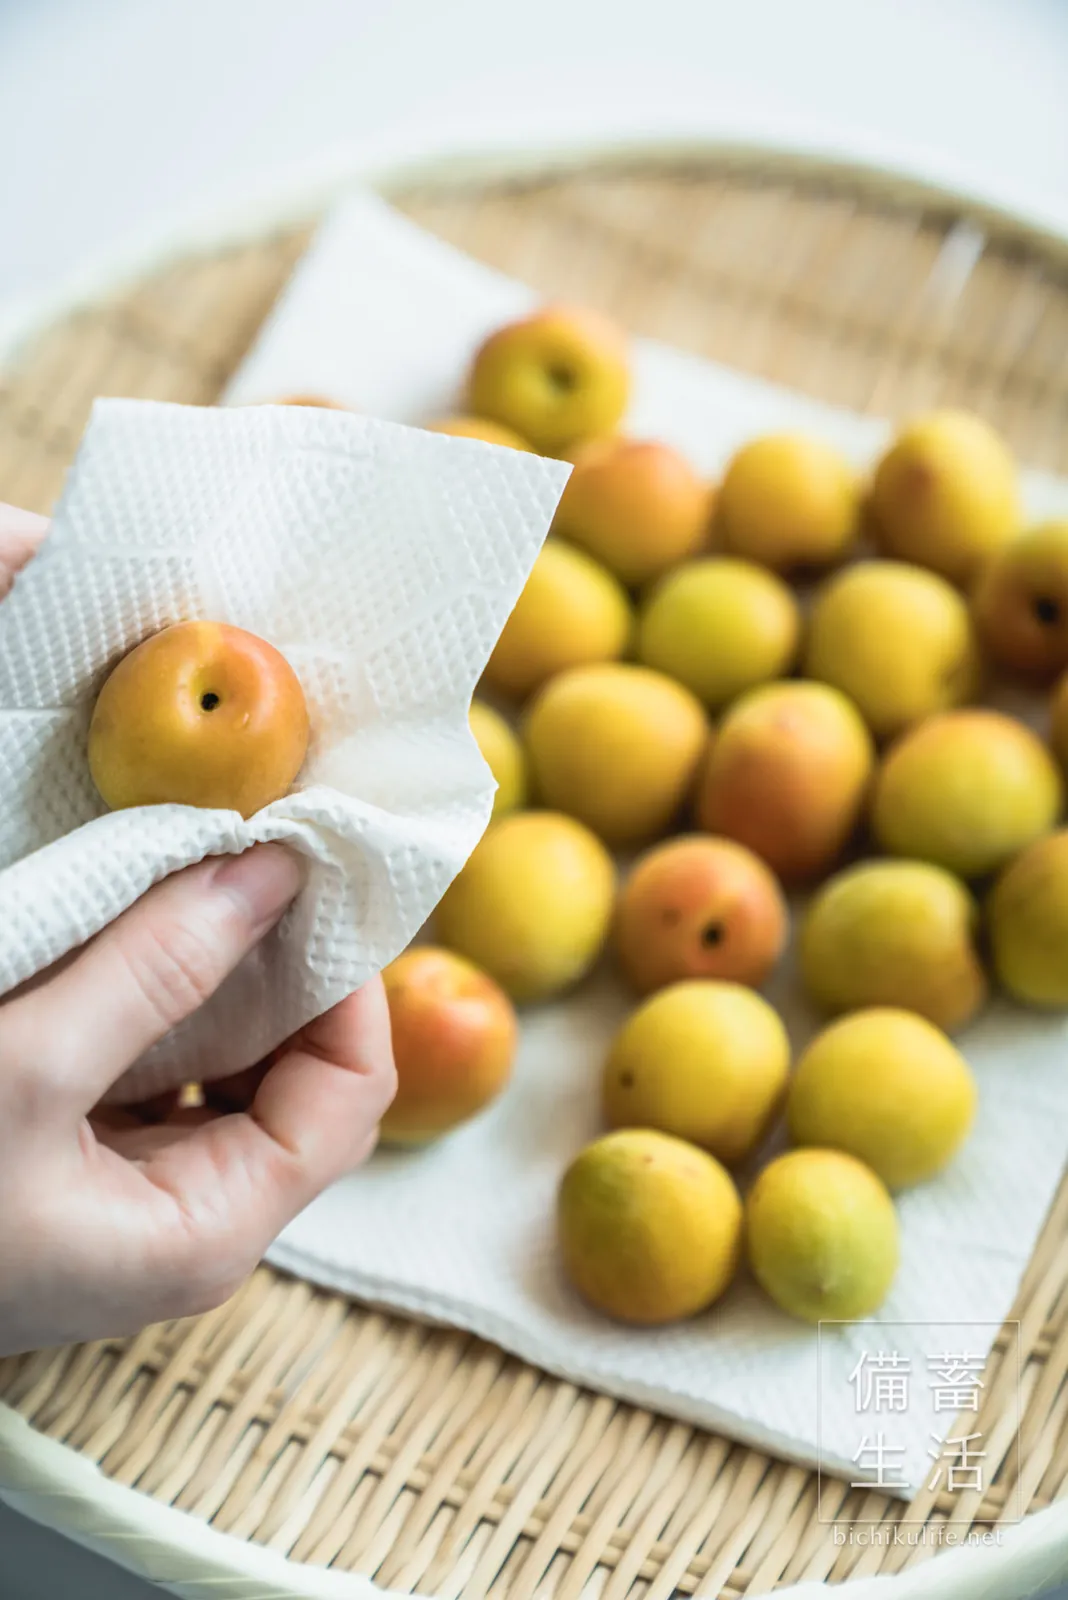
Carefully wipe each ume dry with a paper towel.
Remove the stem ends
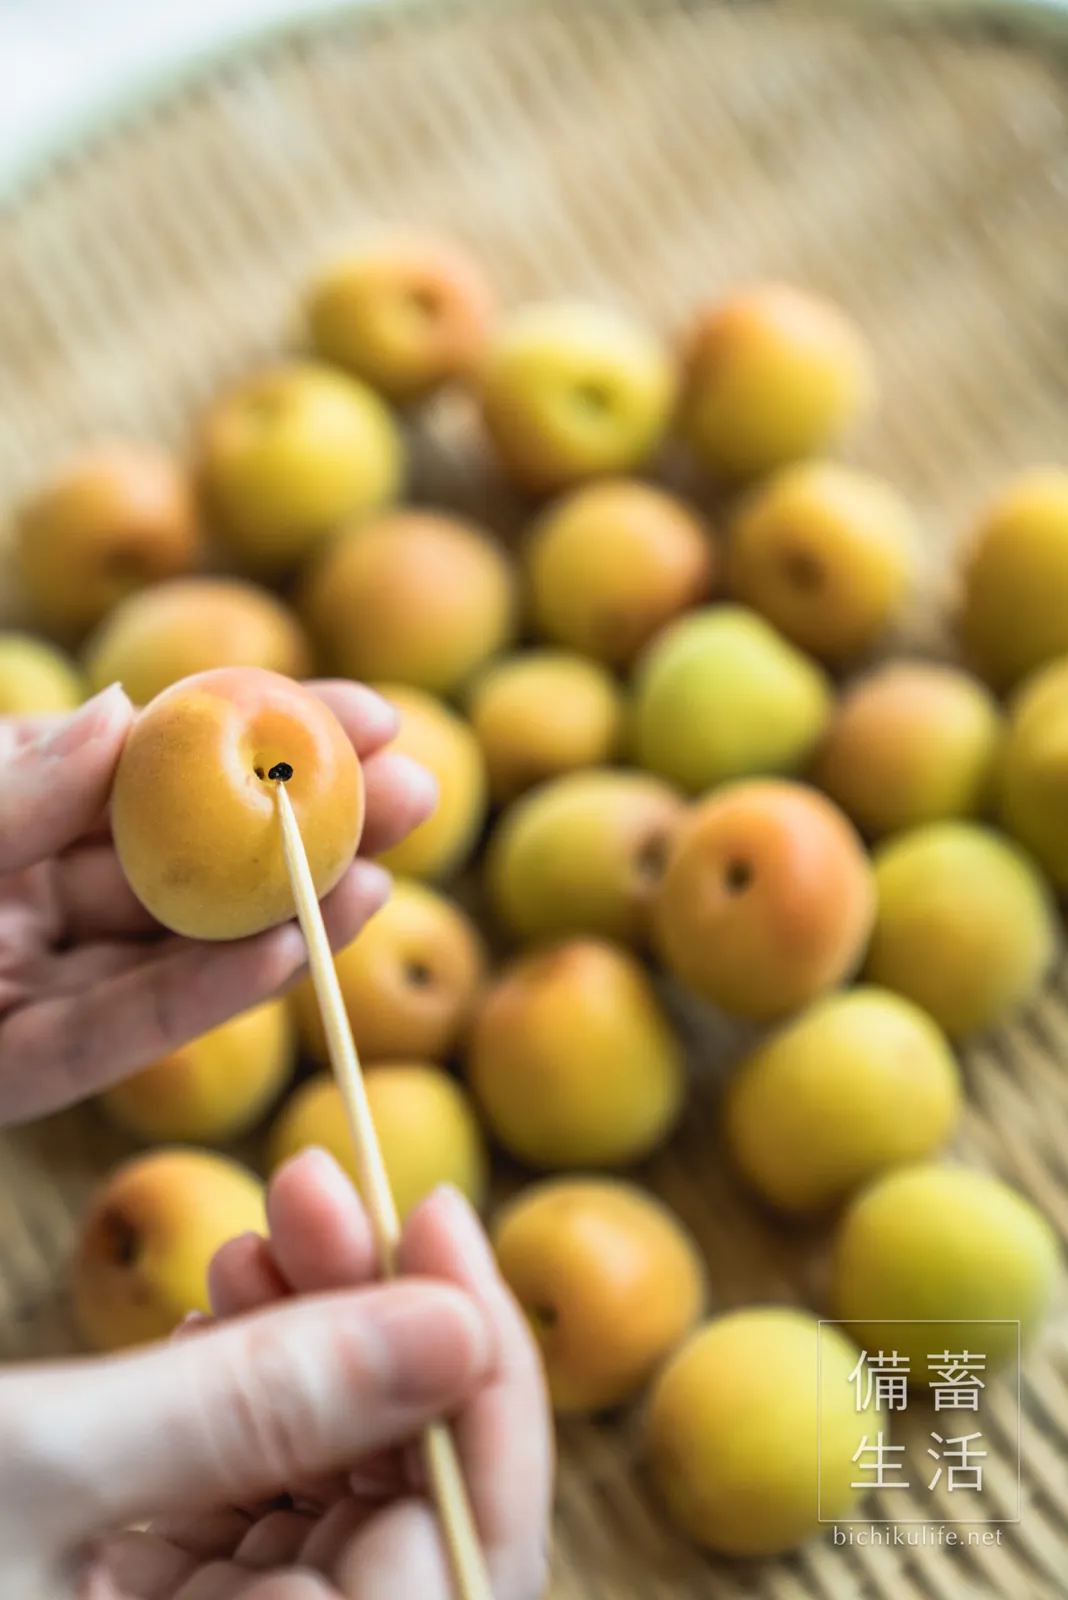
Pick out the little stem ends with a bamboo skewer. Be gentle so the tip of the skewer doesn’t damage the fruit.
Layer the ume and salt in the bag
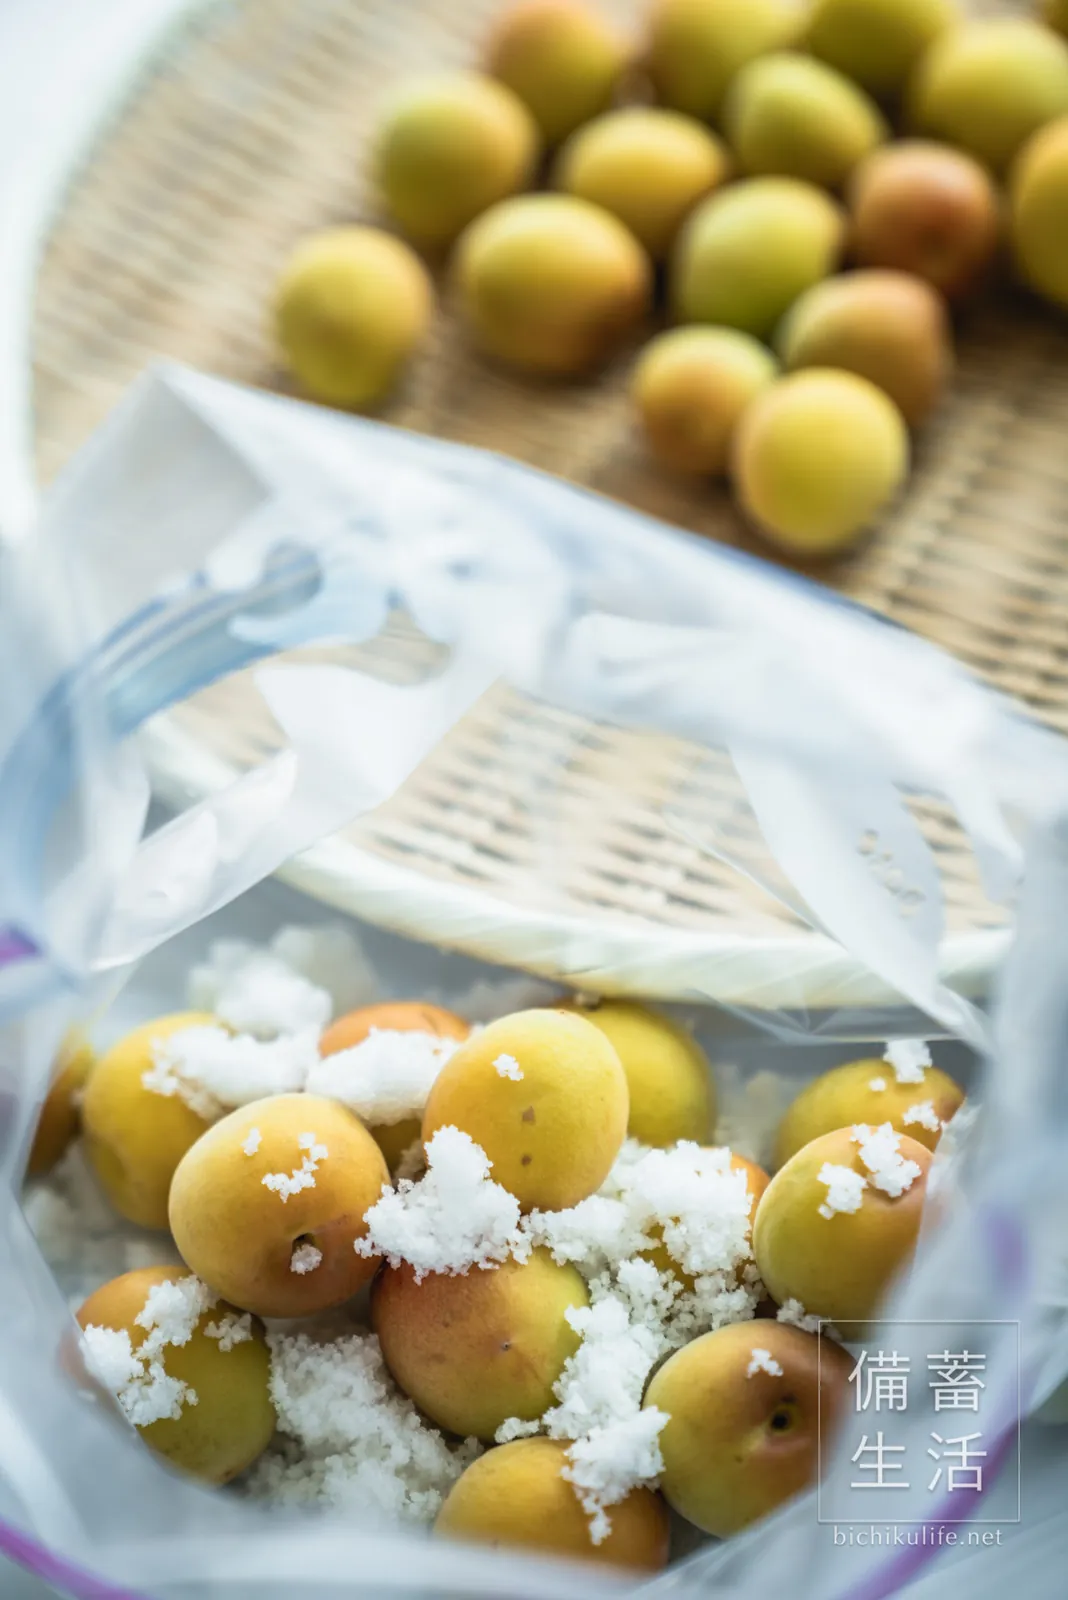
Fill the bag with ume and coarse salt. Add them alternately in 3–4 layers, ume first, then salt.
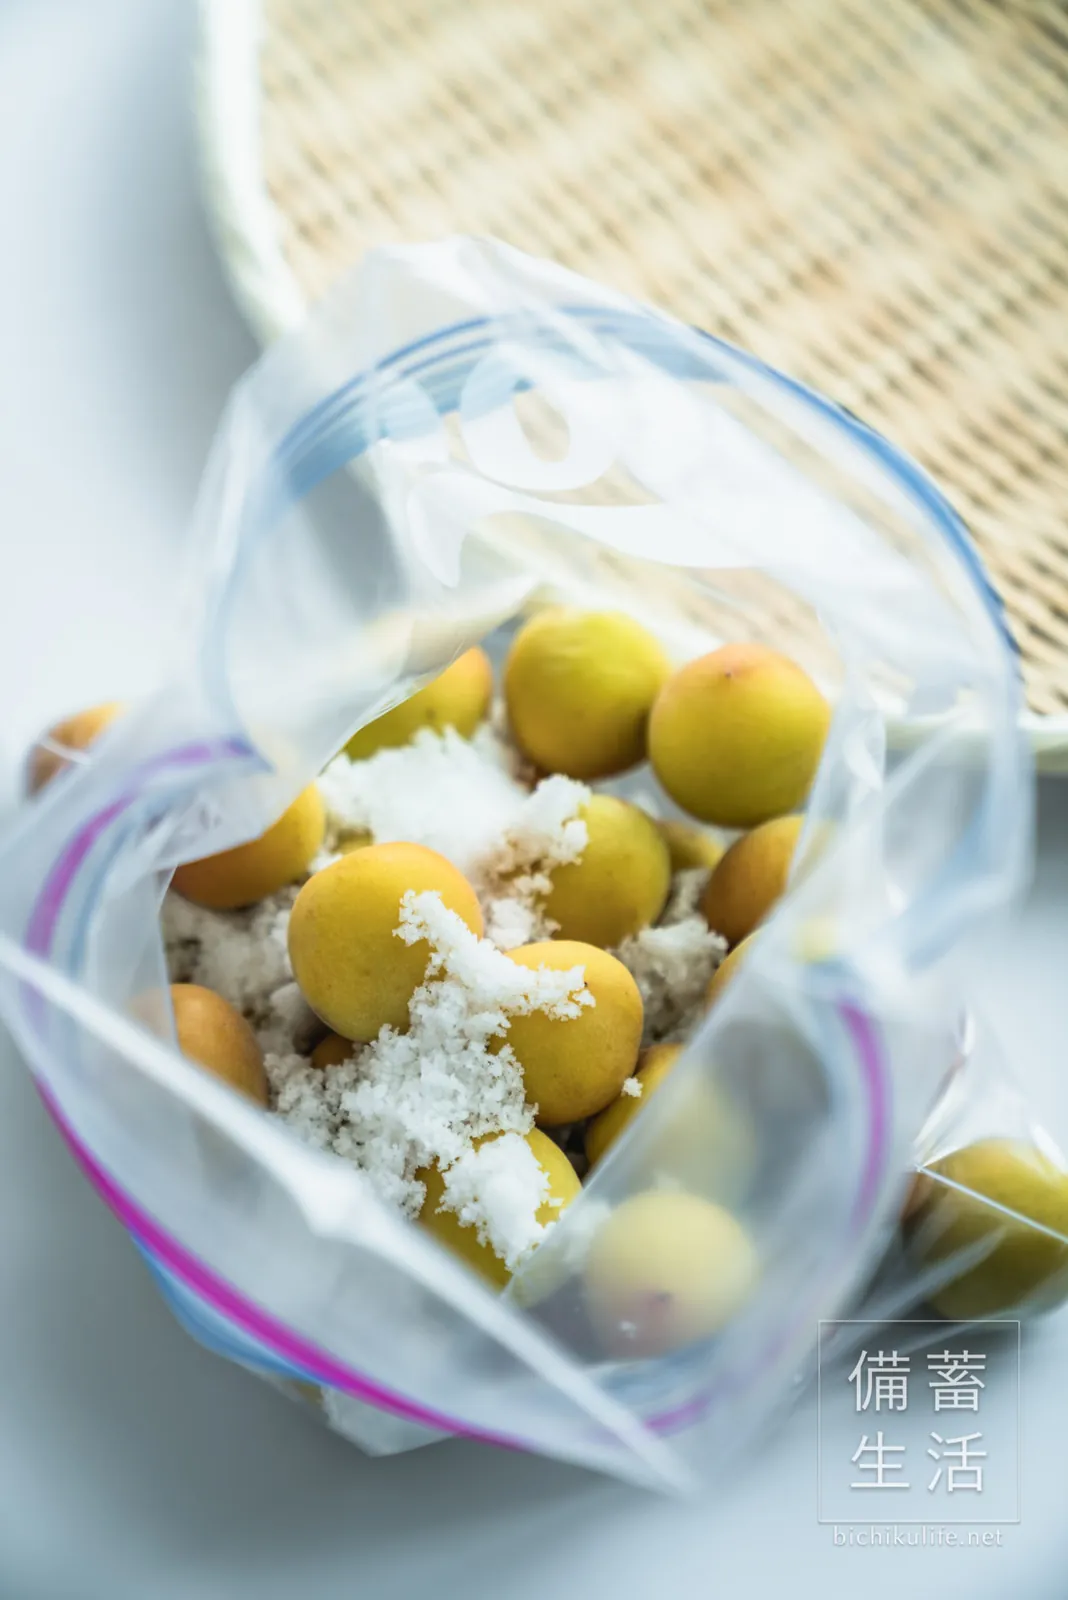
Mix the salt in and close the bag
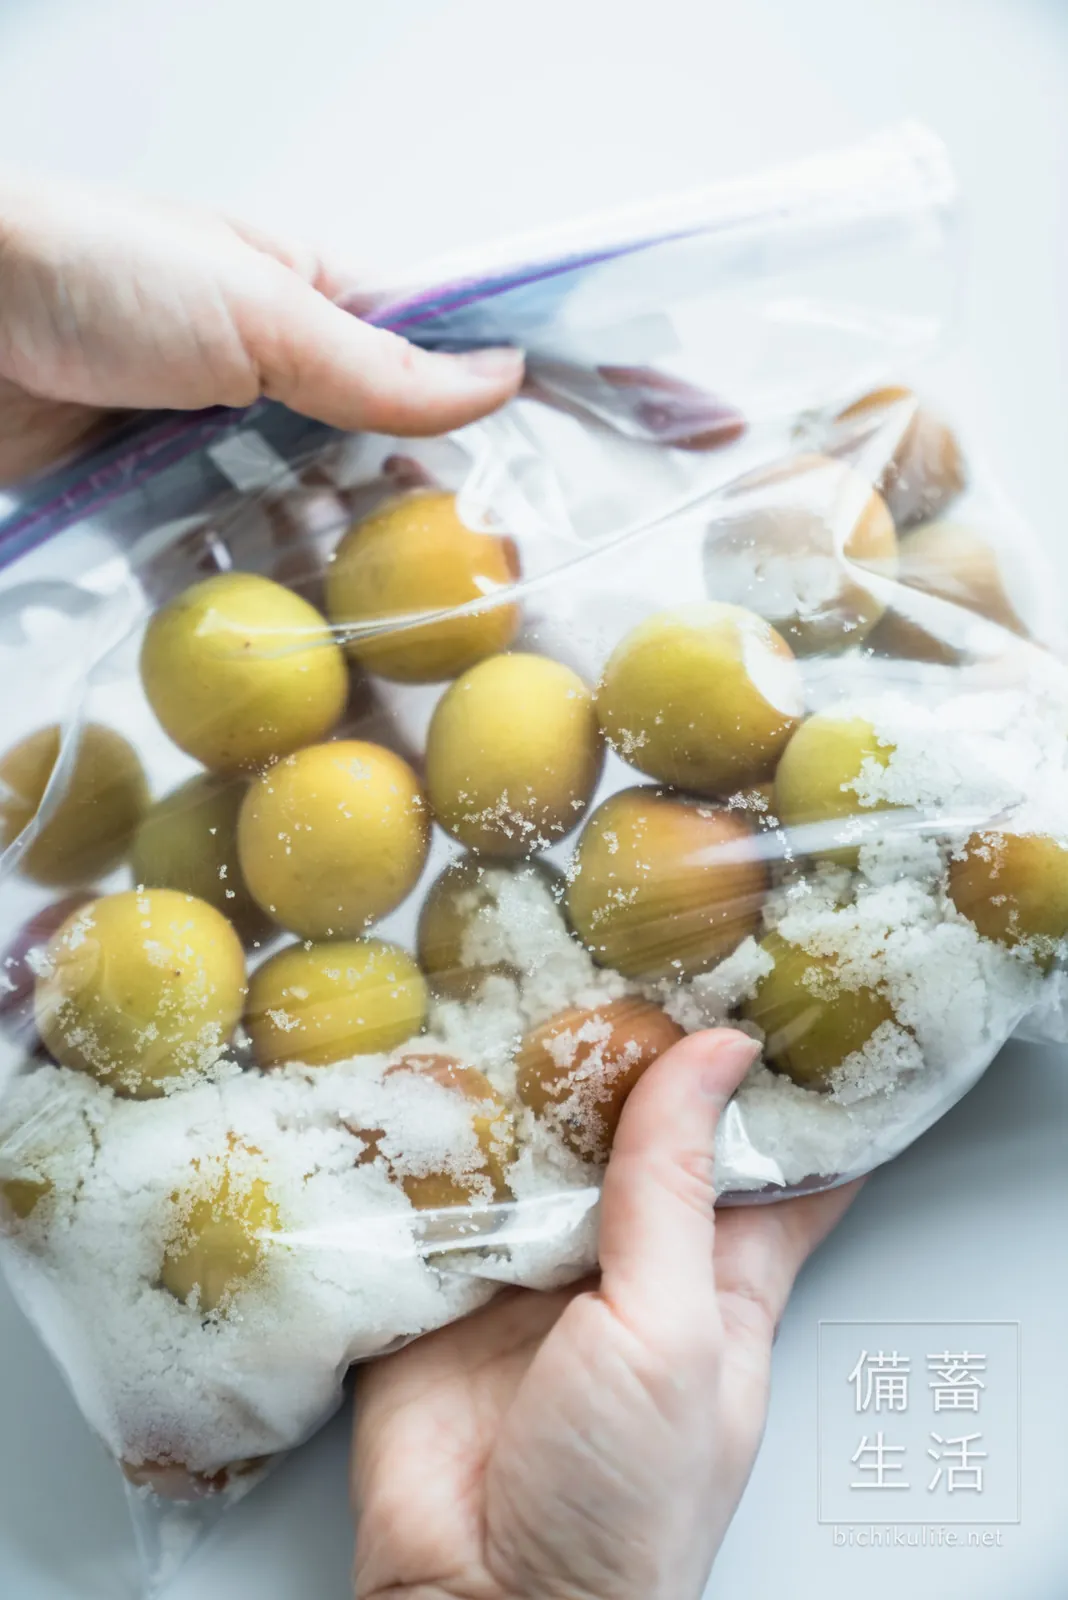
When everything is in, fold the top of the bag over 2–3 times so nothing spills, and shake gently so the salt coats the ume. Lay it flat, press out the air, and seal.
Add a weight
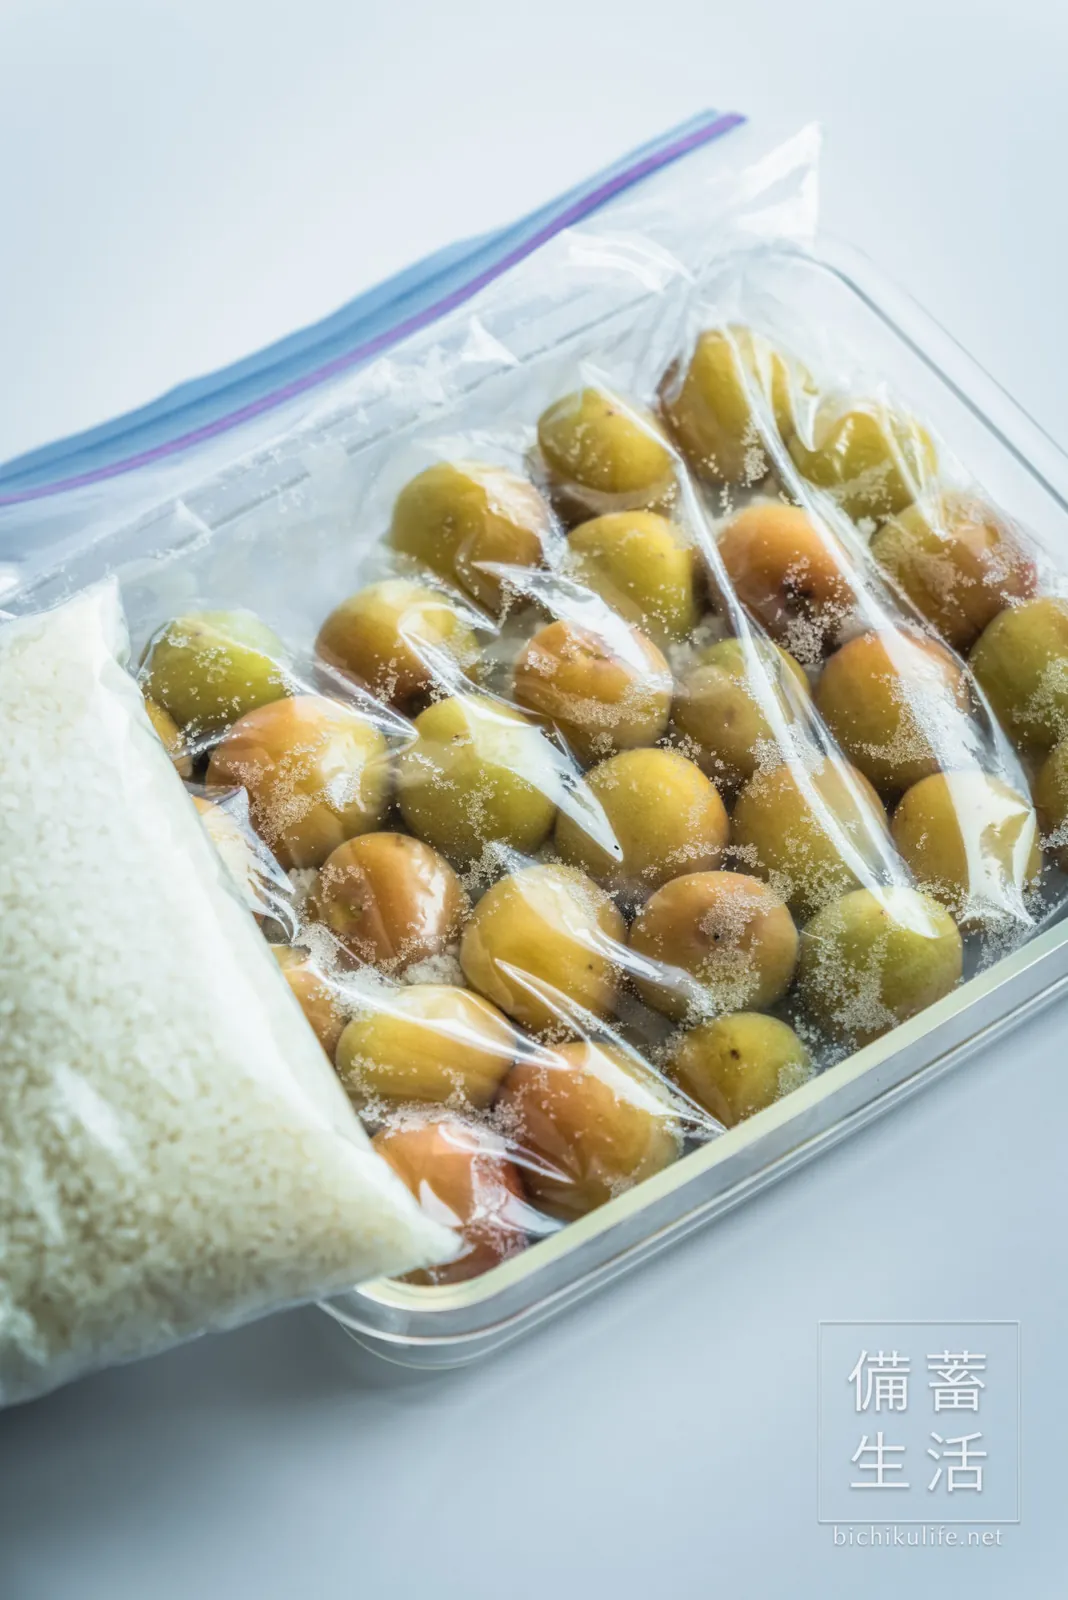
Lay the bag flat on a tray and put a 2 kg (4½ lb) weight on top. Anything you have at home will do: a bag of salt or rice, or bottles of water. Now wait for the umezu, the brine drawn out of the ume, to rise.
Until the brine rises
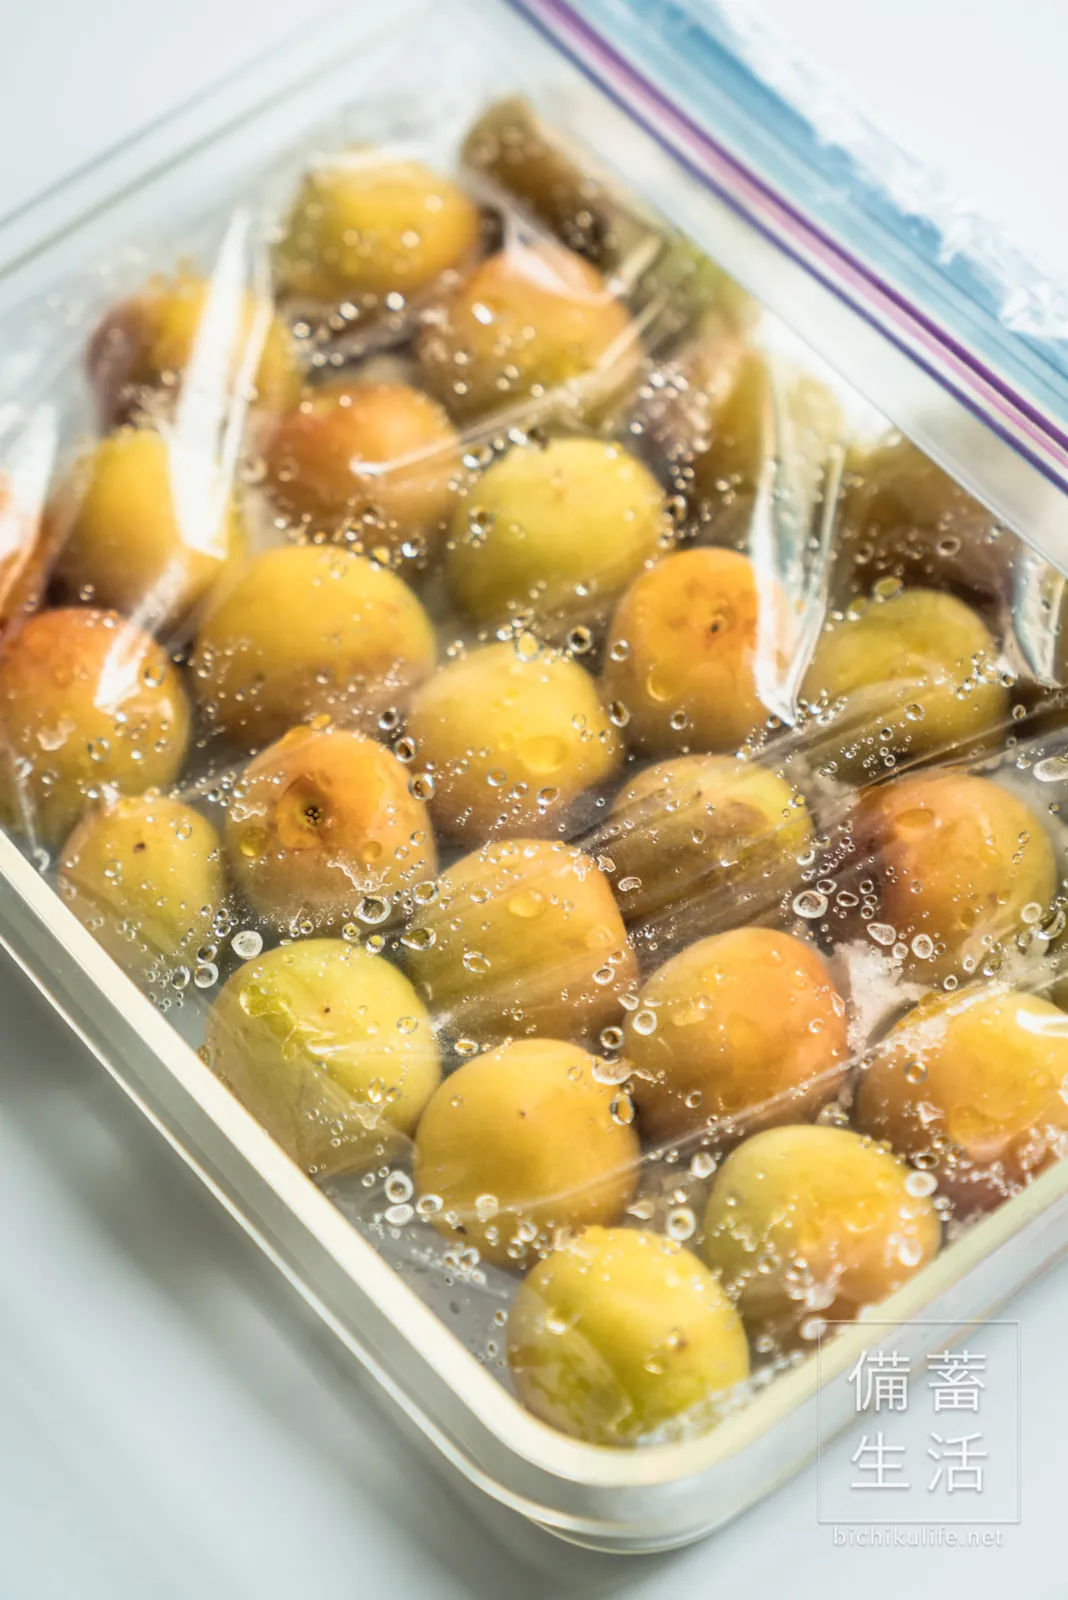
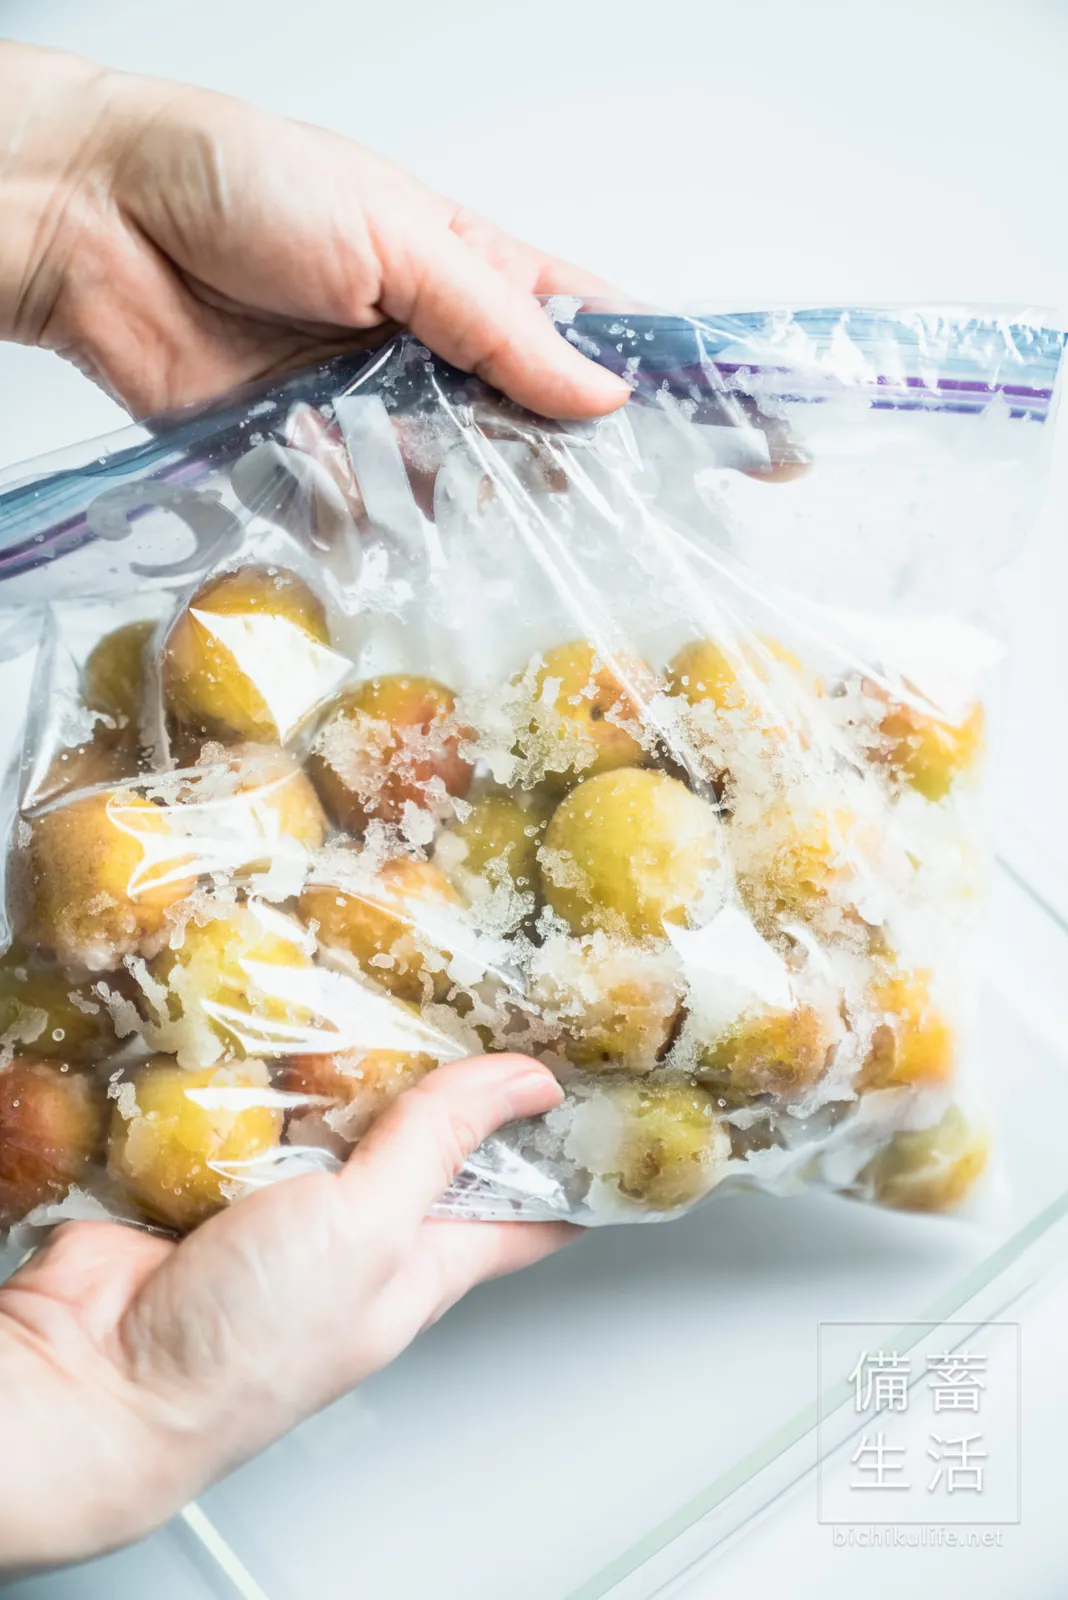
The next day. Until the brine has risen, massage the bag lightly 2–3 times a day to mix everything. When you put it back on the tray, turn it over and put the weight back on.
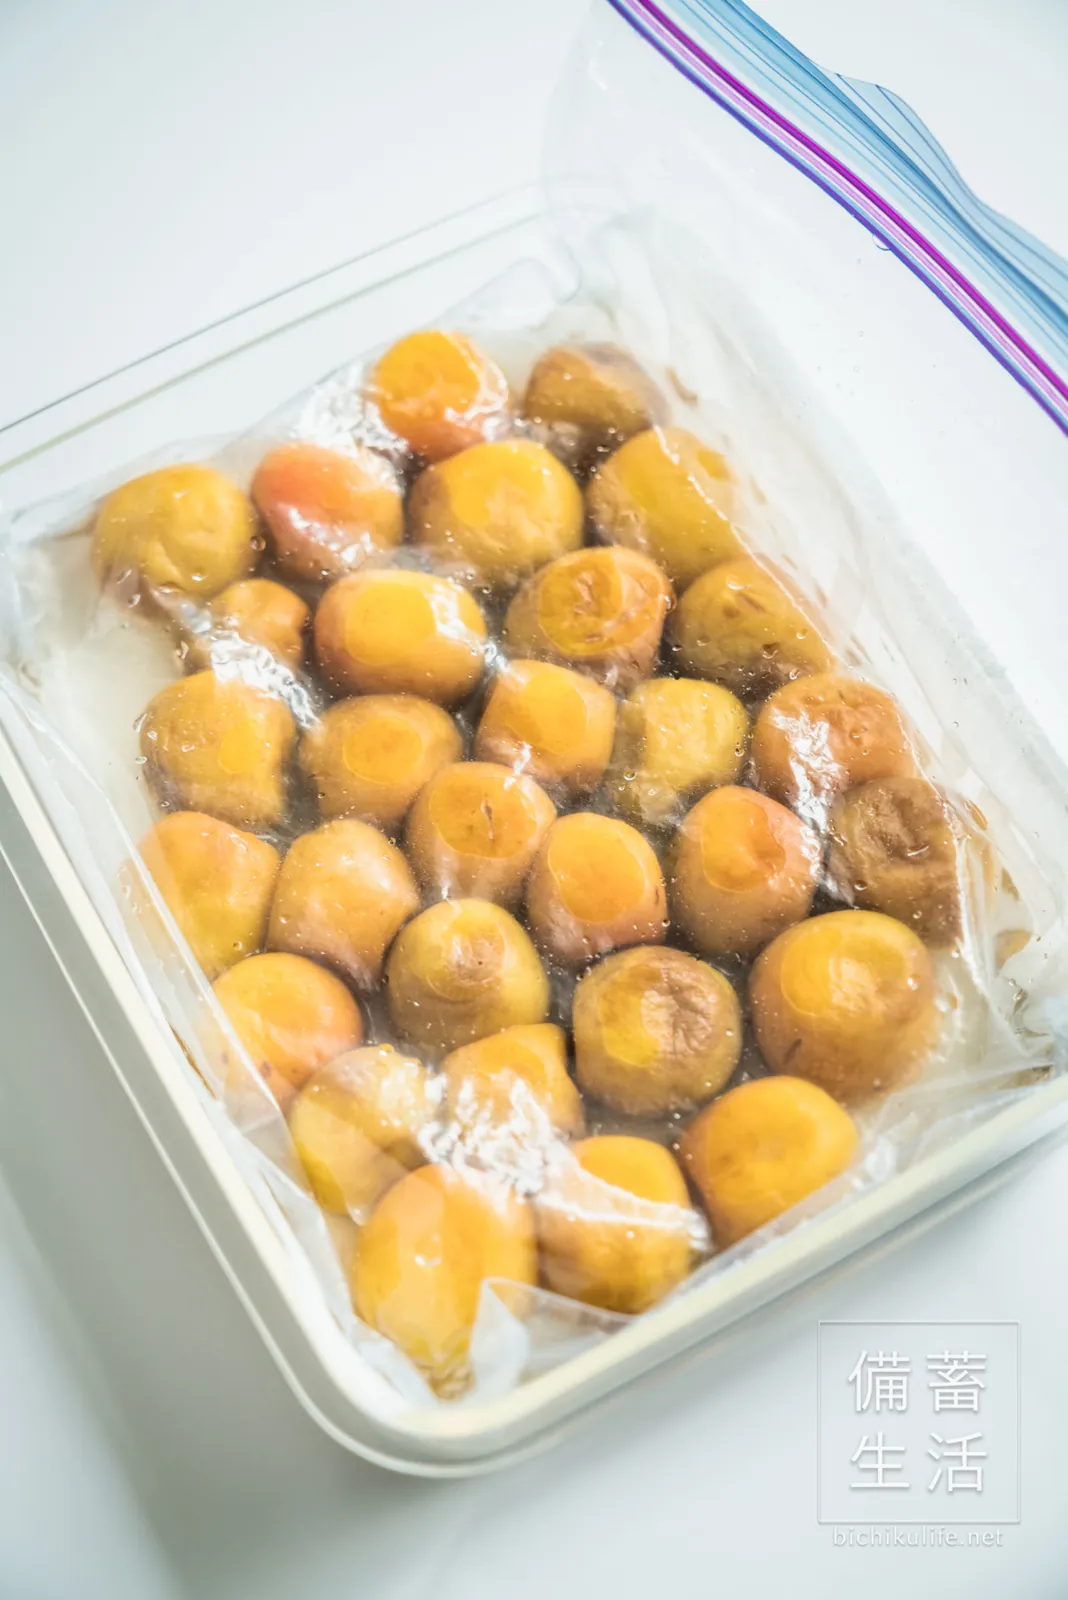
Day 2. The skins look moist and have turned a little reddish. You can see the brine slowly rising.
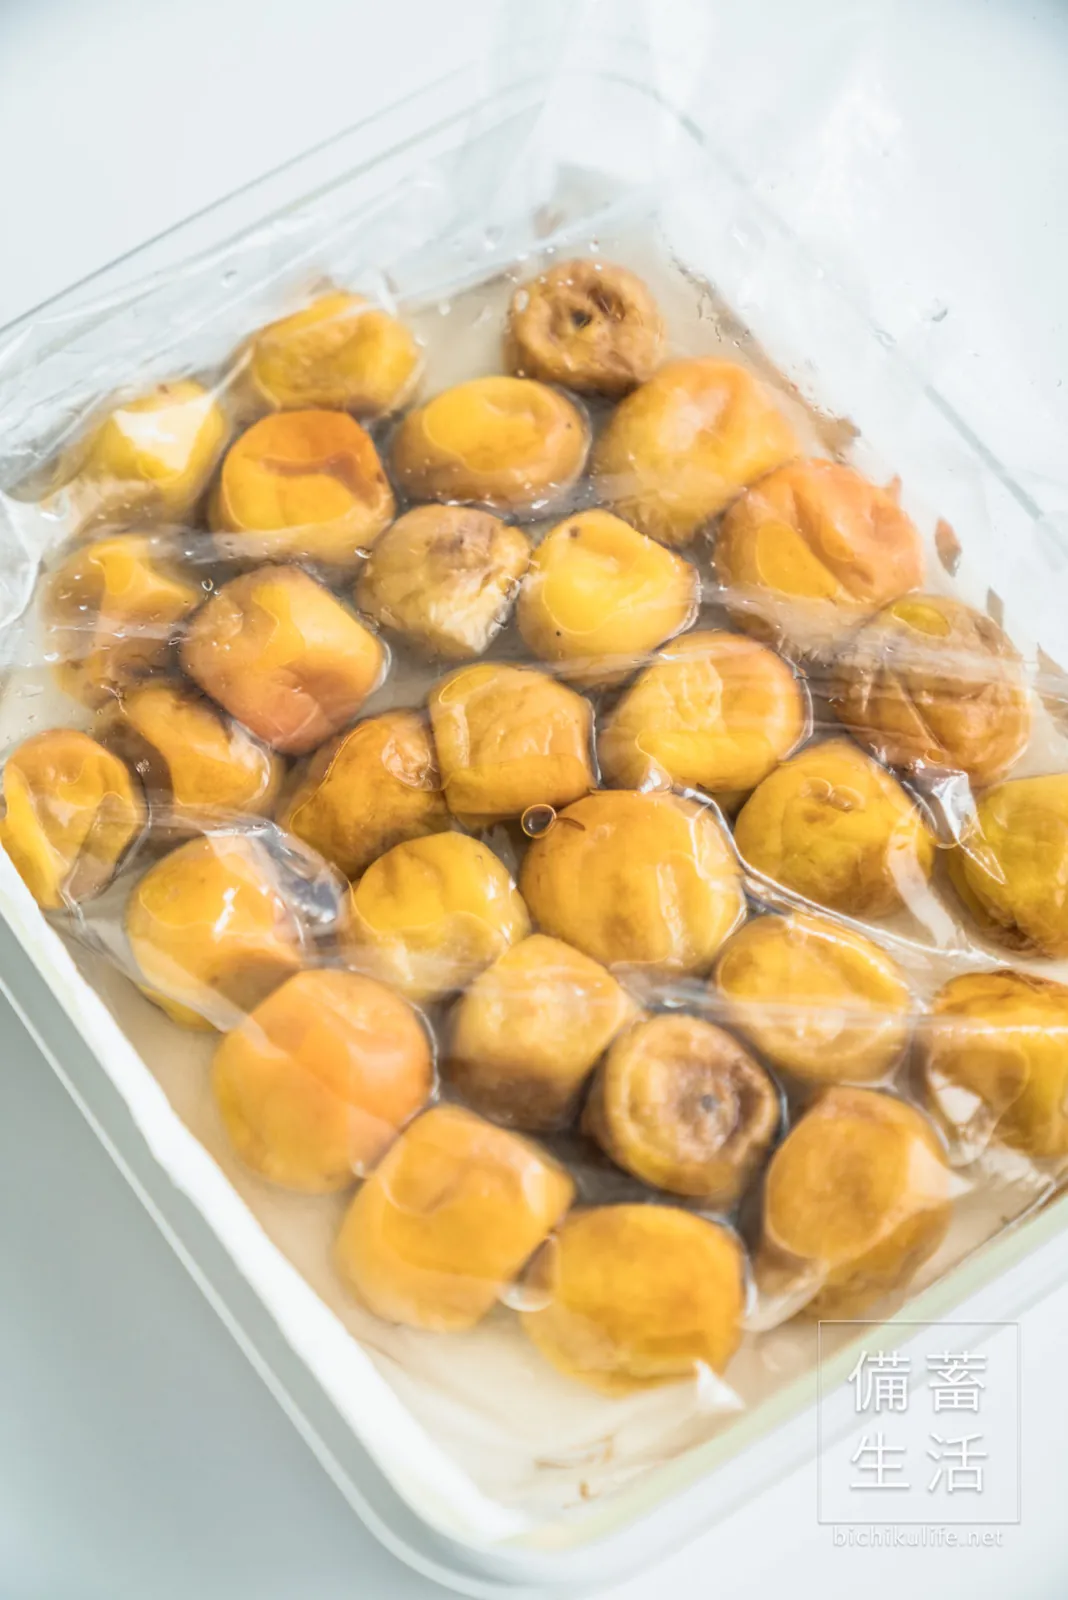
Day 3. The brine level has risen. There are still lumps of salt that haven’t dissolved, so we massaged the bag, turned it over, and waited one more day.
Once there’s enough brine to cover the ume, add the red shiso.
Adding the red shiso
Prepare the red shiso and salt
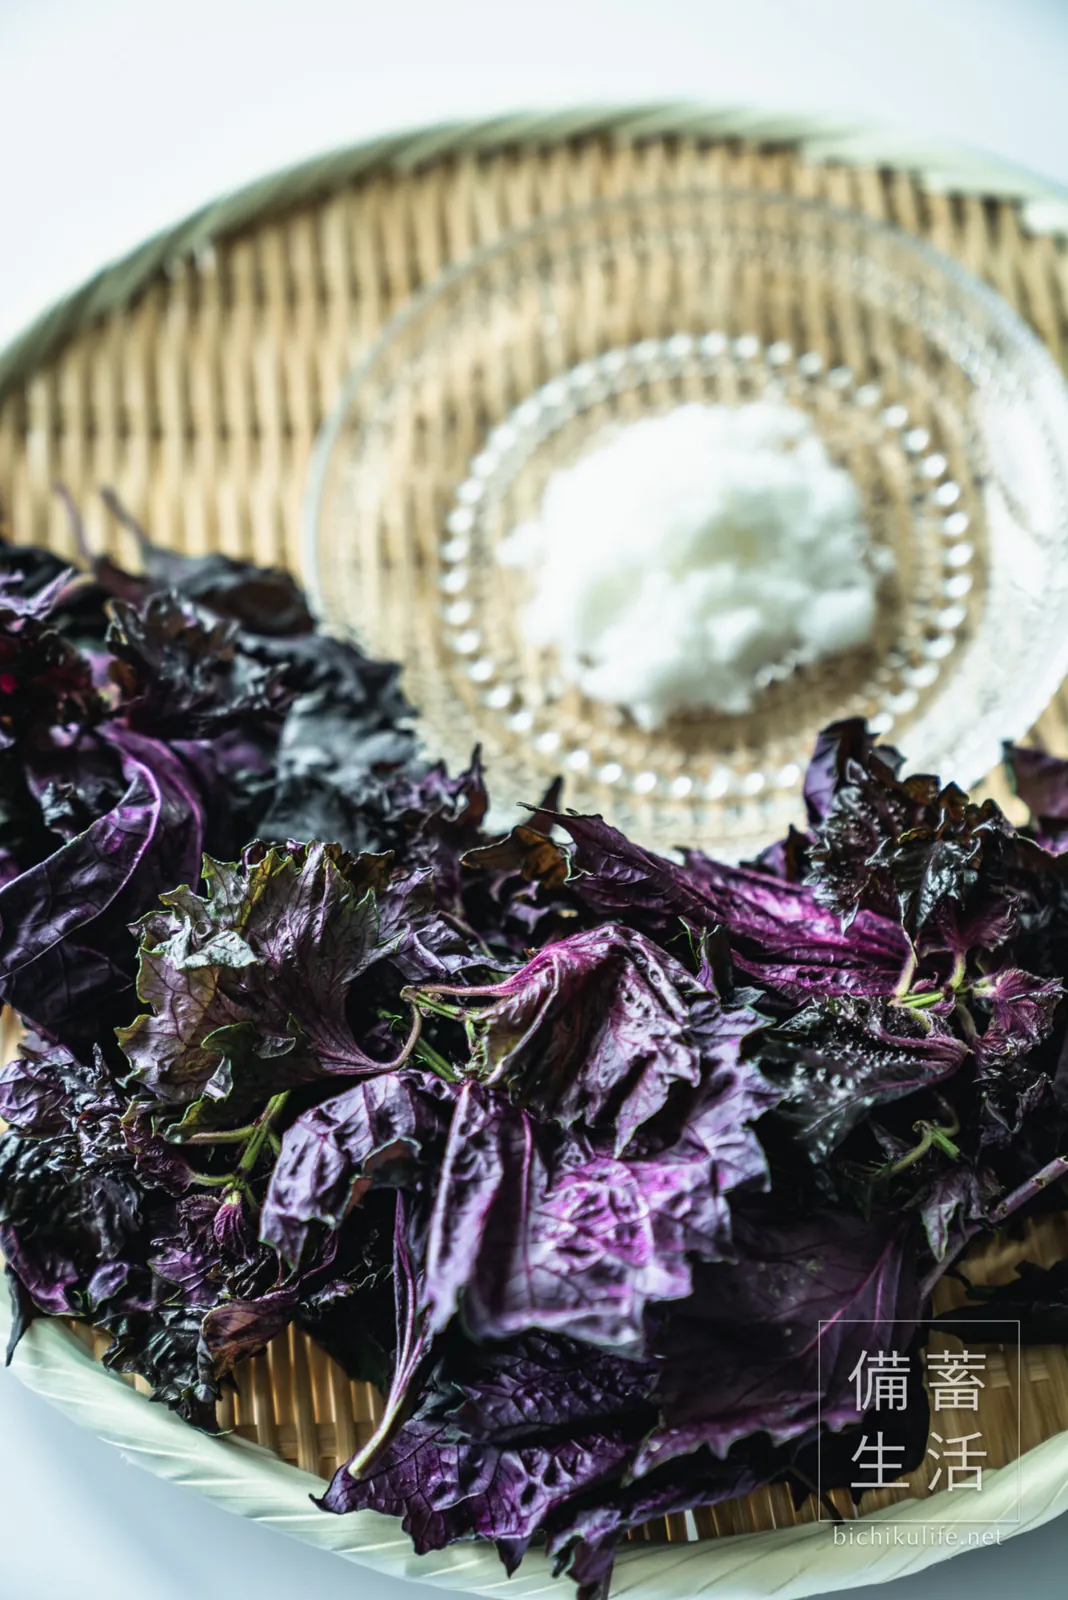
Four days after salting the ume, the brine had risen well, so it was time for the red shiso. Get the red shiso and coarse salt ready.
Remove the stems
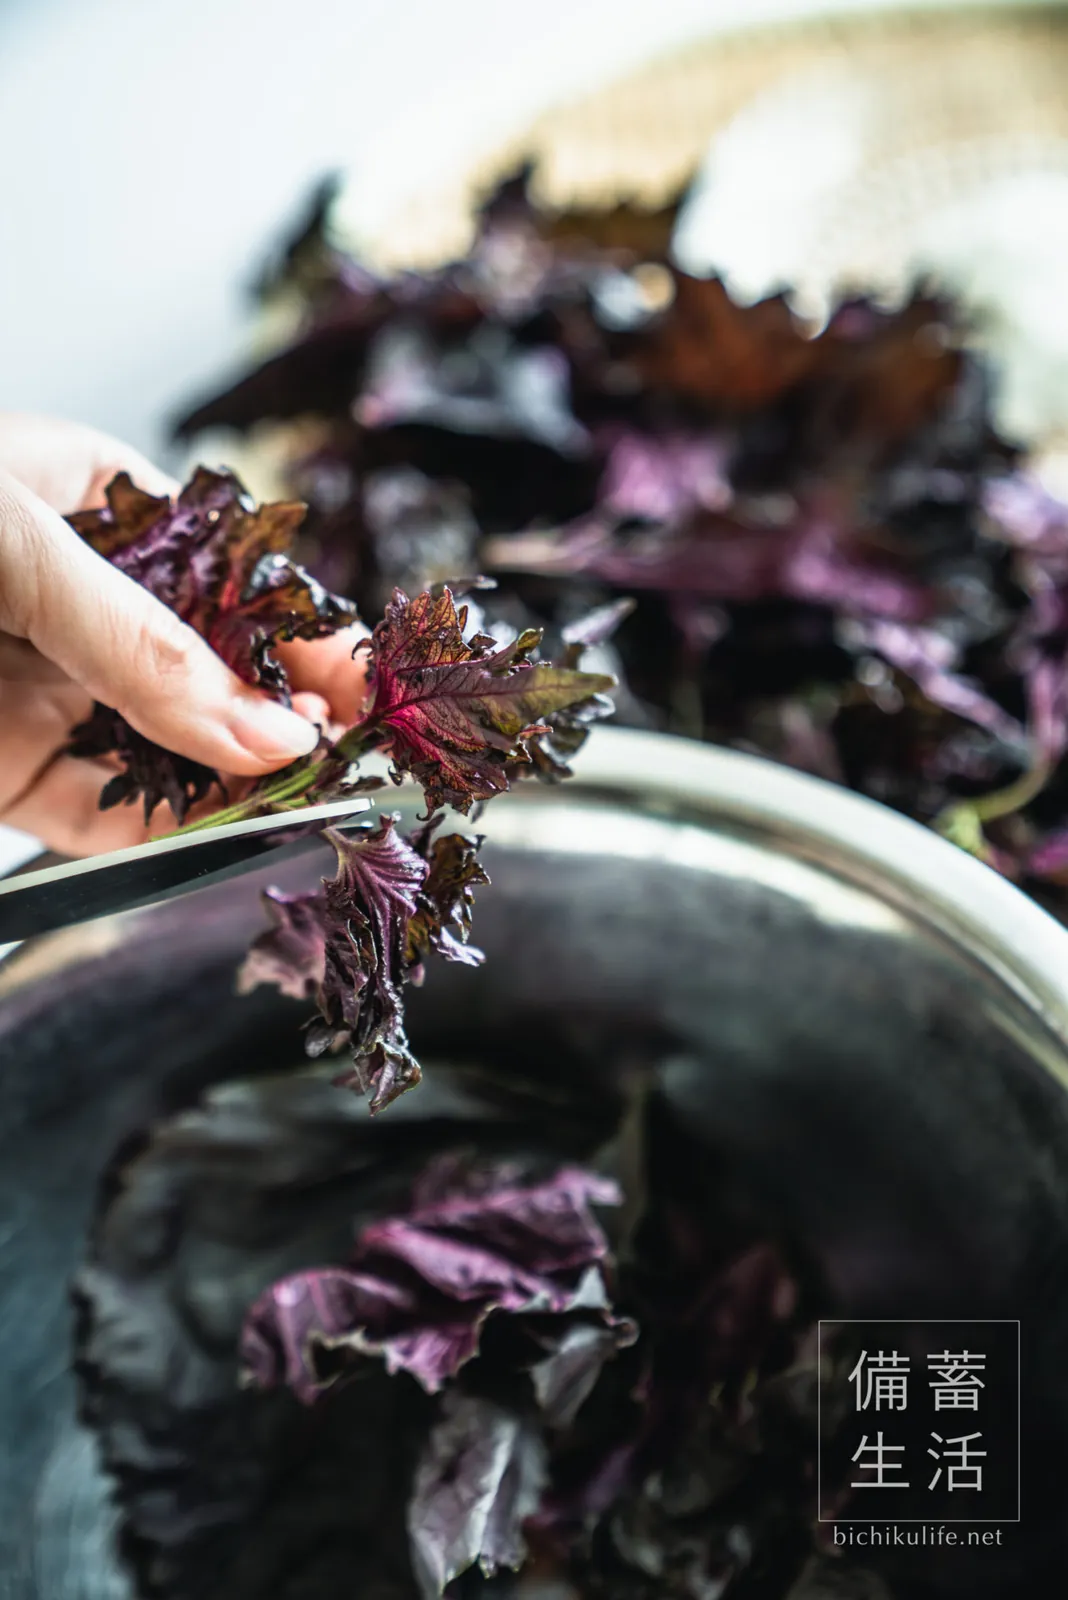
Only the soft leaves are pickled, so cut off the tough stems with kitchen scissors.
Wash the red shiso
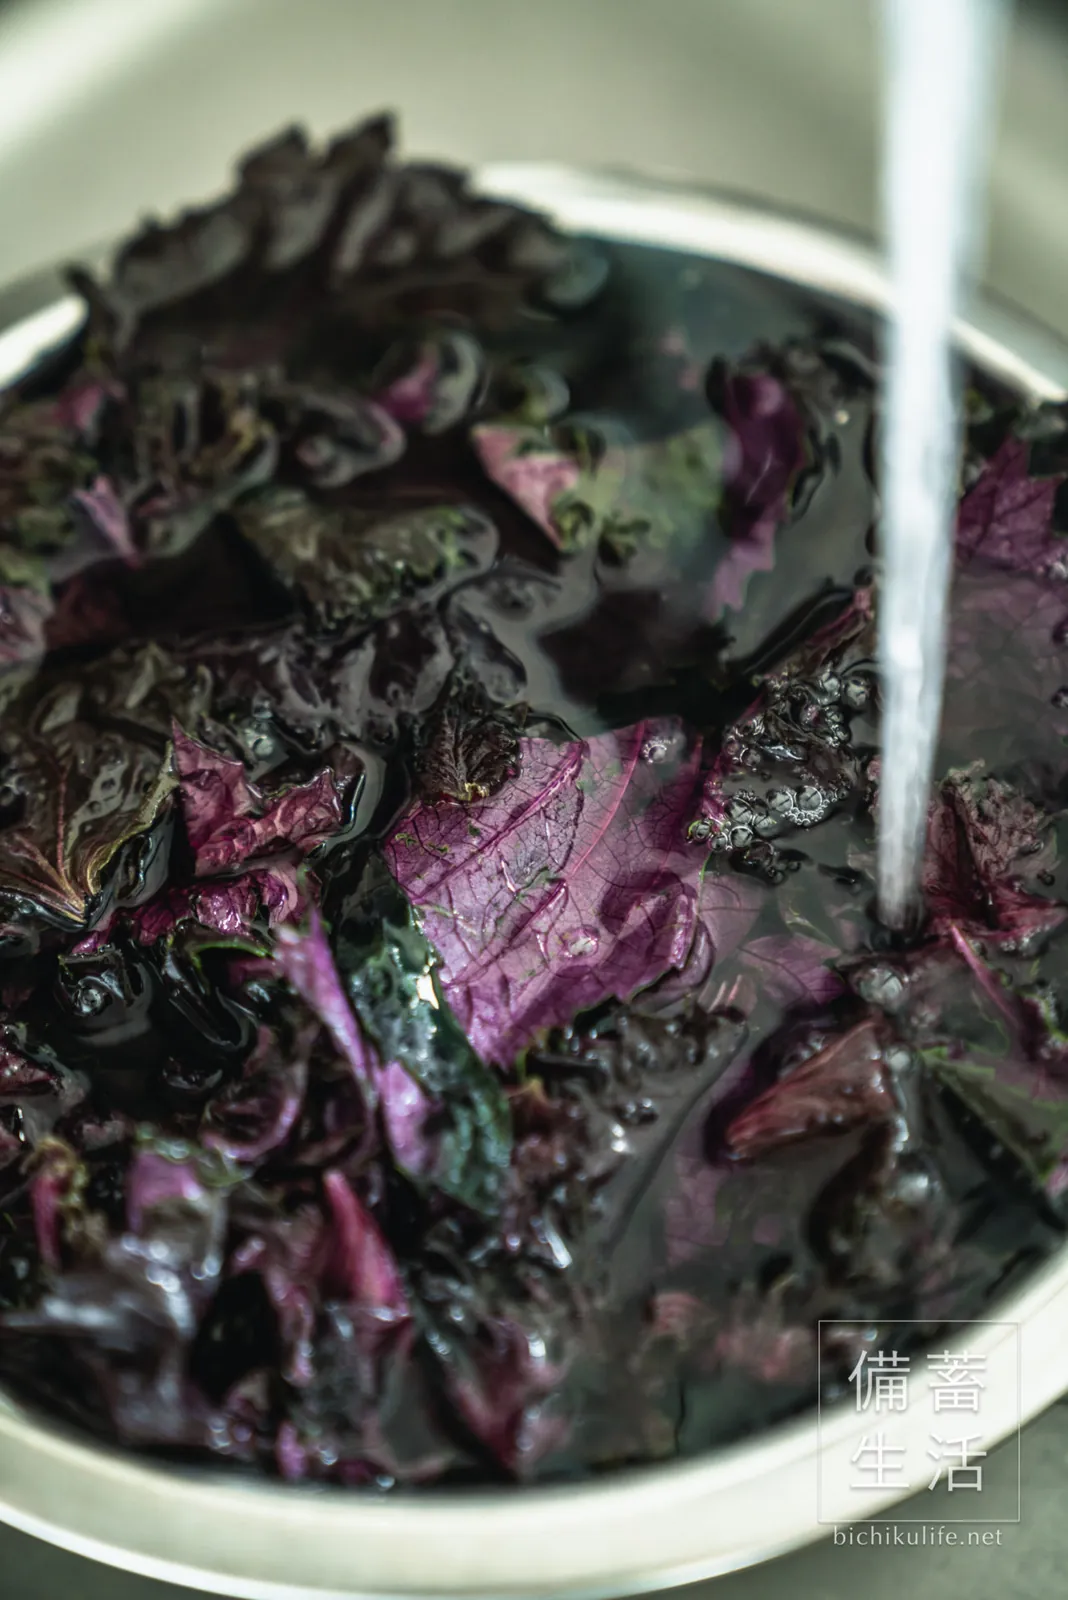
Put the leaves in a bowl and wash off the dirt in plenty of water, rubbing them gently. Drain in a colander and remove as much water as you can.
Remove the bitter juice (first time)
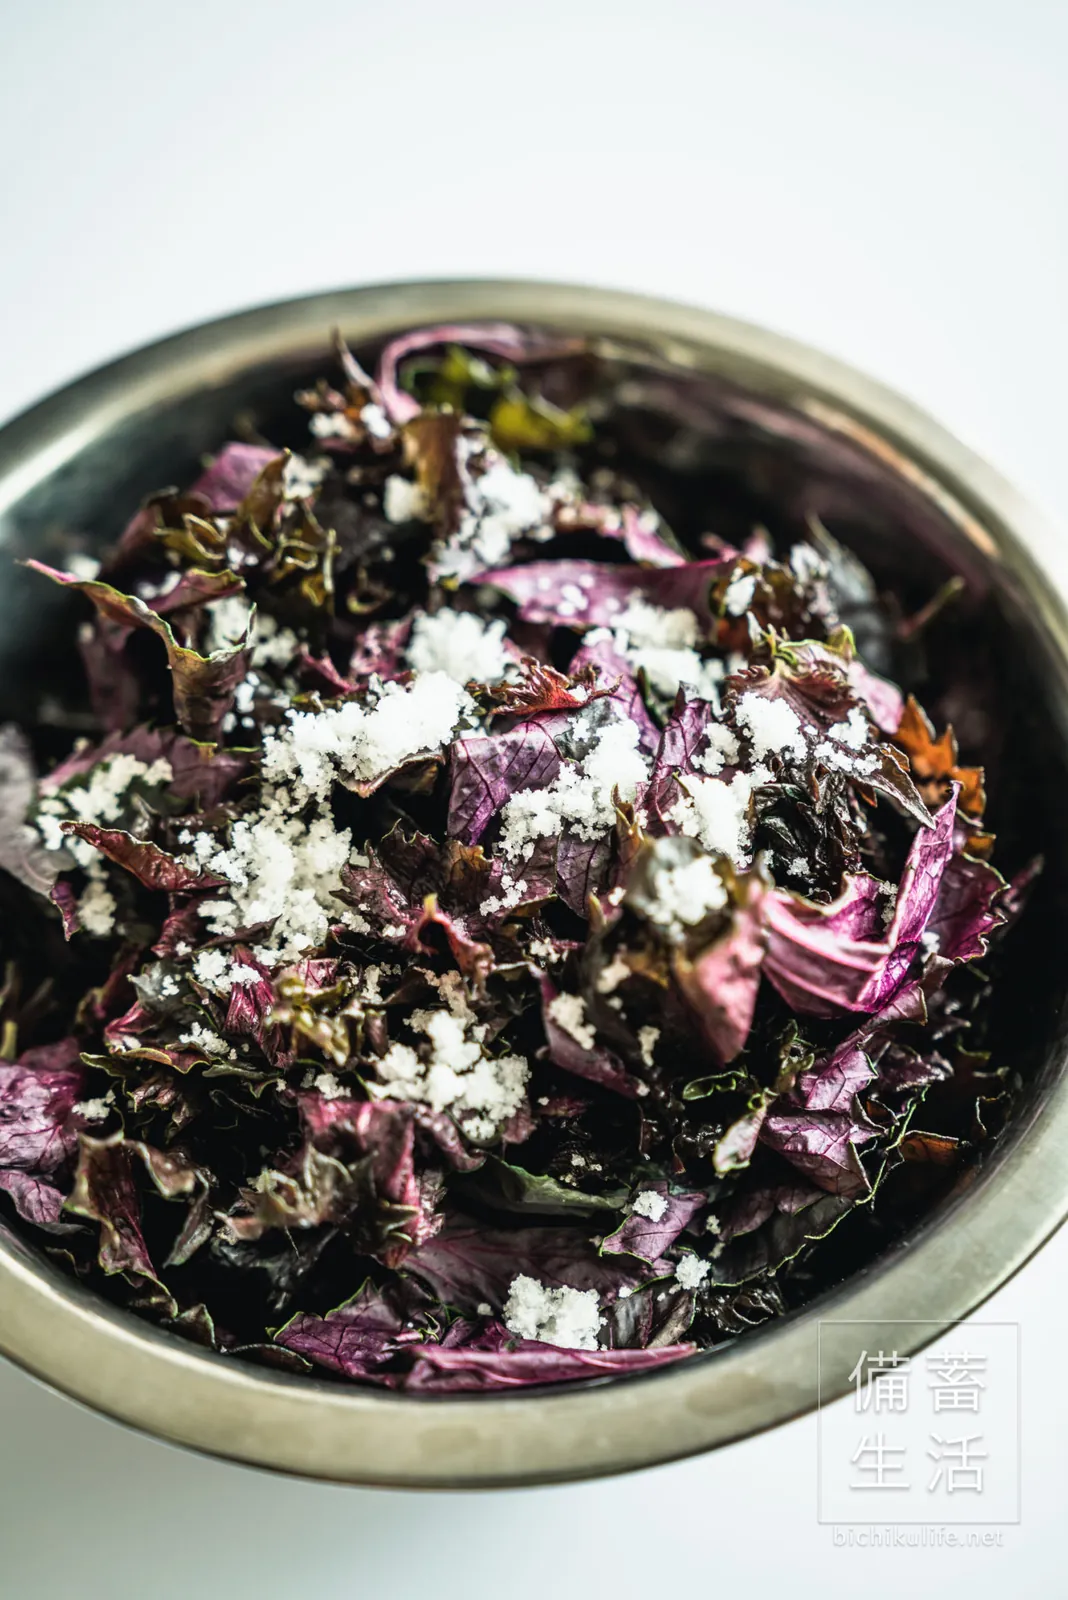
Red shiso releases a dark, bitter juice called aku. You remove it with the salt, in two rounds. First, sprinkle half the salt over all the leaves and rub it in well by hand.
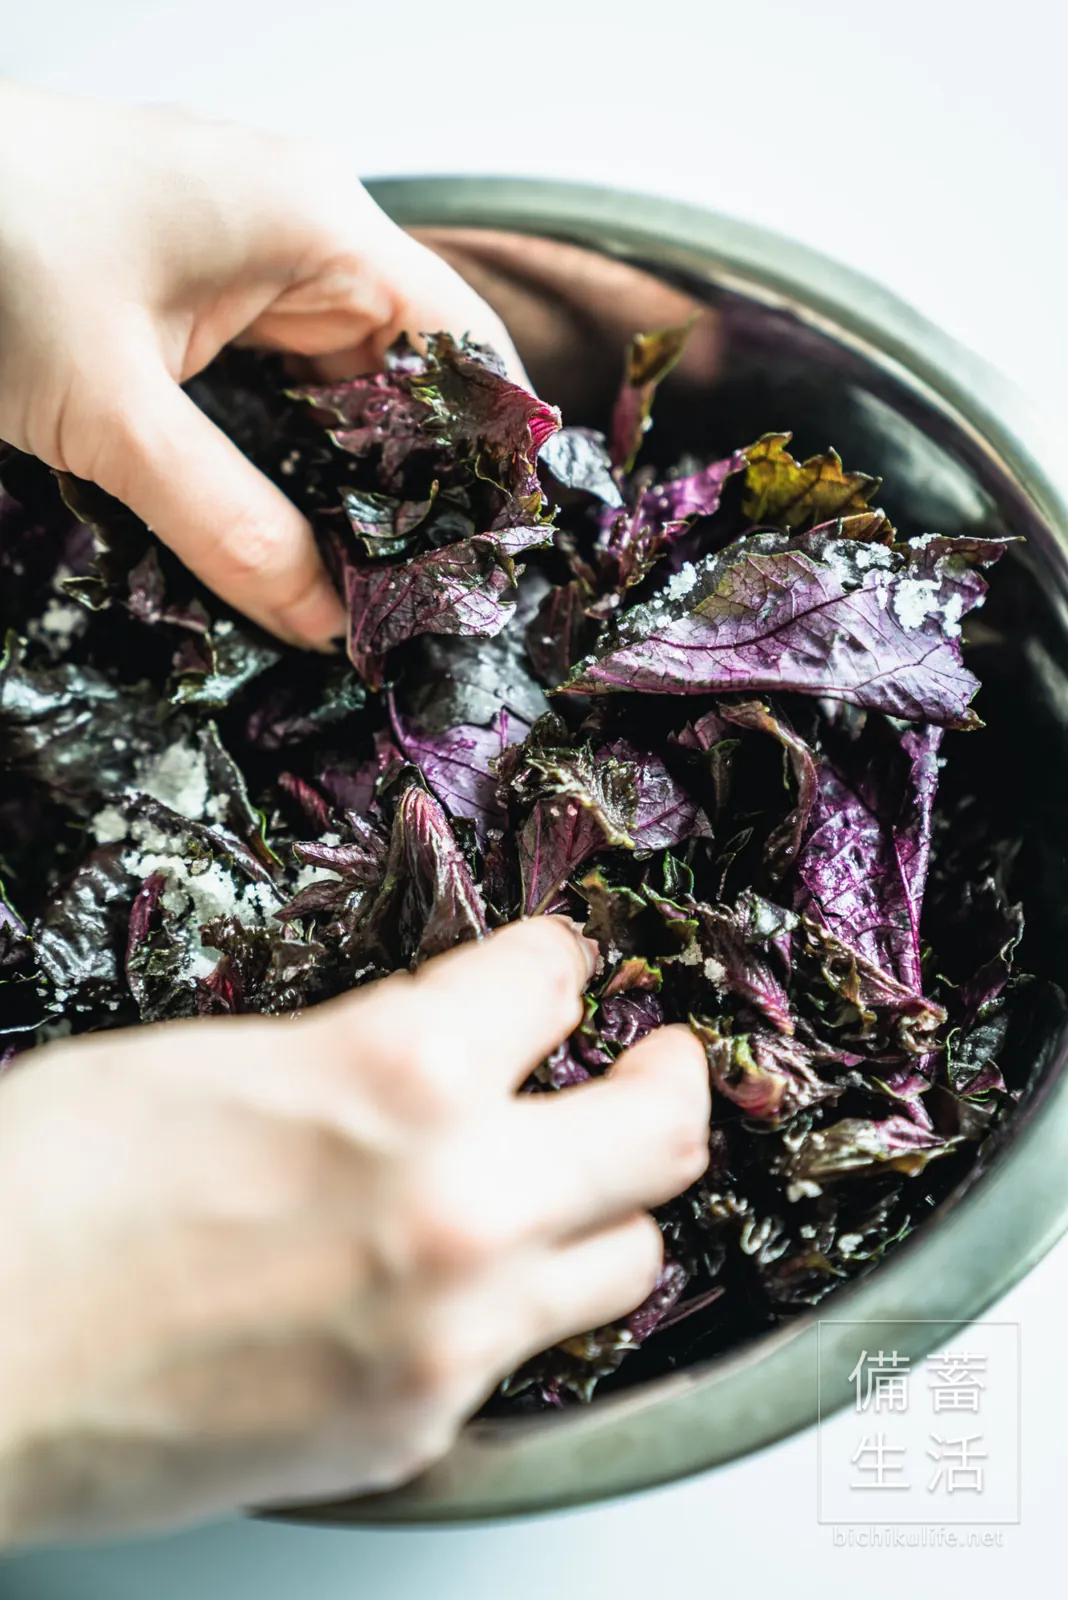
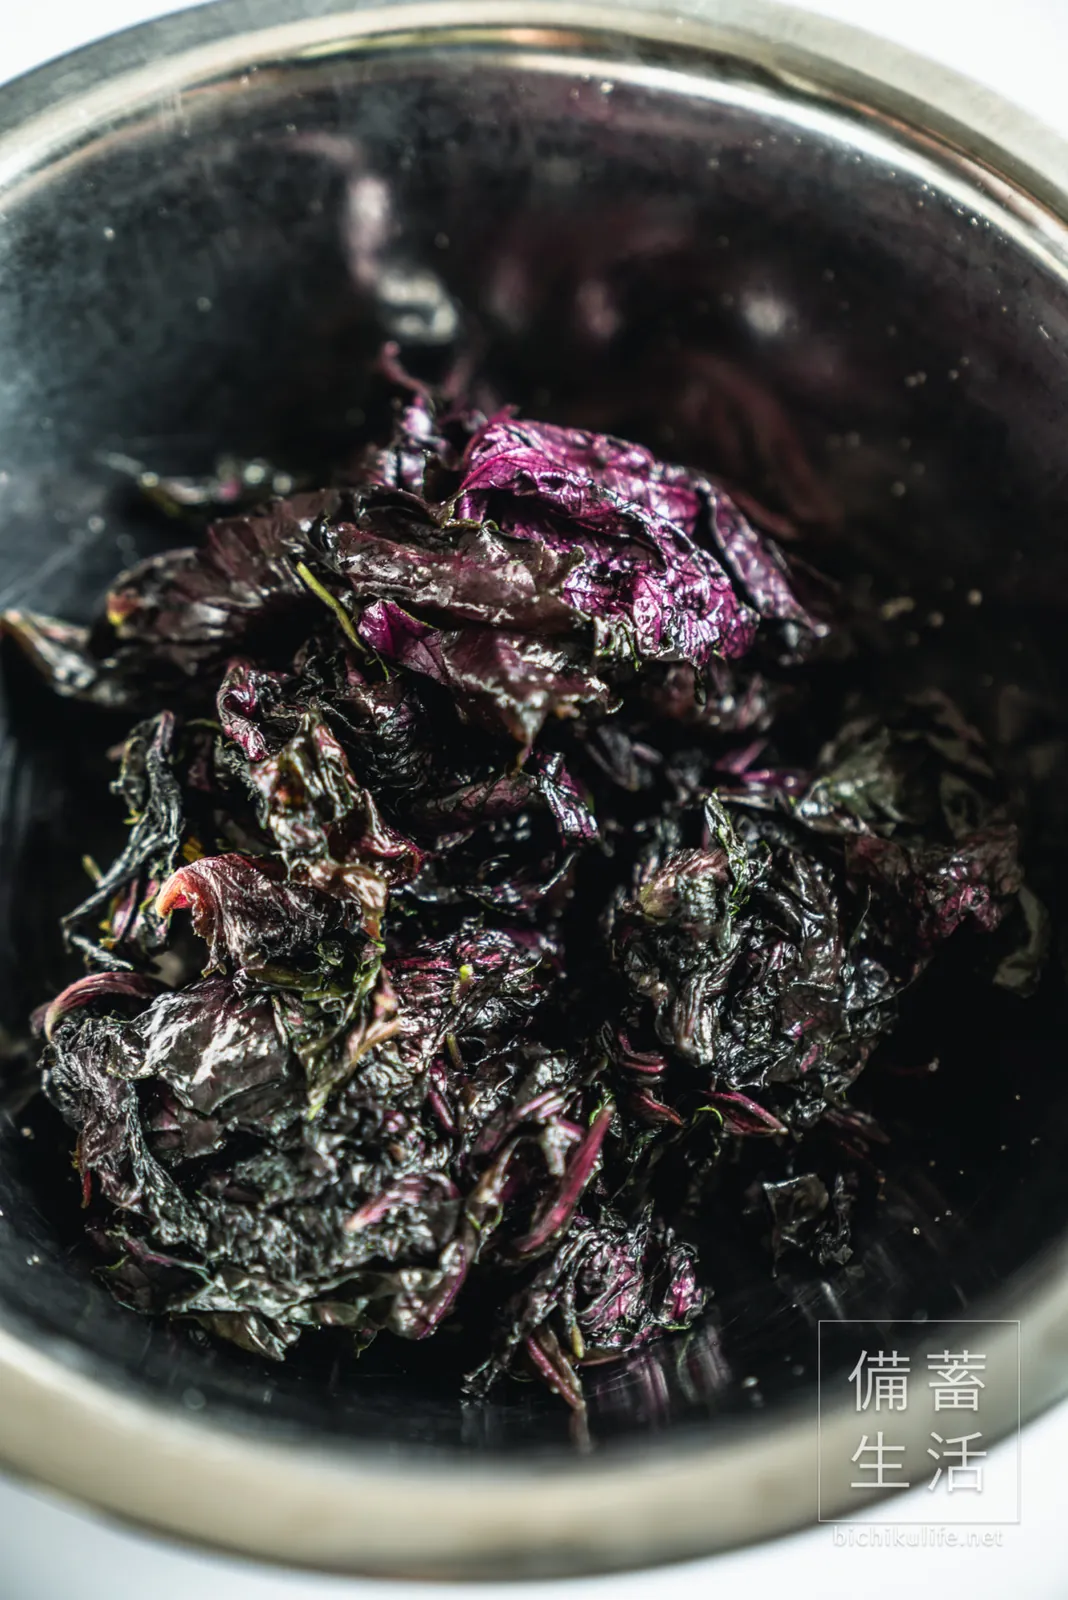
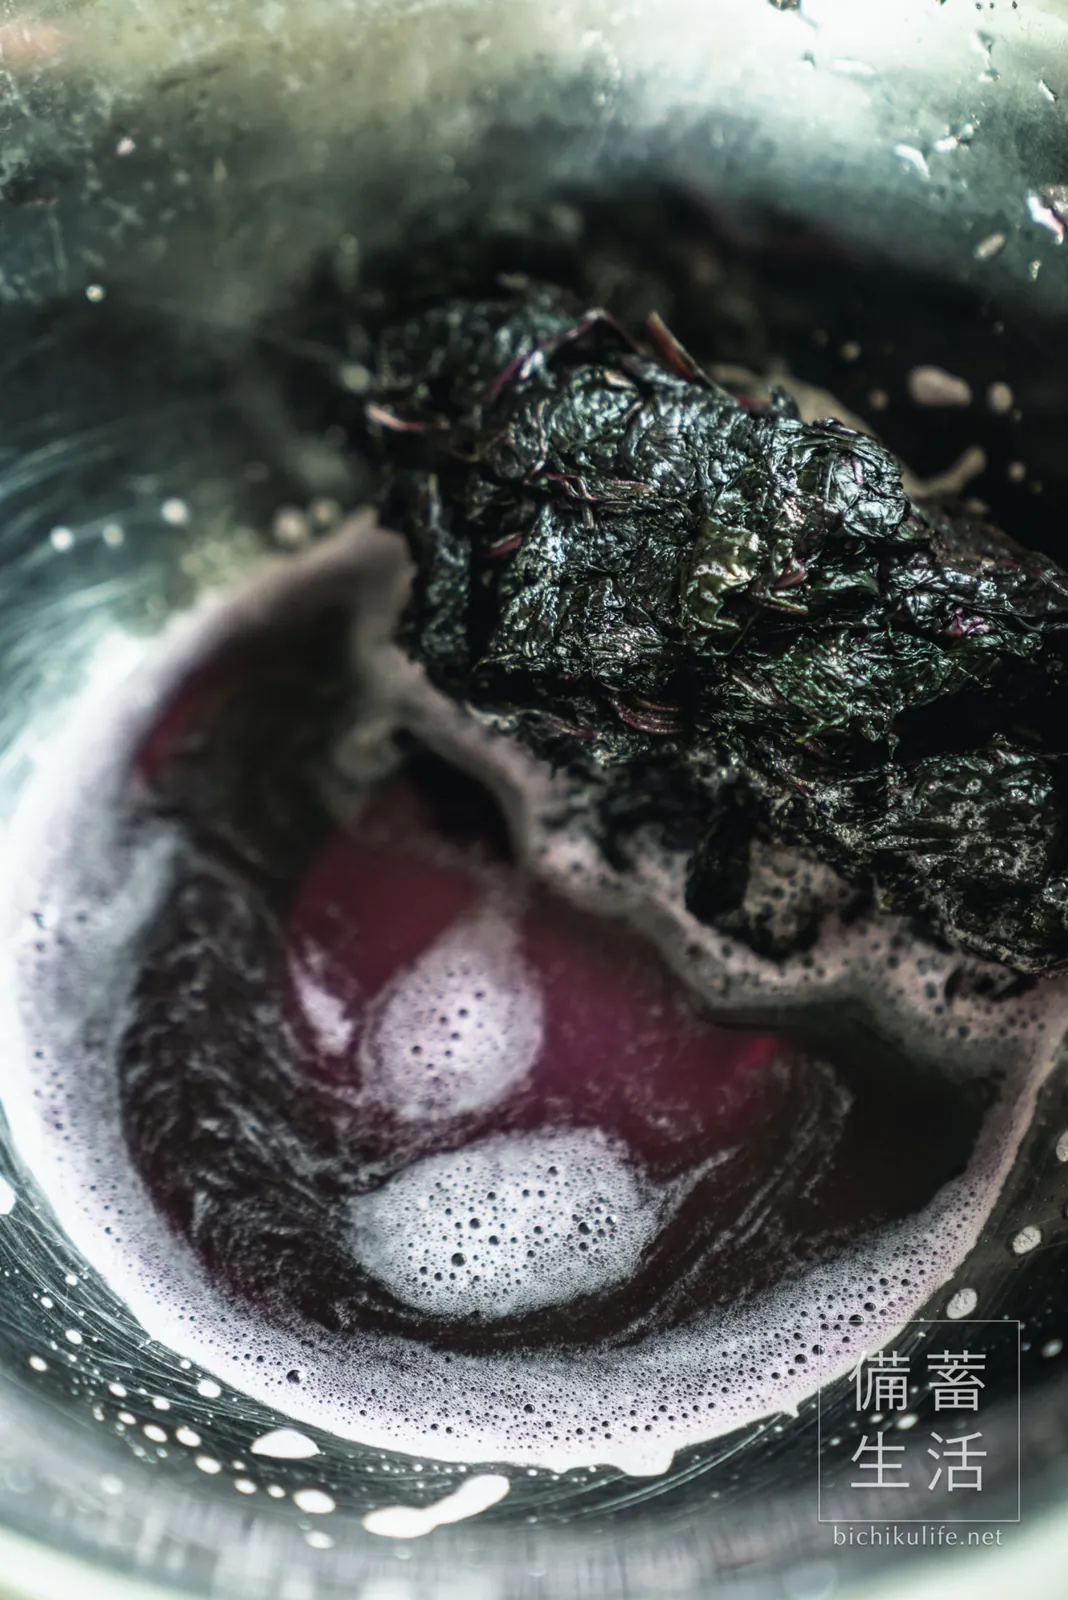
Rub well and dark juice comes out. Squeeze the leaves hard and throw the juice away.
Remove the bitter juice (second time)
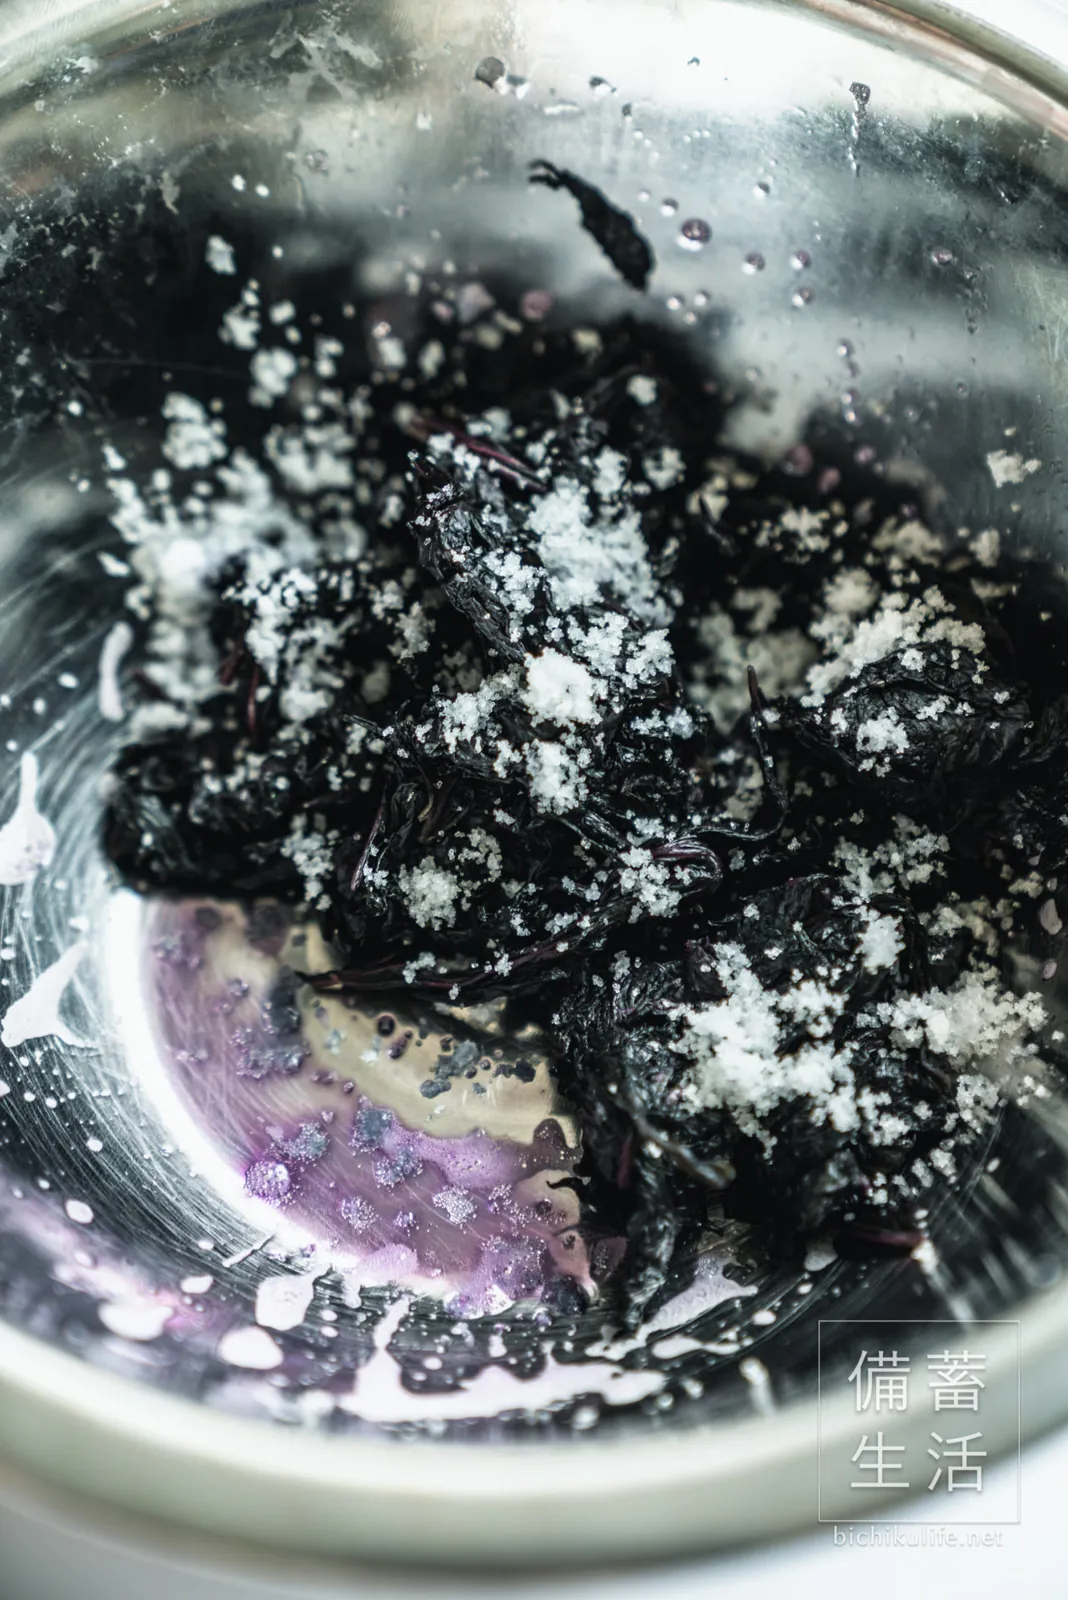
Sprinkle on the rest of the salt and rub it in well again. Squeeze hard and throw away the juice.
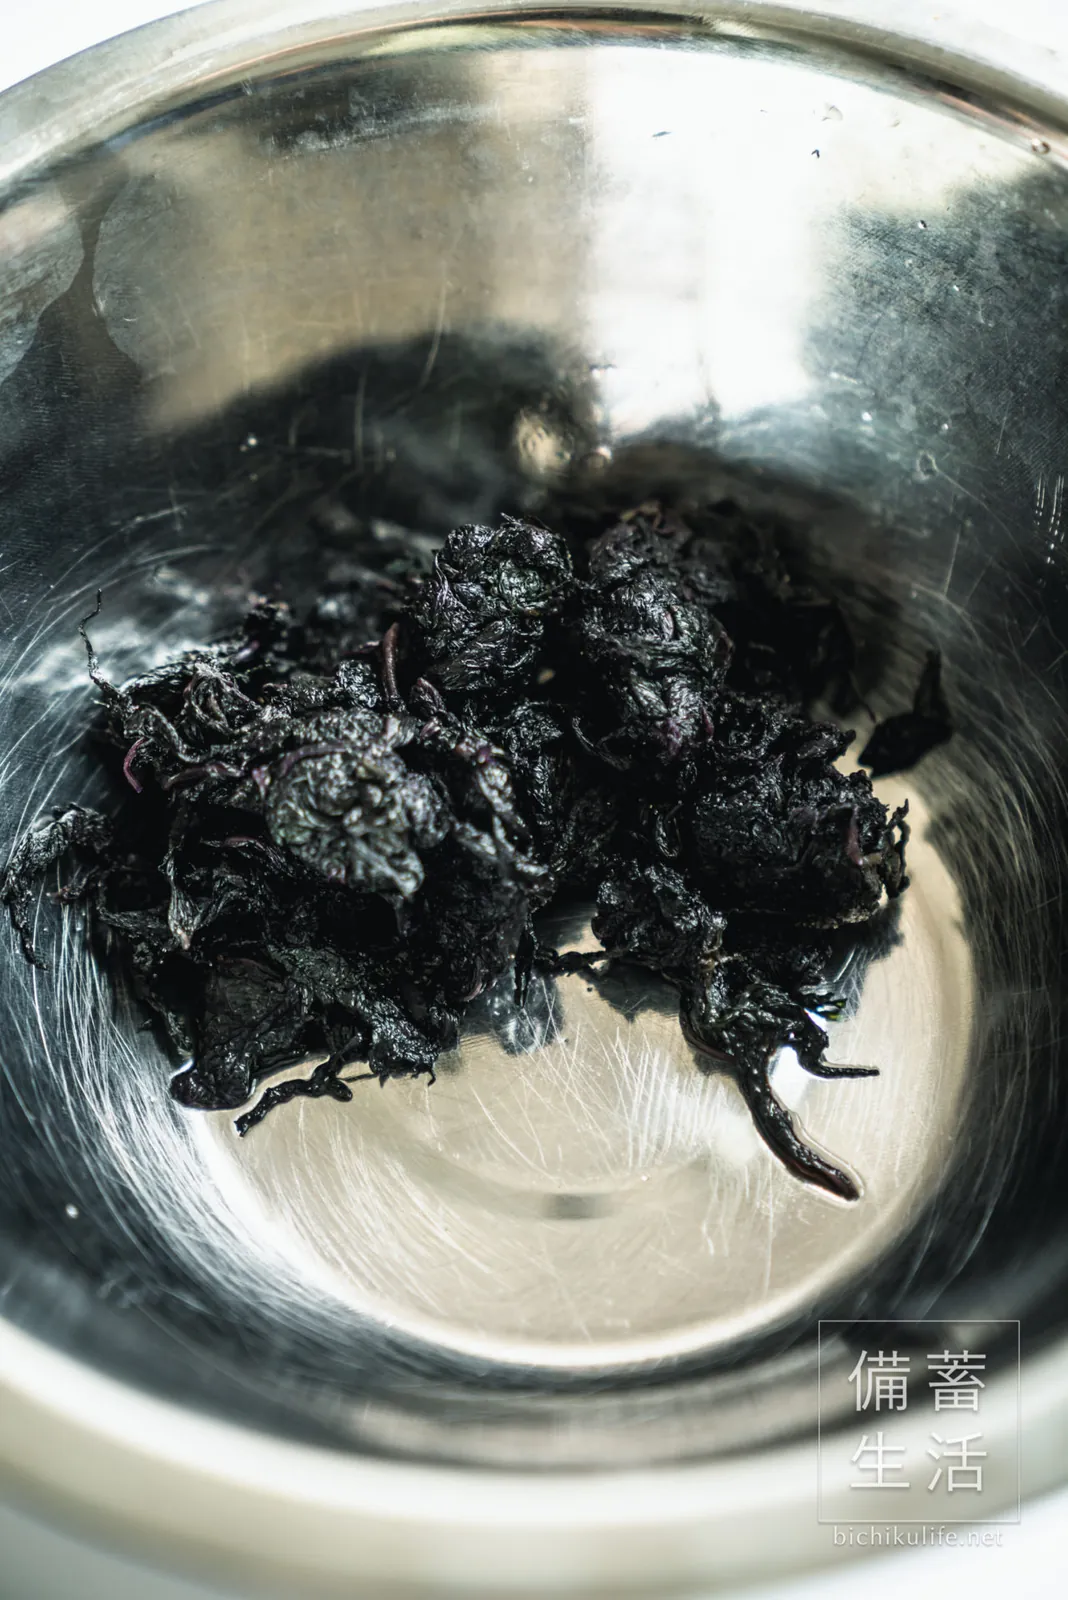
Pour brine over the red shiso
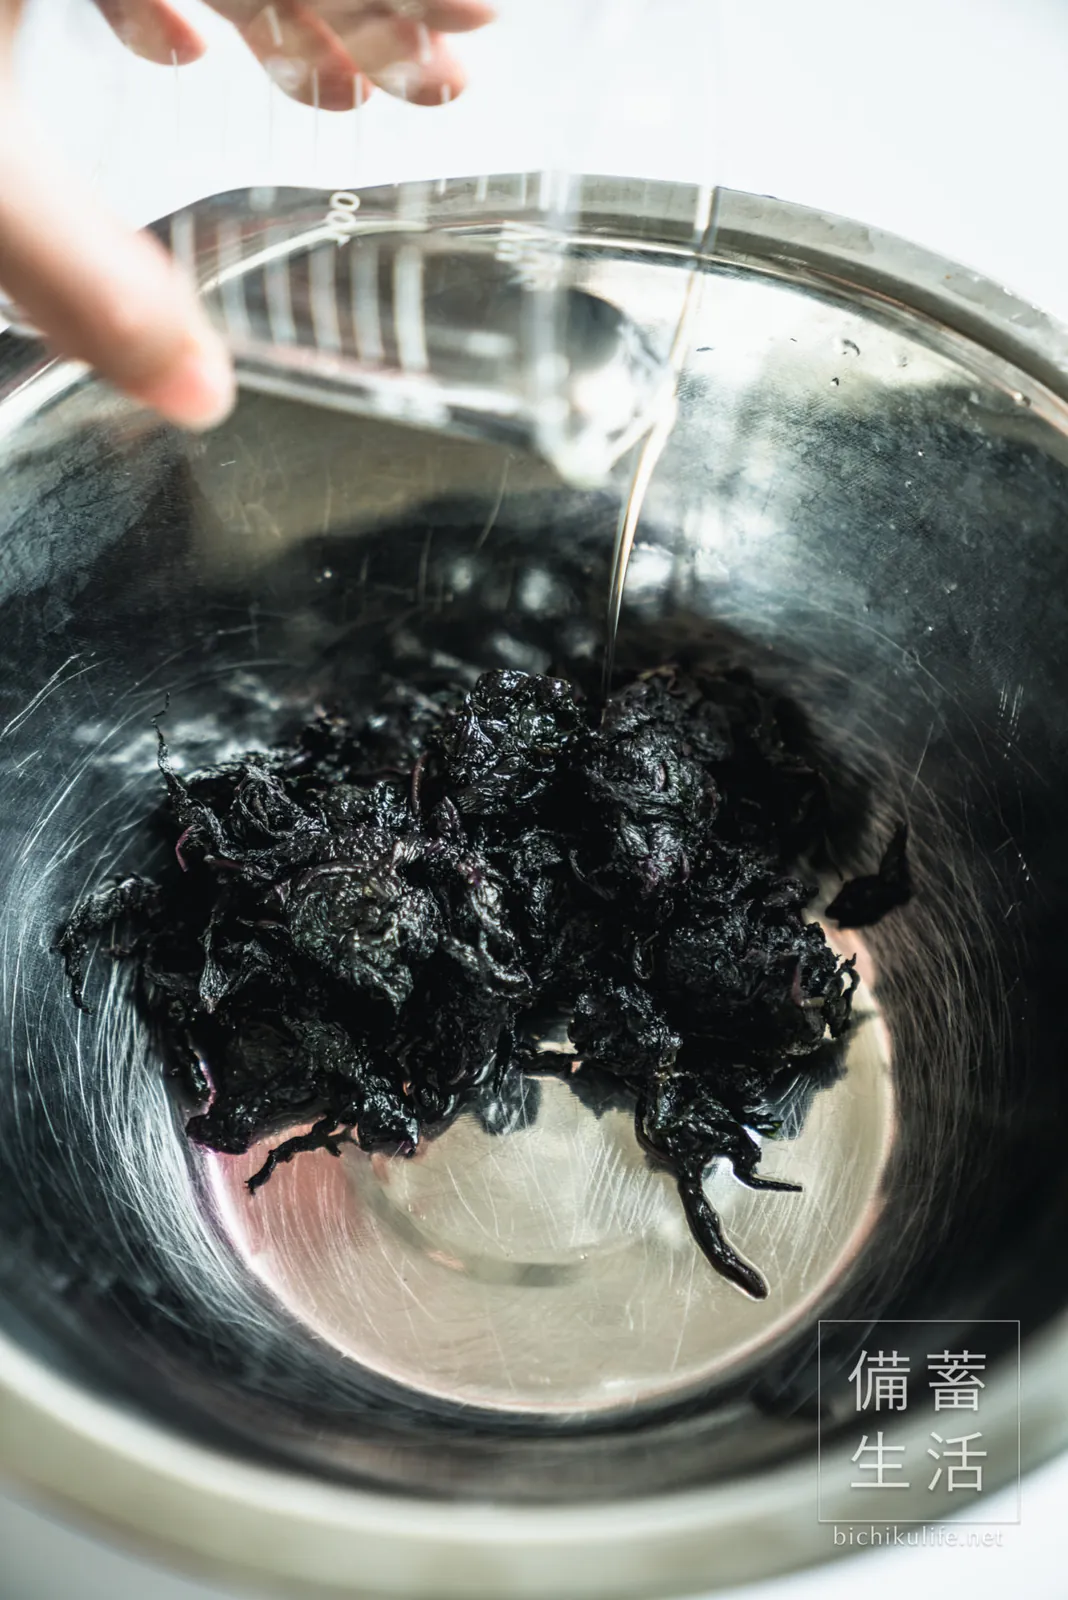
Take ¼ cup (50 ml) of brine from the bag of salted ume and pour it over the squeezed red shiso.
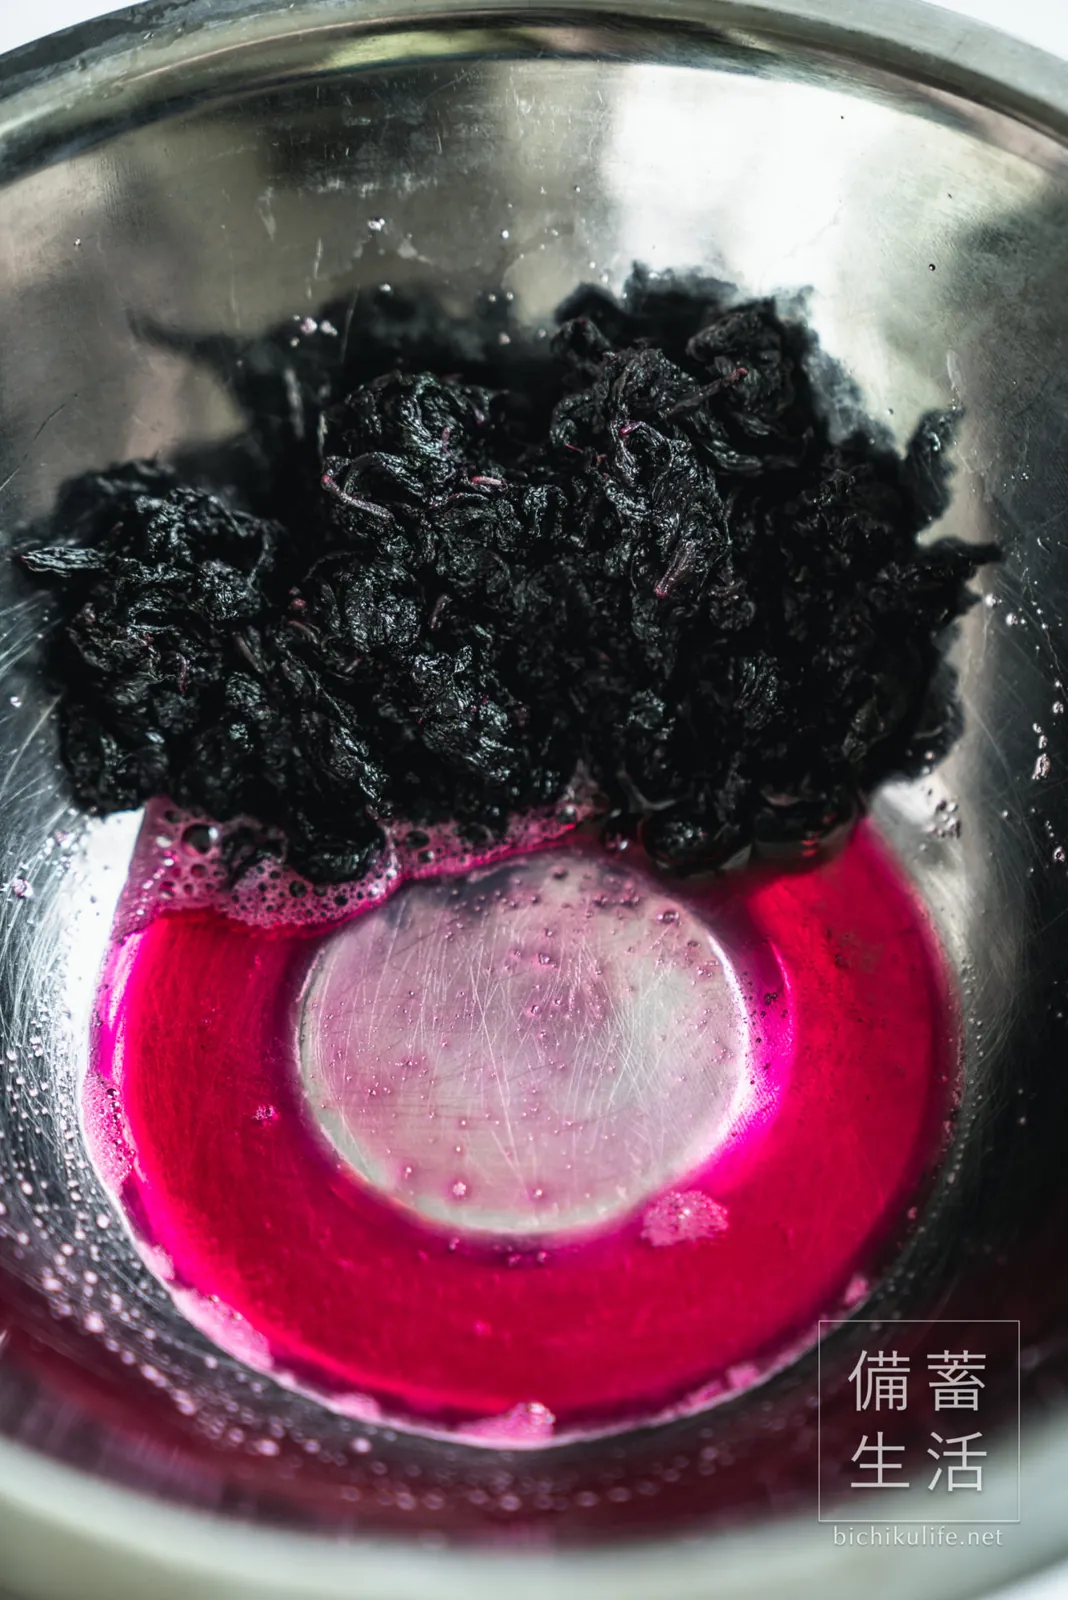
Loosen the leaves with chopsticks and mix them into the brine. The brine turns the red shiso a vivid reddish purple.
Add the red shiso to the bag
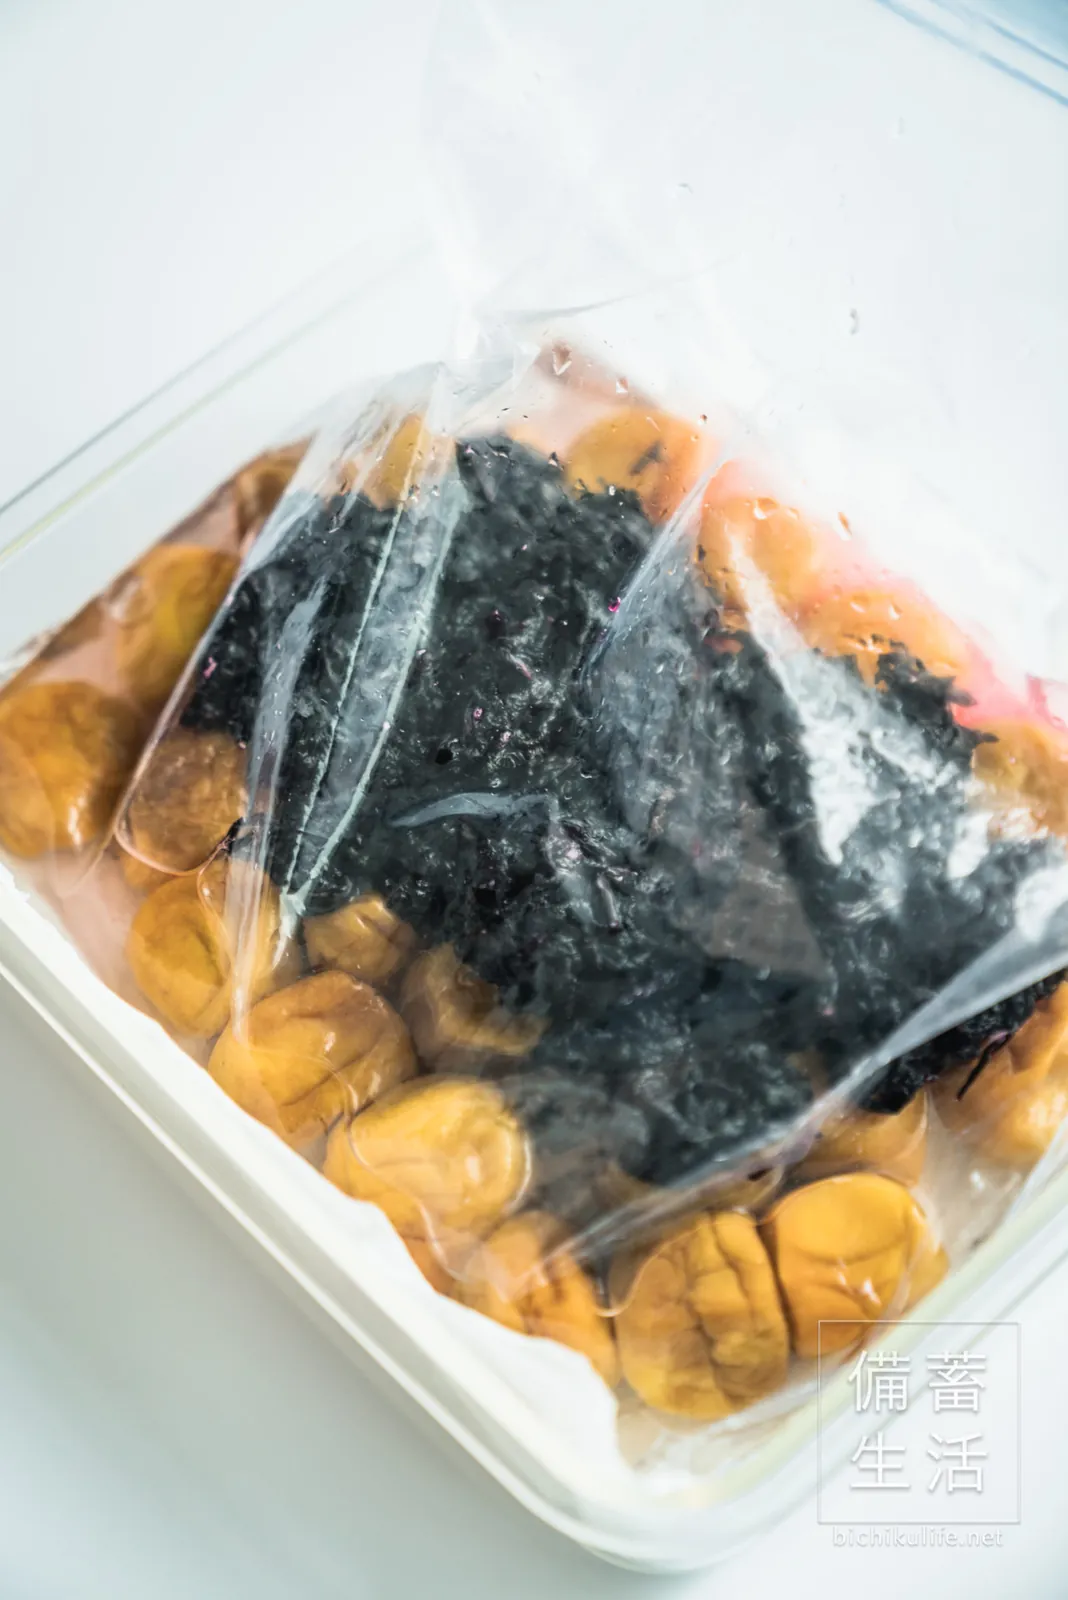
Spread the red shiso over the salted ume in the bag. Close the bag without letting air in.
Weight it and keep in a cool, dark place
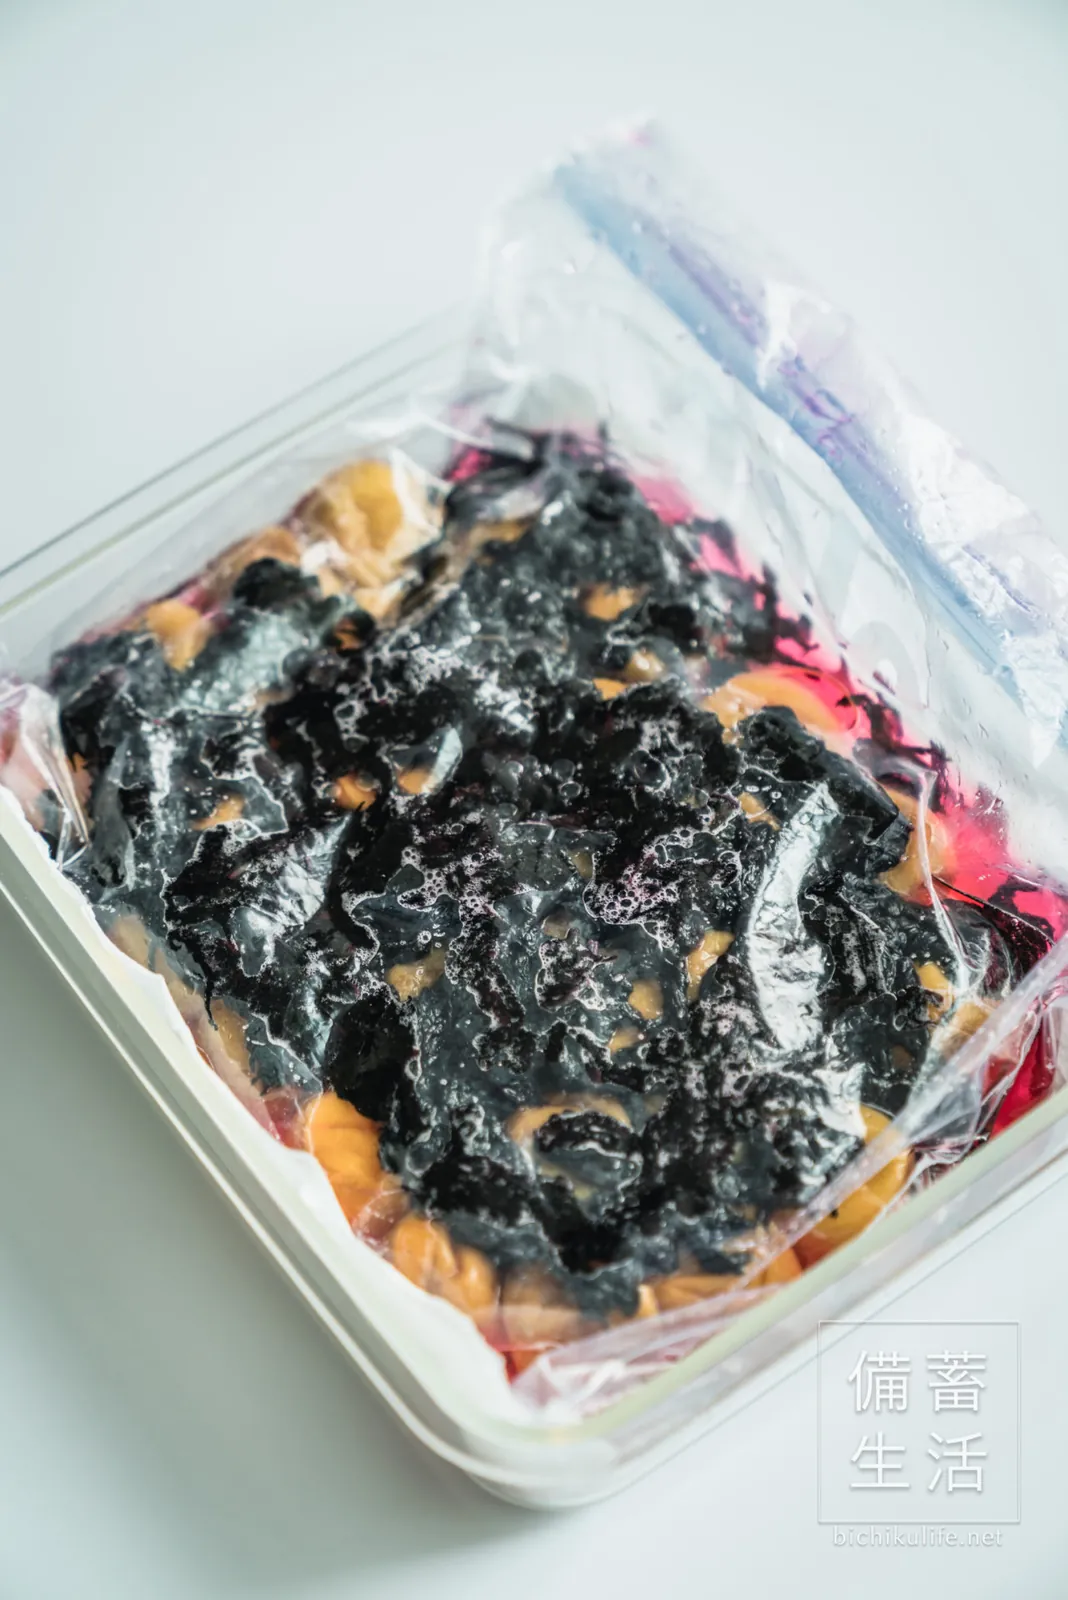
Put a weight of about 500 g (1 lb) on top, just enough to keep the ume covered by brine, and leave it in a cool, dark place until the rainy season ends.
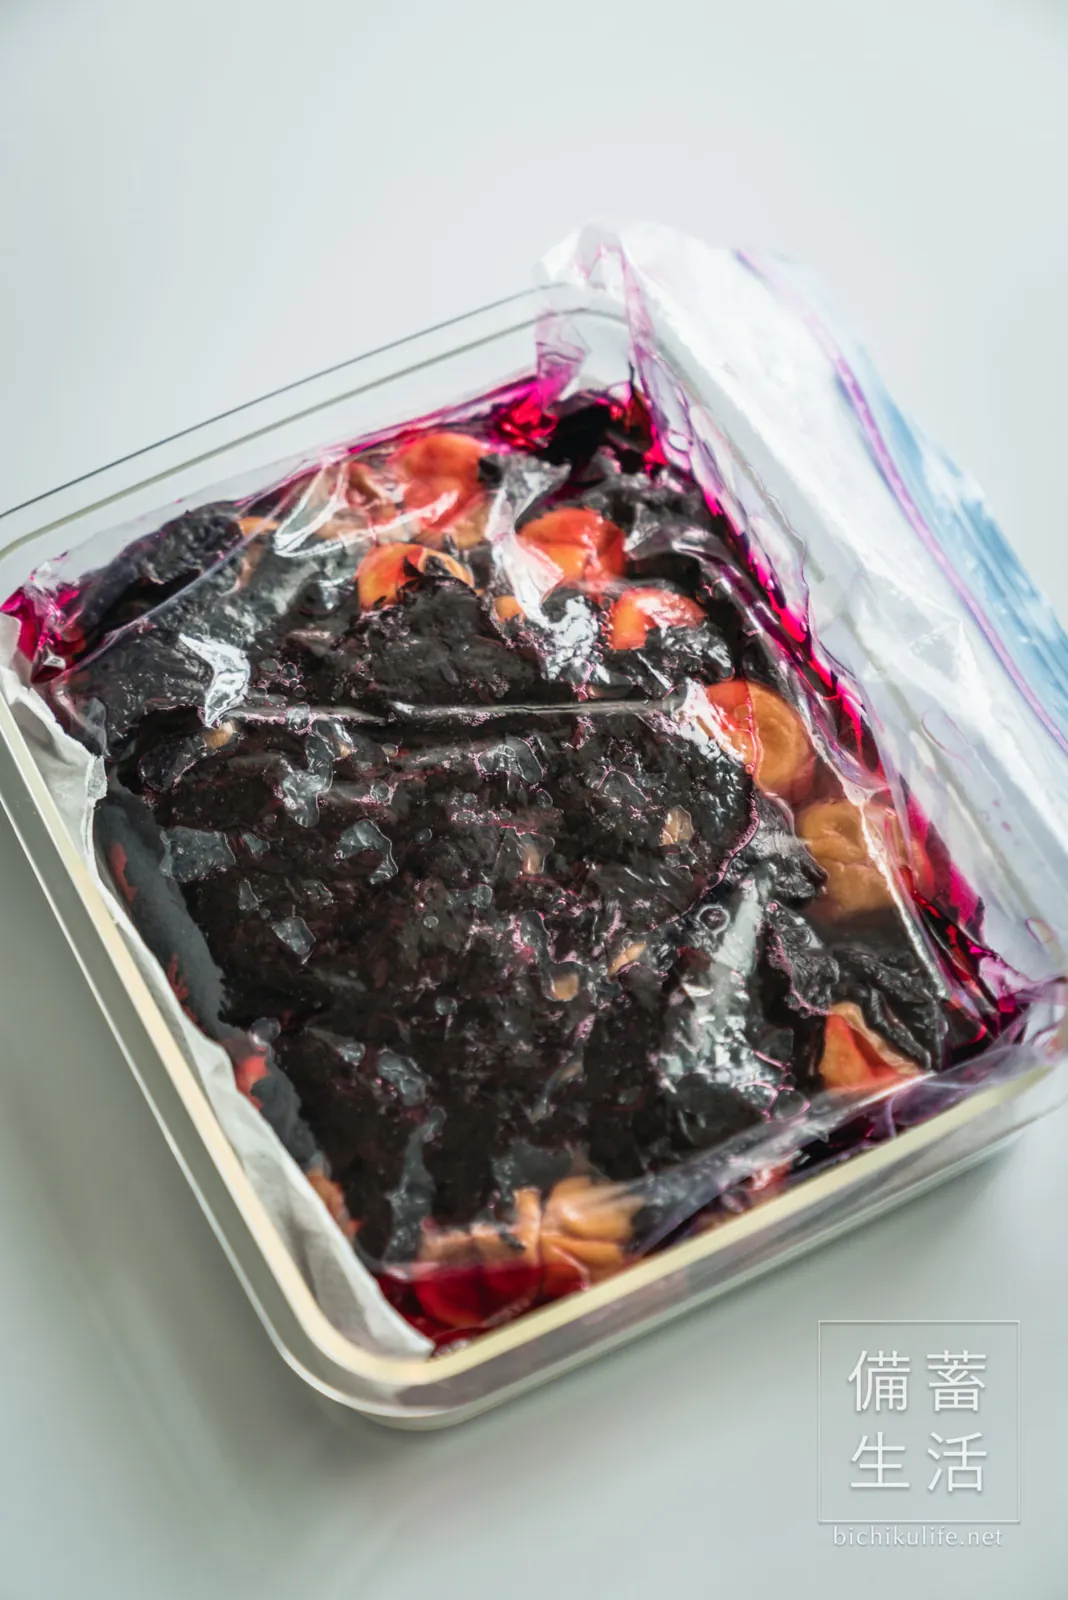
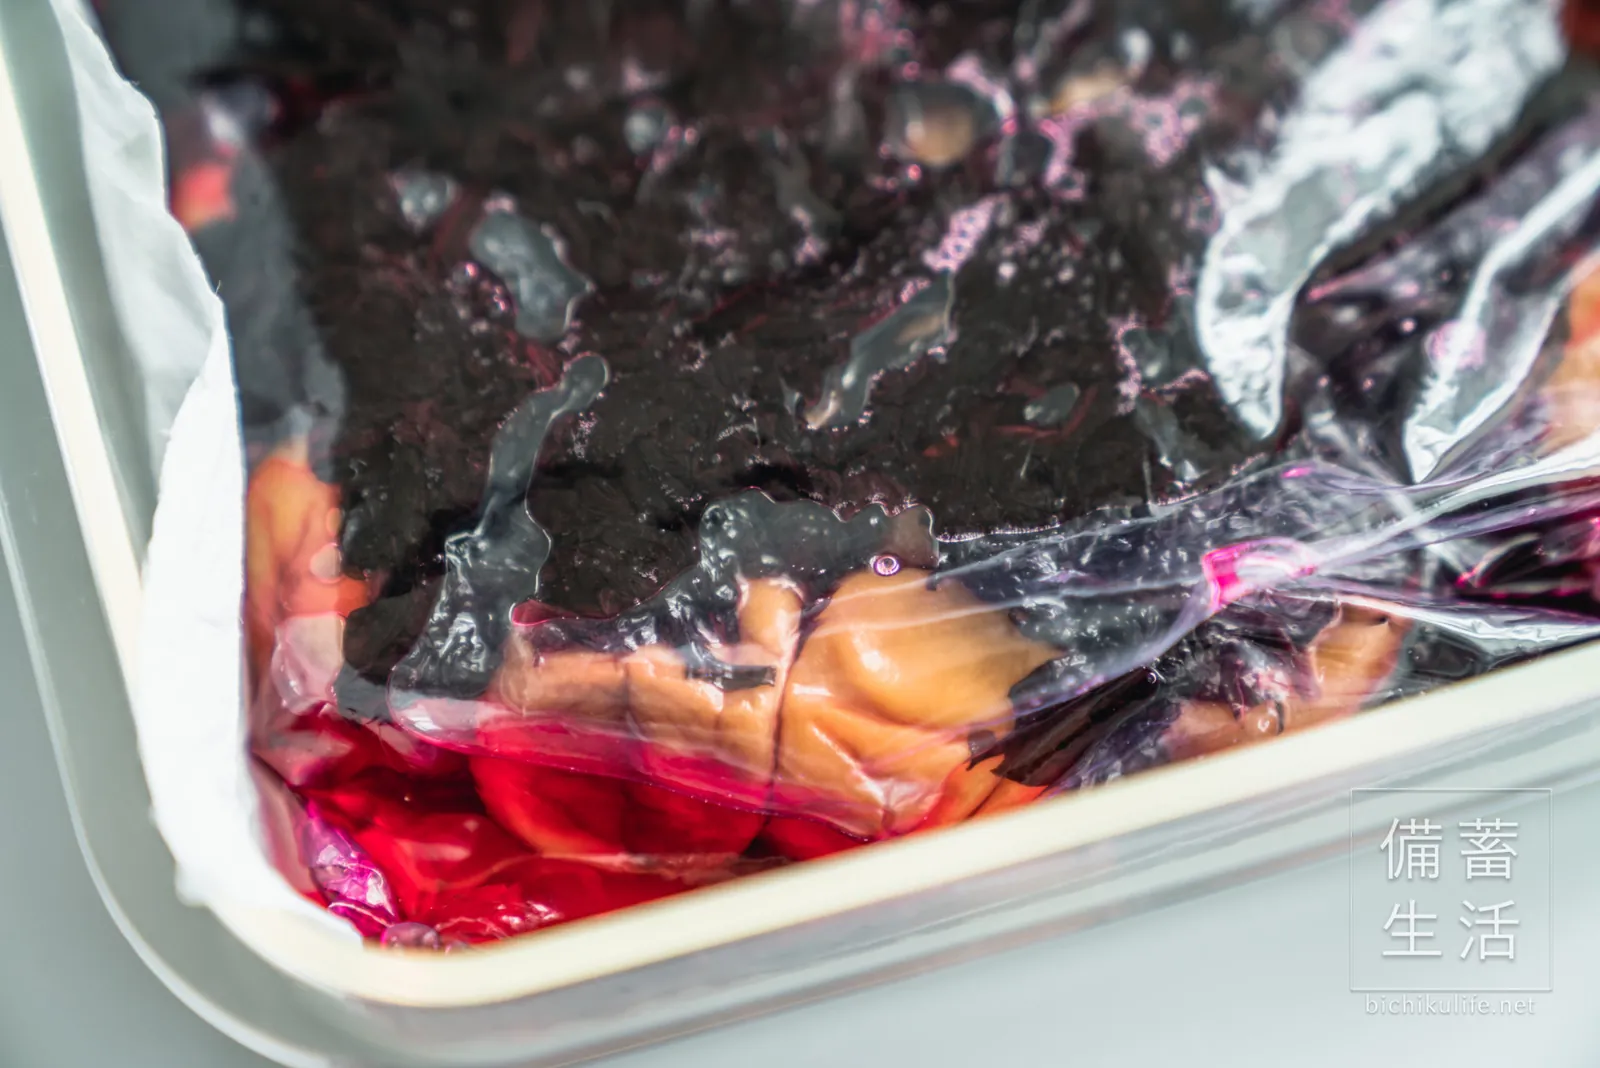
The next day. The red shiso has colored everything, and the color has deepened.
Now wait patiently until it’s time to dry them.
Sun-drying the umeboshi (doyo-boshi)
Once the rainy season is over, pick a stretch of sunny days to dry the umeboshi. In Japan this is done in the hottest days of late July, and it’s called doyo-boshi. If you can’t dry them outdoors, a sunny spot indoors with a fan blowing on them works too.
Dry the ume and red shiso
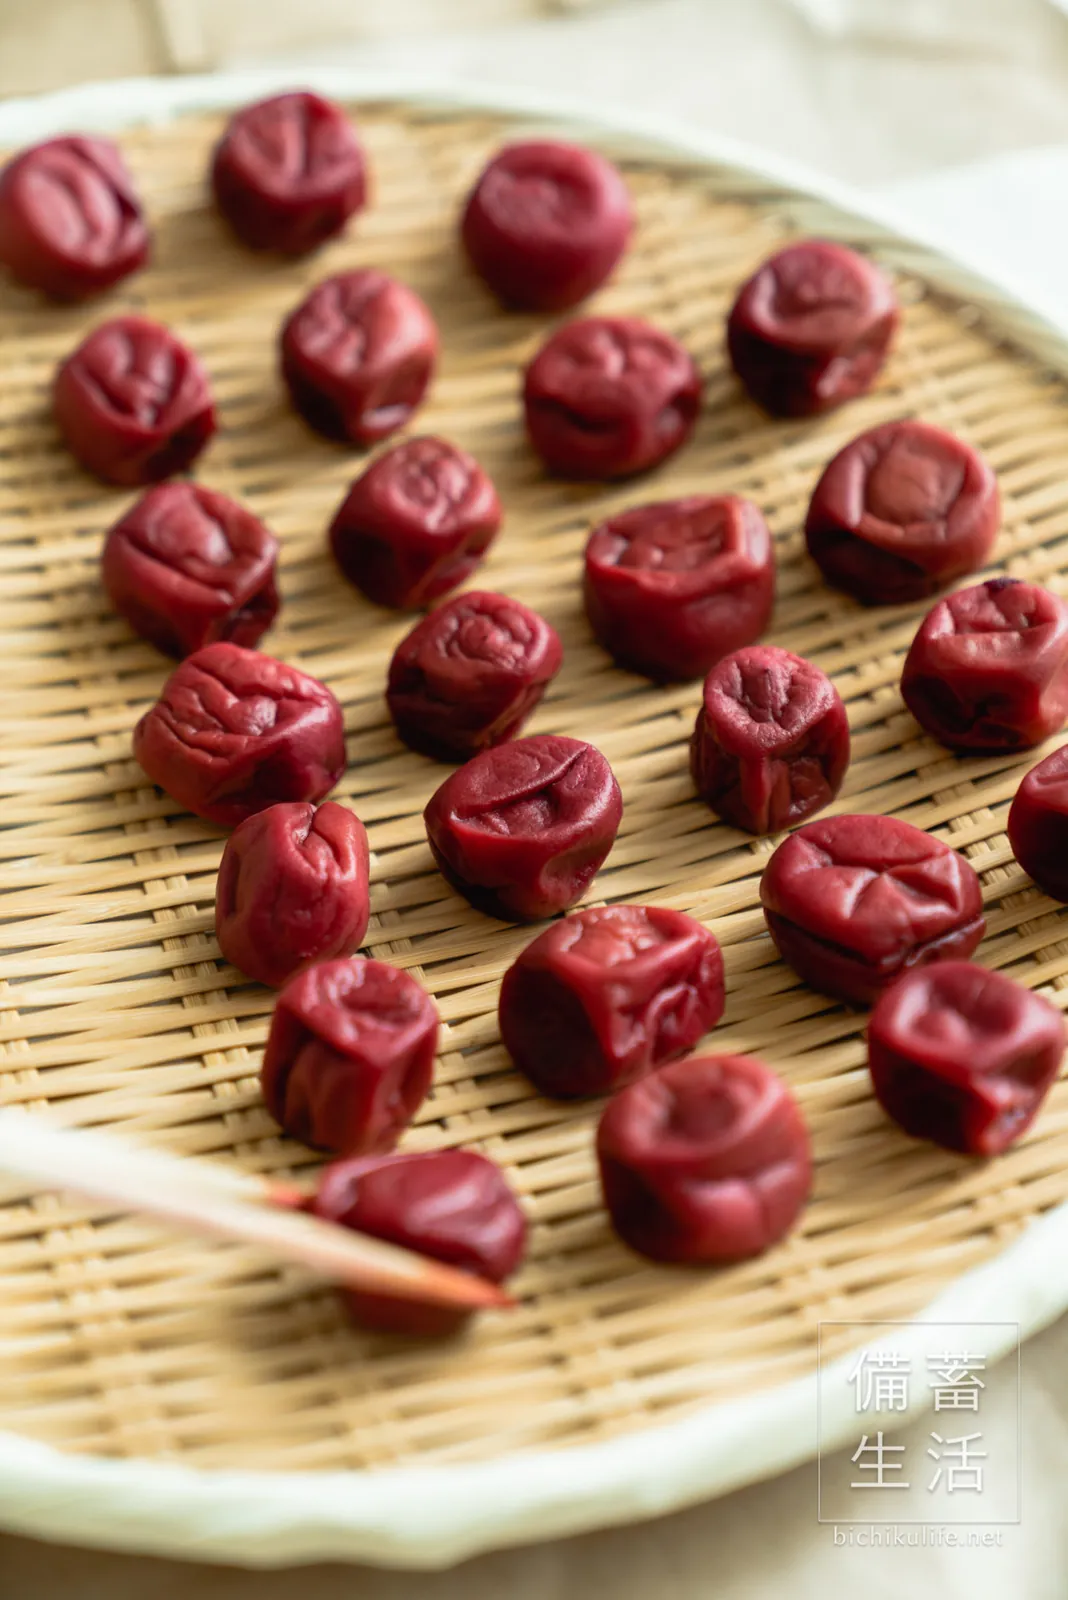
Lay newspaper or plastic down so the floor doesn’t get stained. Take the ume out of the bag and lay them one by one on a basket.
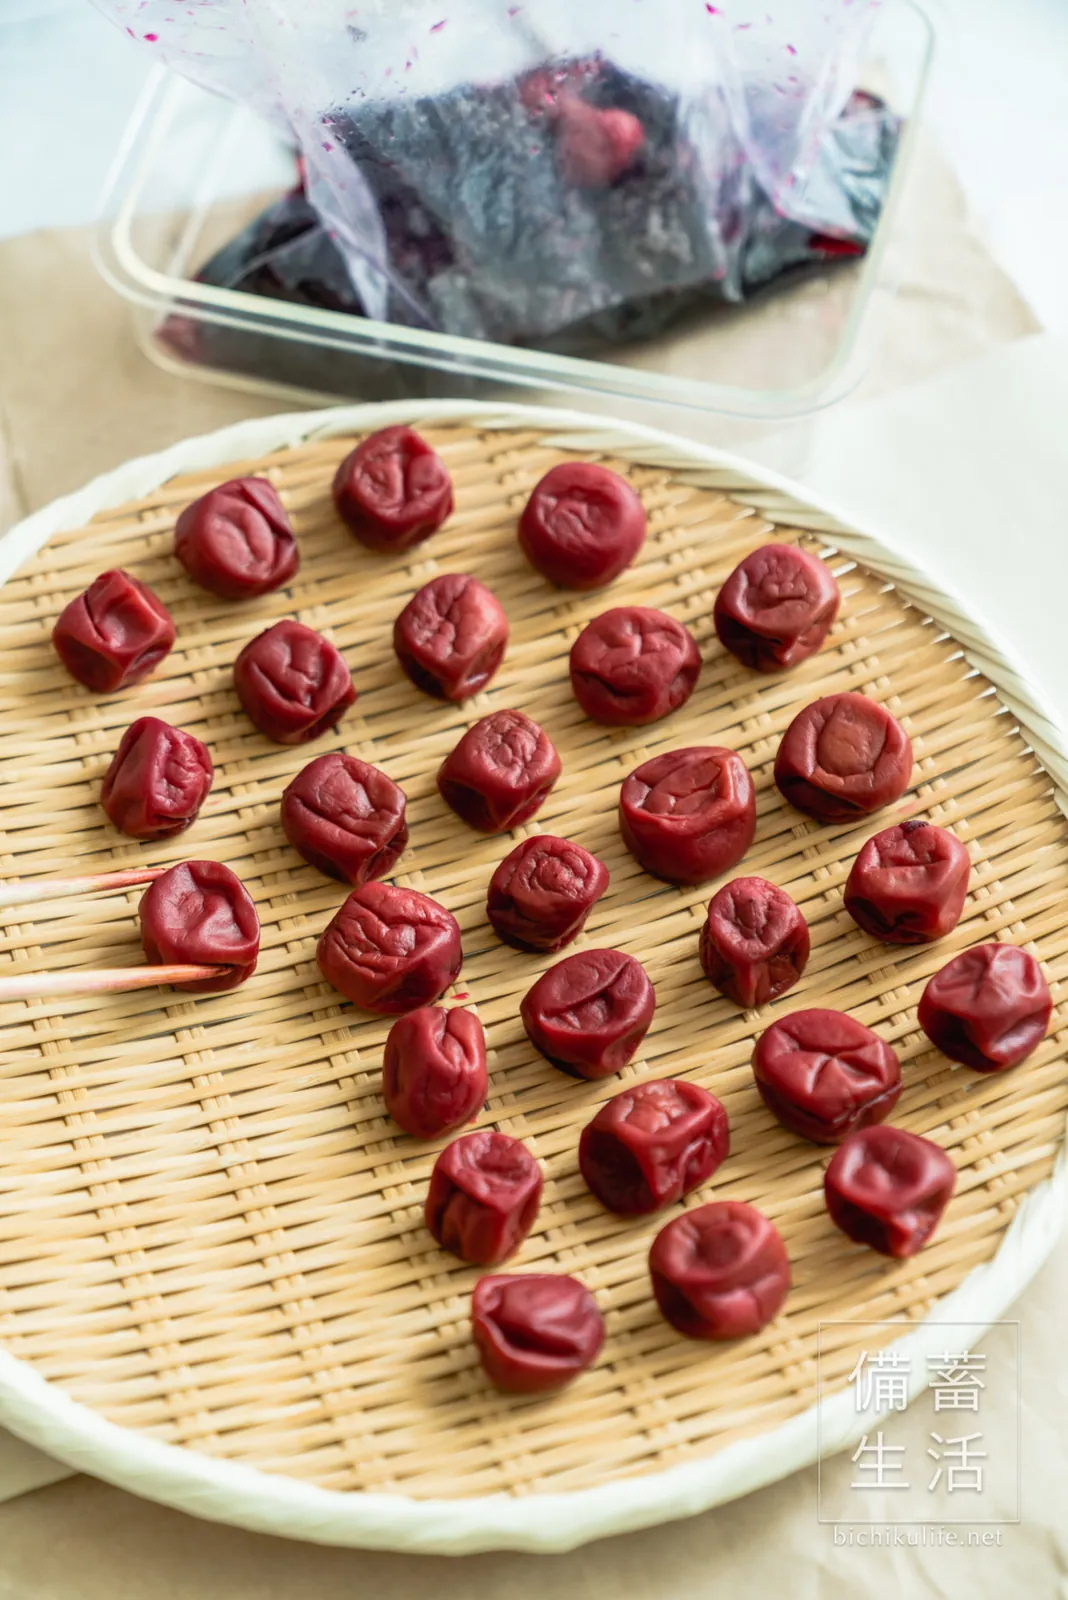
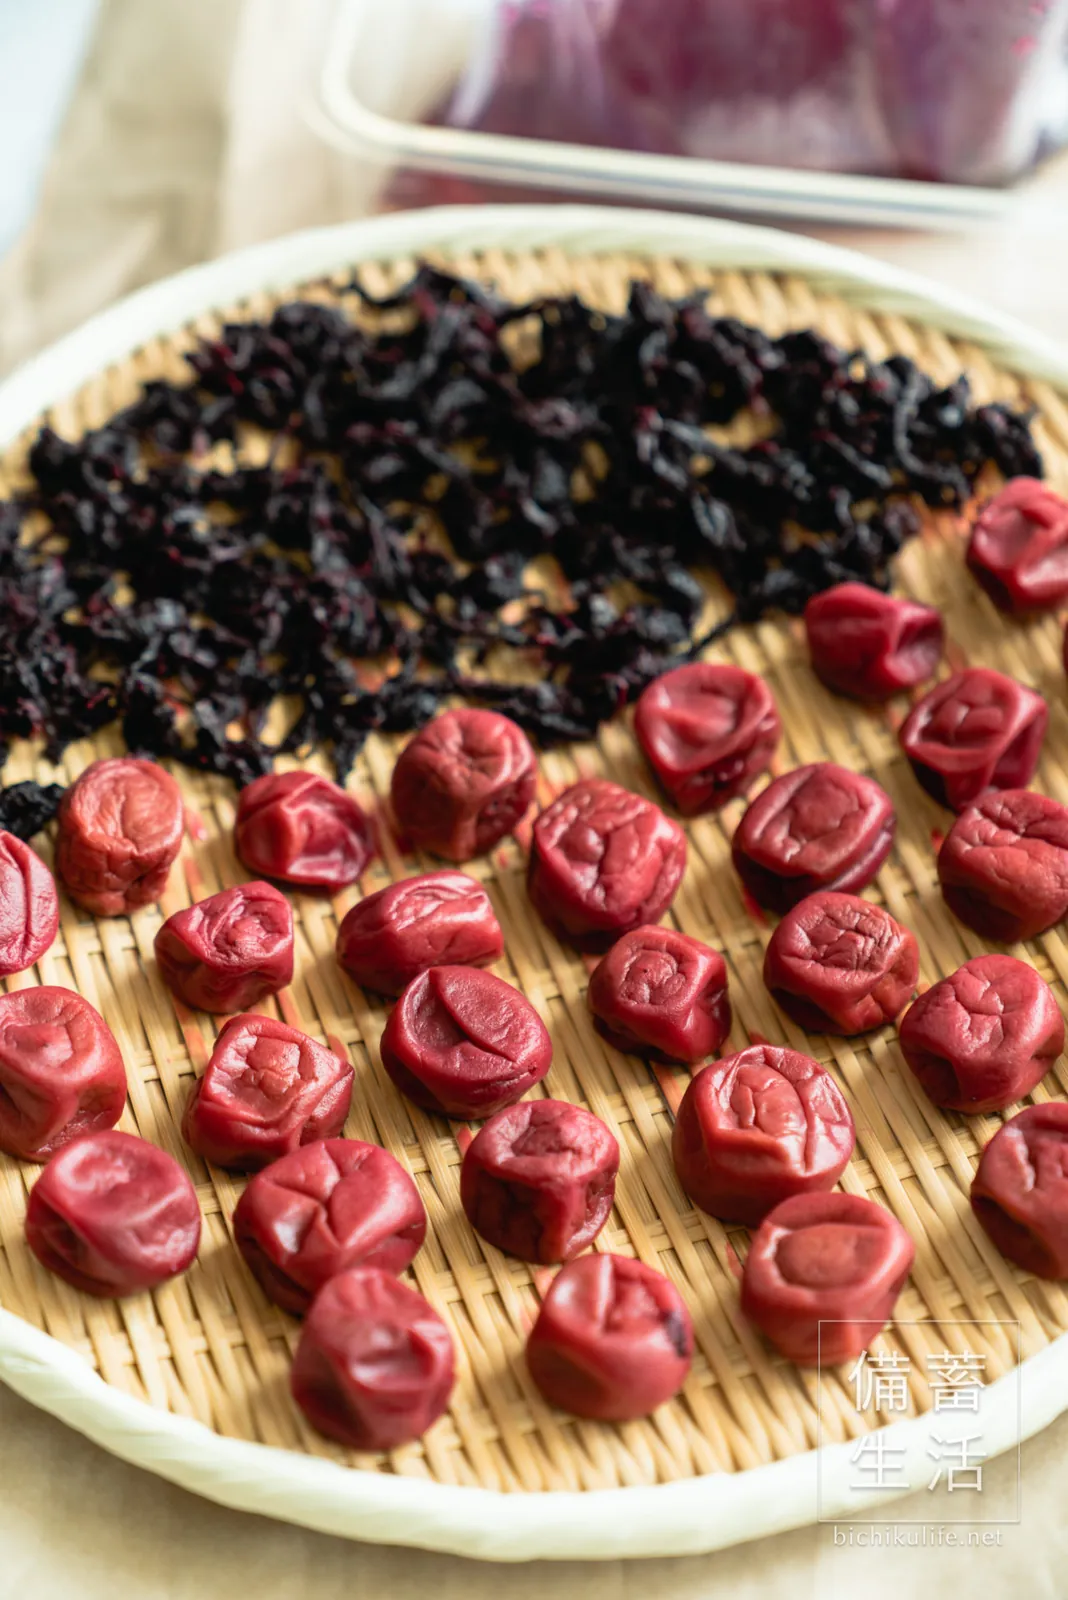
Squeeze the brine out of the red shiso, then loosen it and spread it on the basket. Keep the brine left in the bag; you’ll use it at the end.
Dry the whole basket in a sunny, breezy spot. Turn the ume once a day, and bring them indoors before sunset. Do the same on day 2.
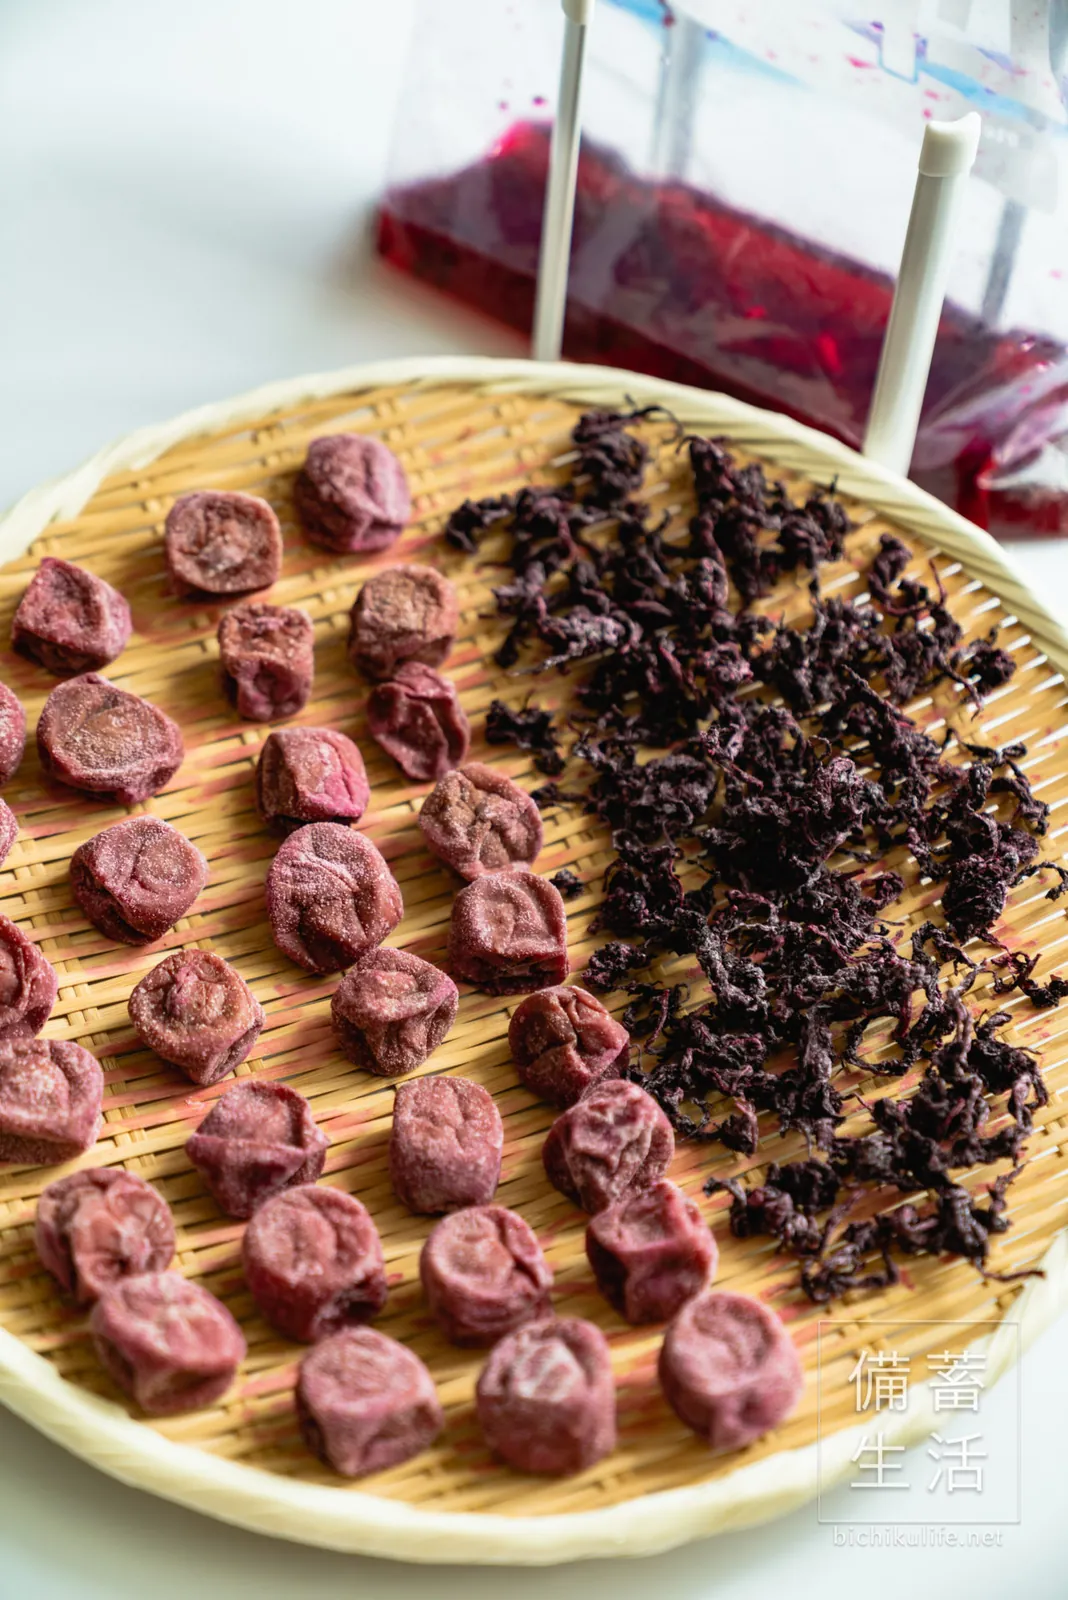
On day 3, put the brine out in the sun too. Bring the brine in before sunset, but leave the umeboshi out overnight to catch the night dew. Bring them in the next morning.
Put the umeboshi in a container
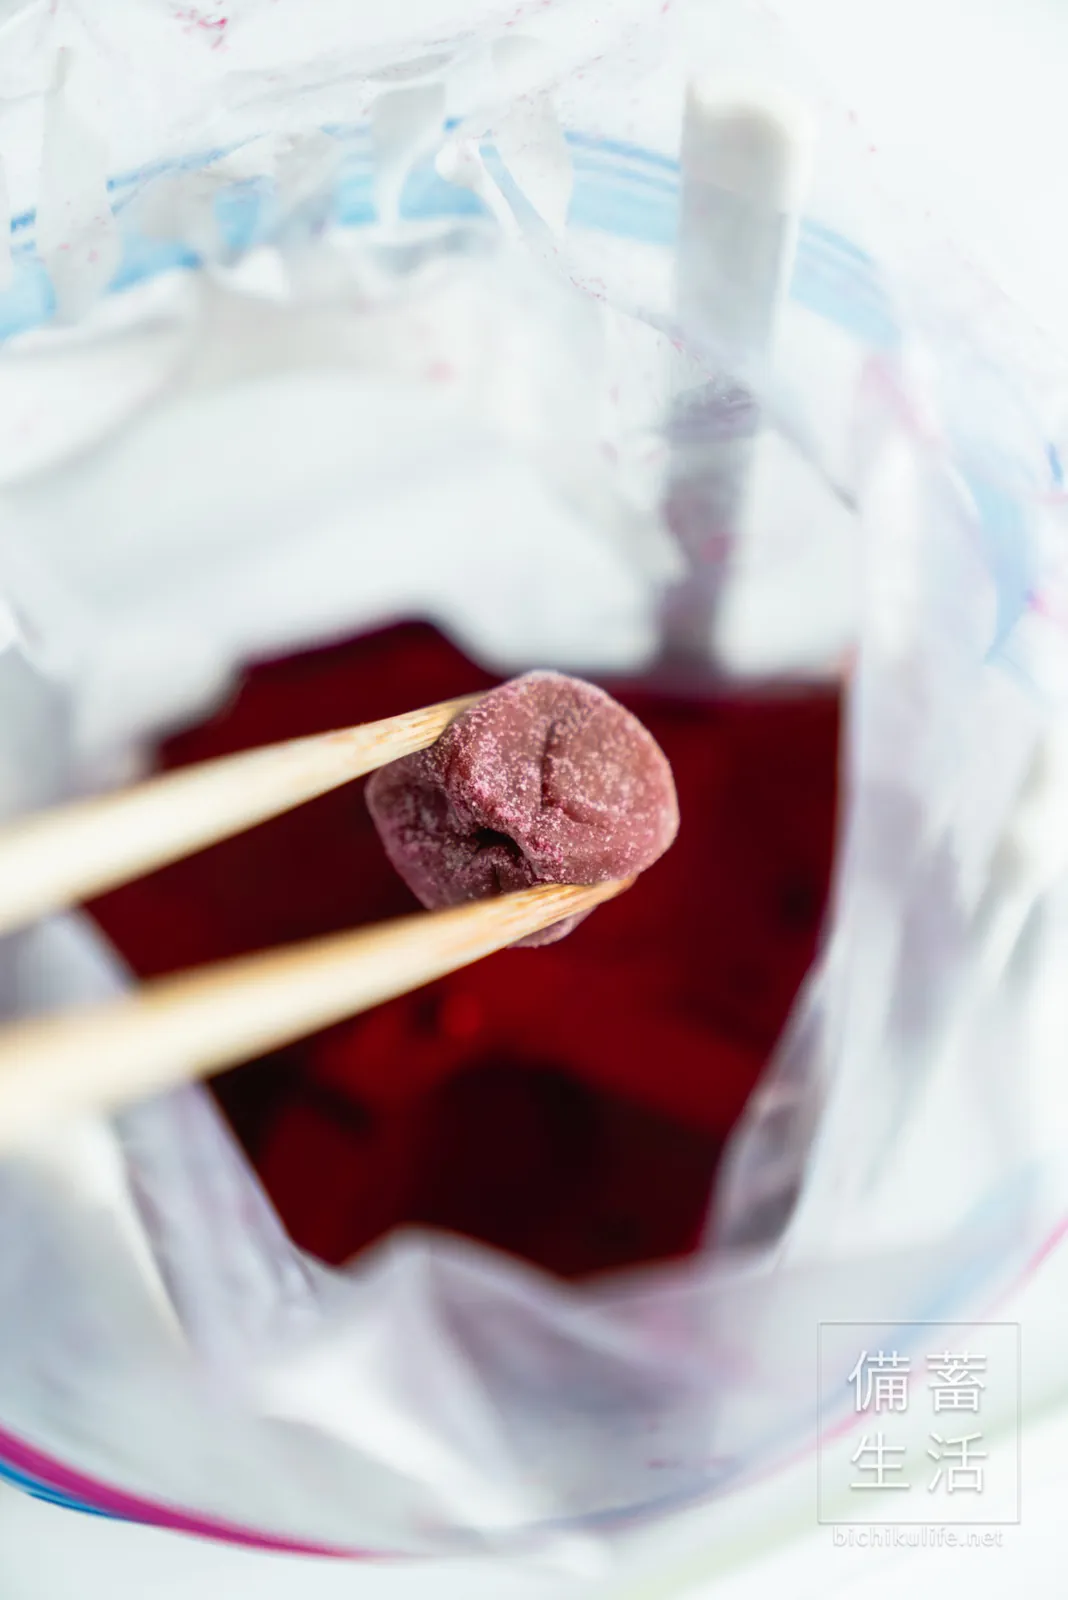
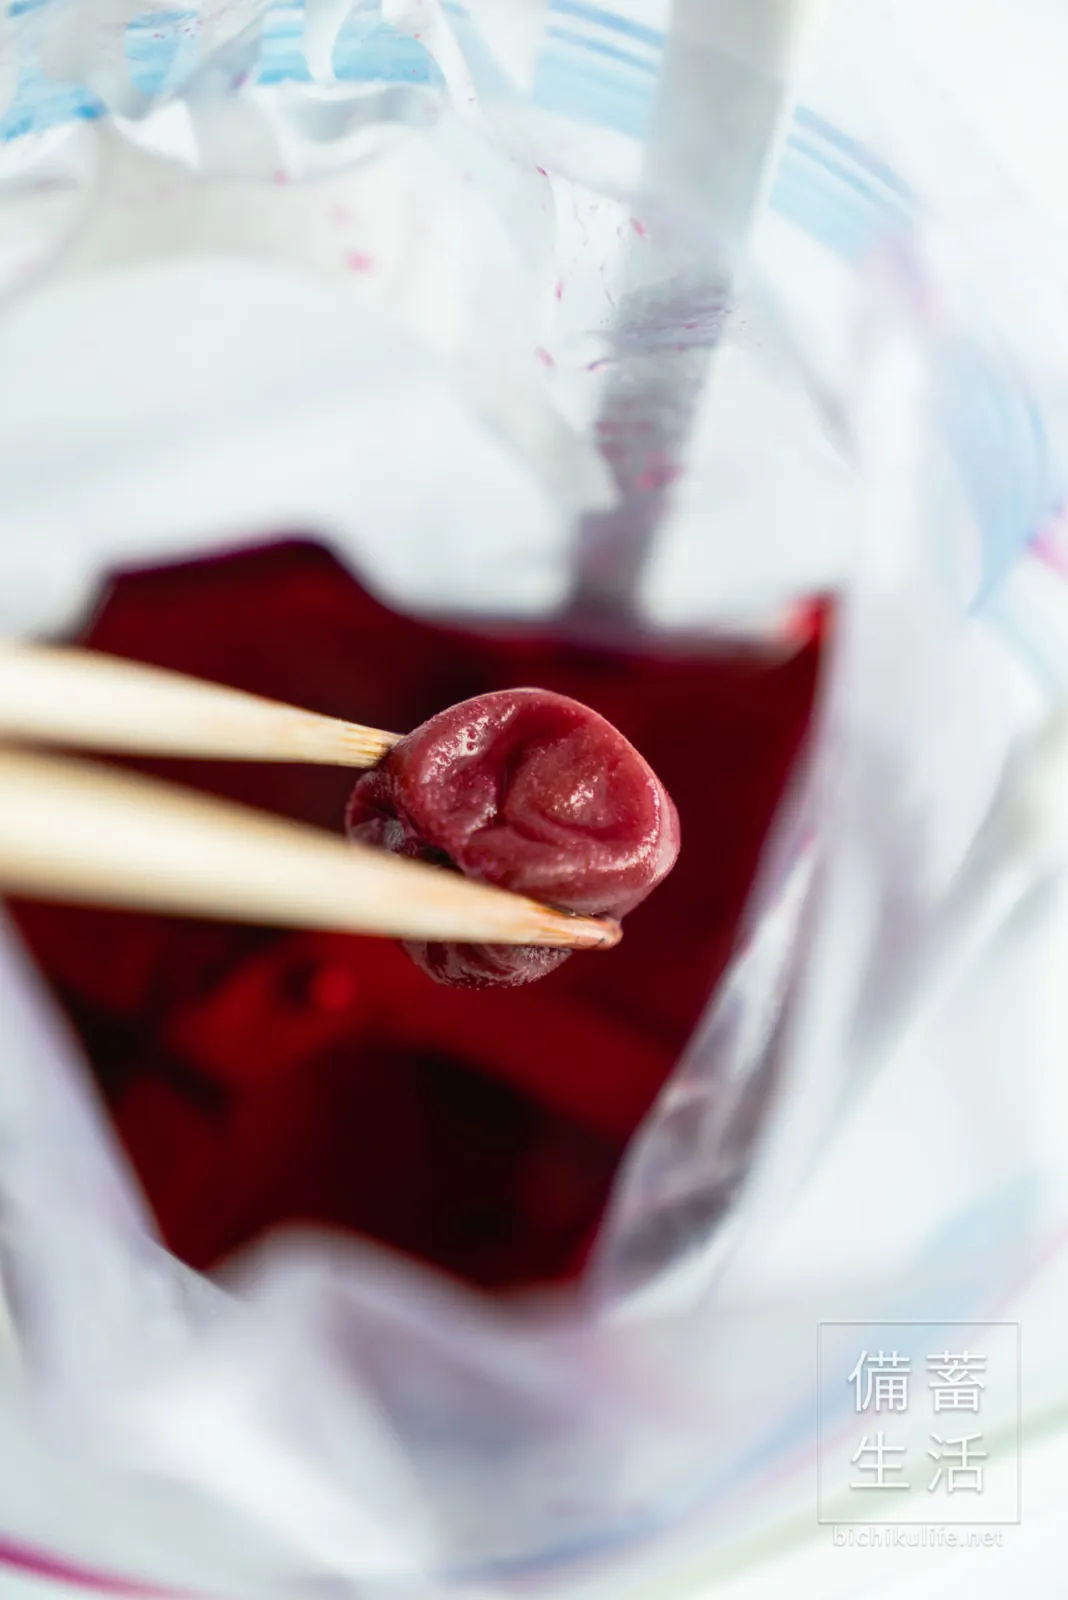
Dip the dried umeboshi in the brine, then put them in a storage jar. Wash the jar well and sterilize it in boiling water beforehand.
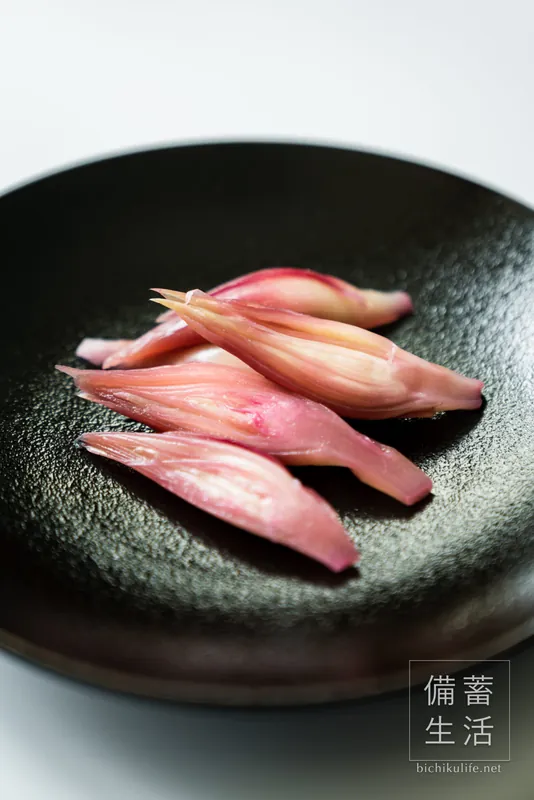
The leftover brine, umezu, can be used in dressings or for pickling rakkyo or myoga.
» Umezu pickles (made with leftover brine from umeboshi)
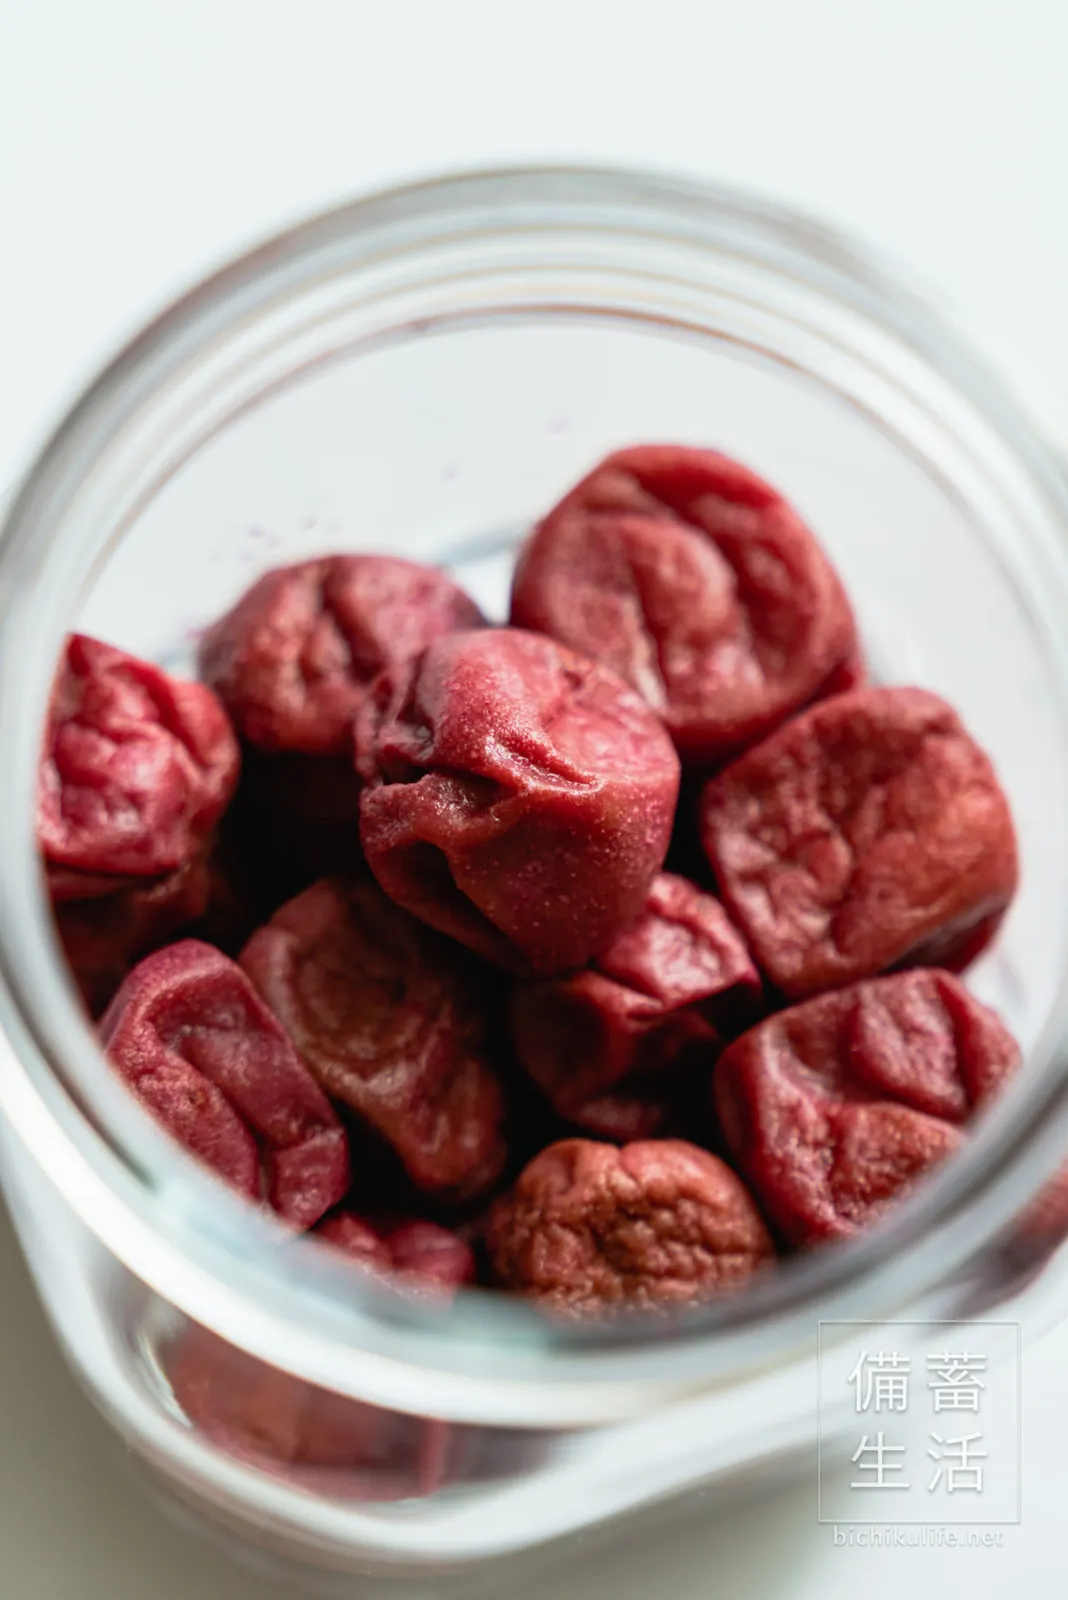
Put the red shiso in a container
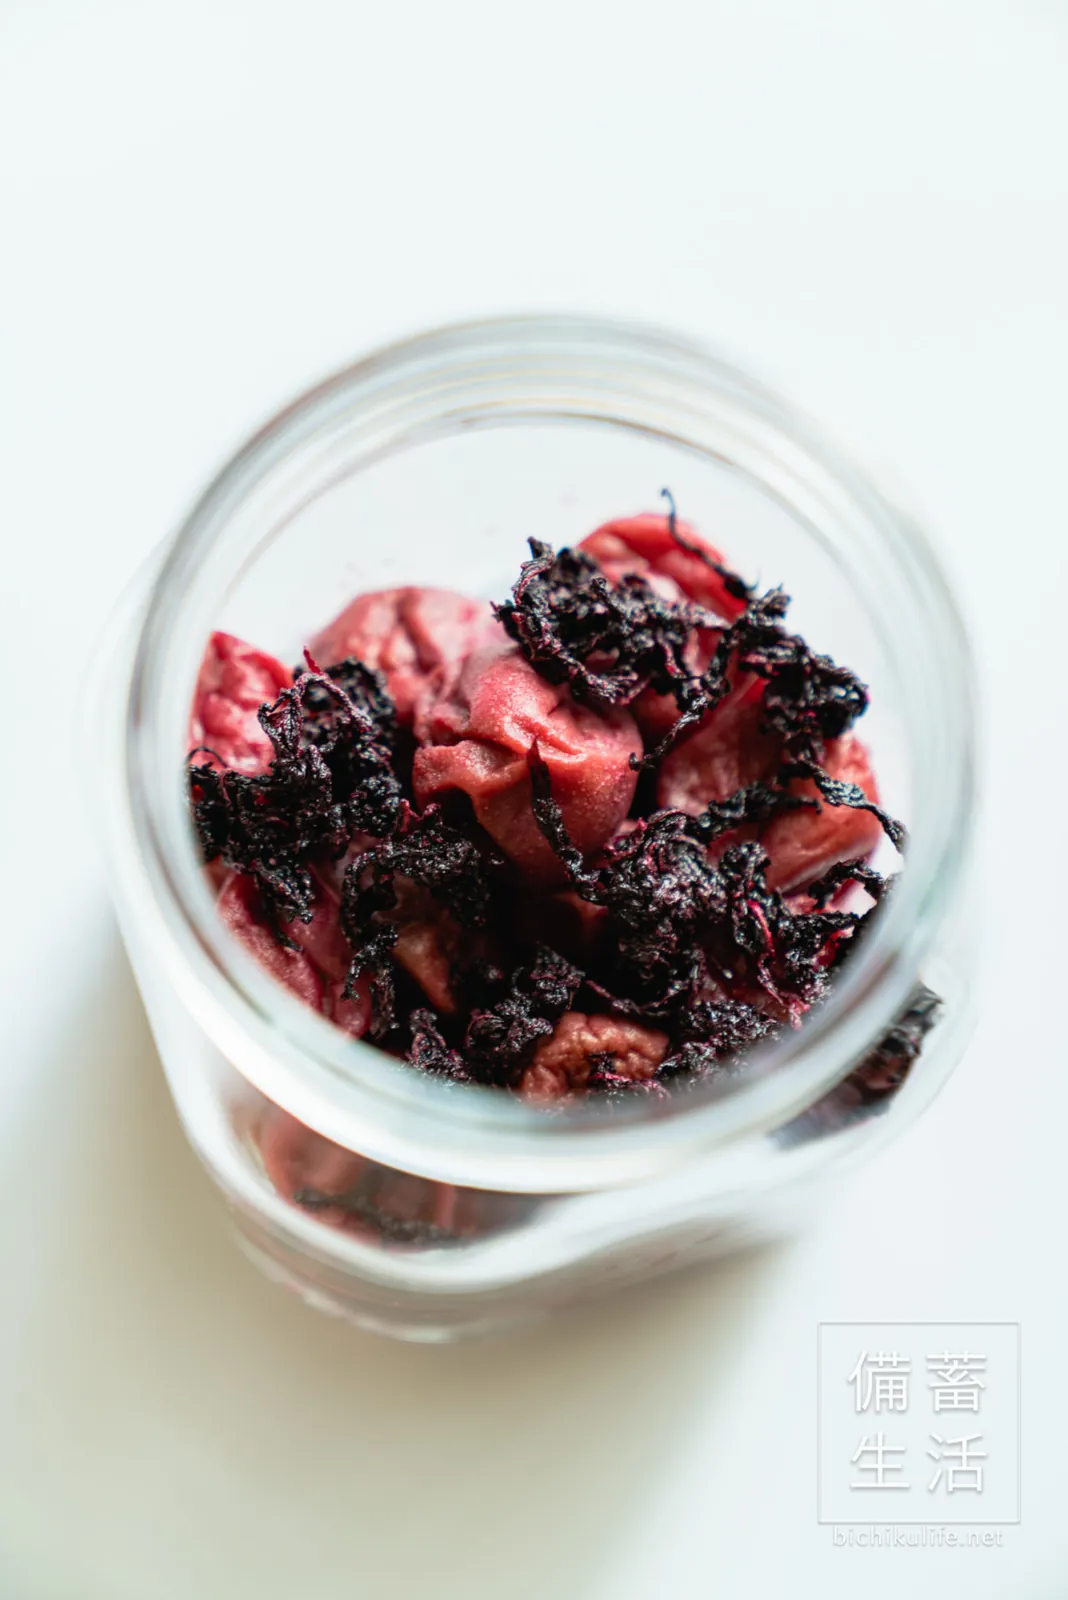
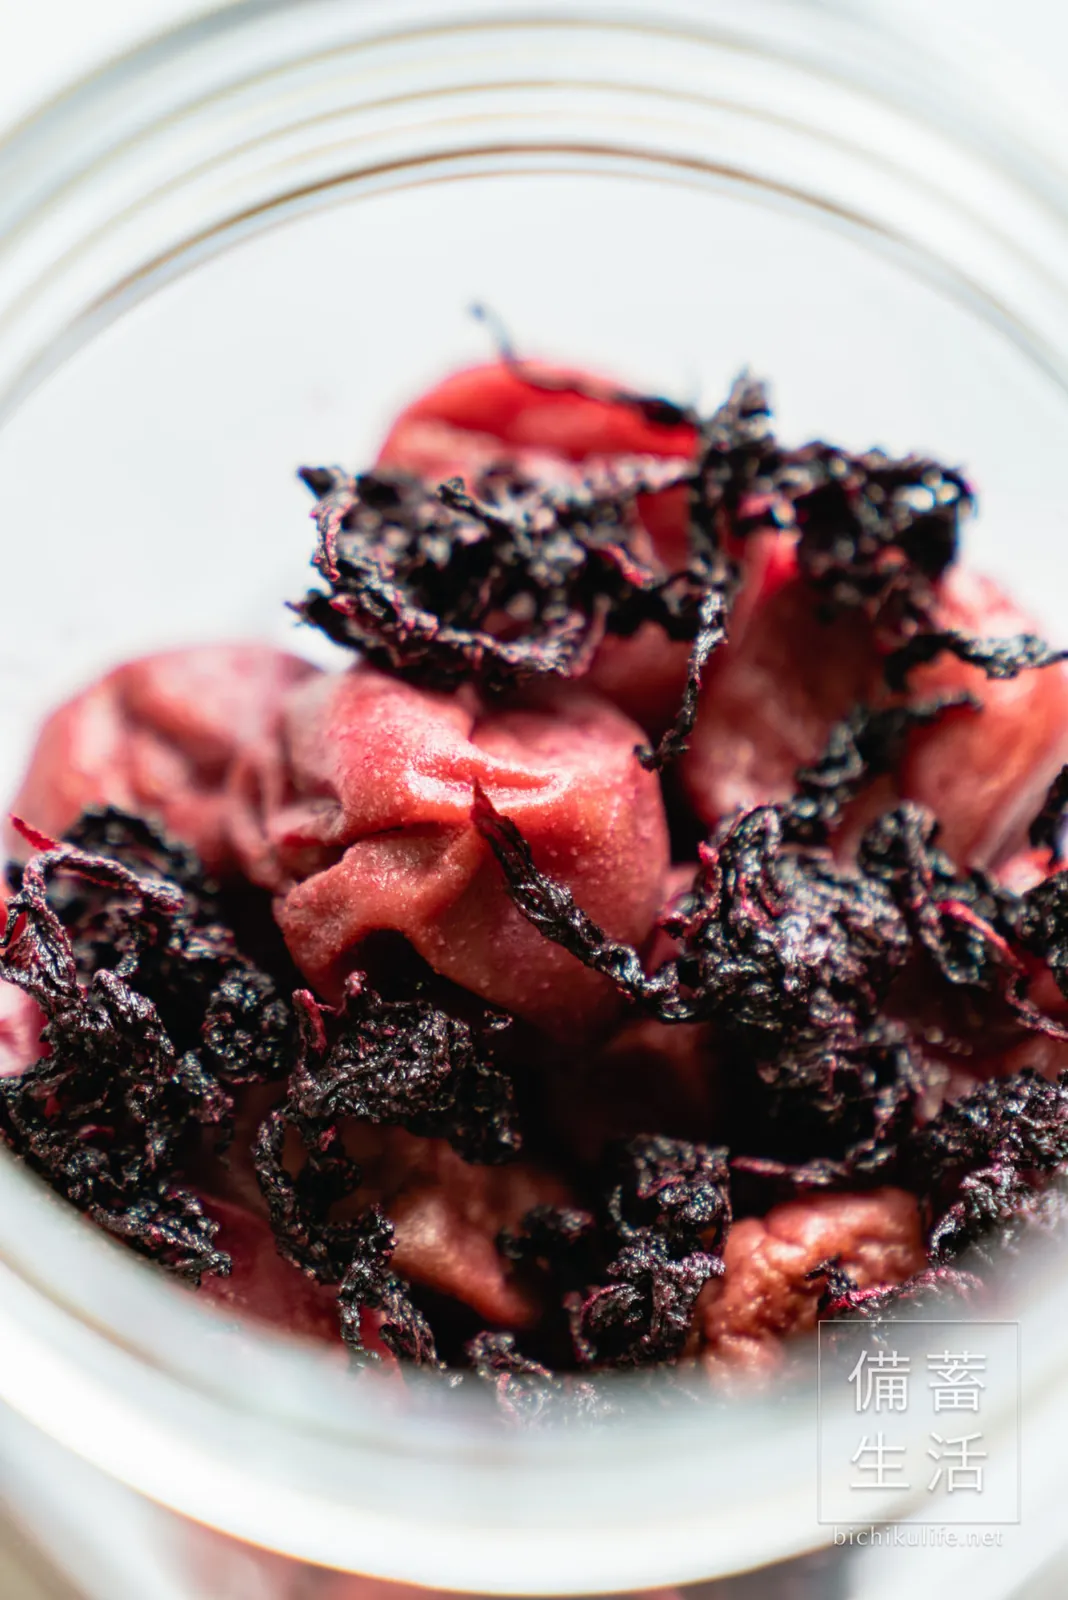
Dip the red shiso in the brine too, then put it in a storage container.
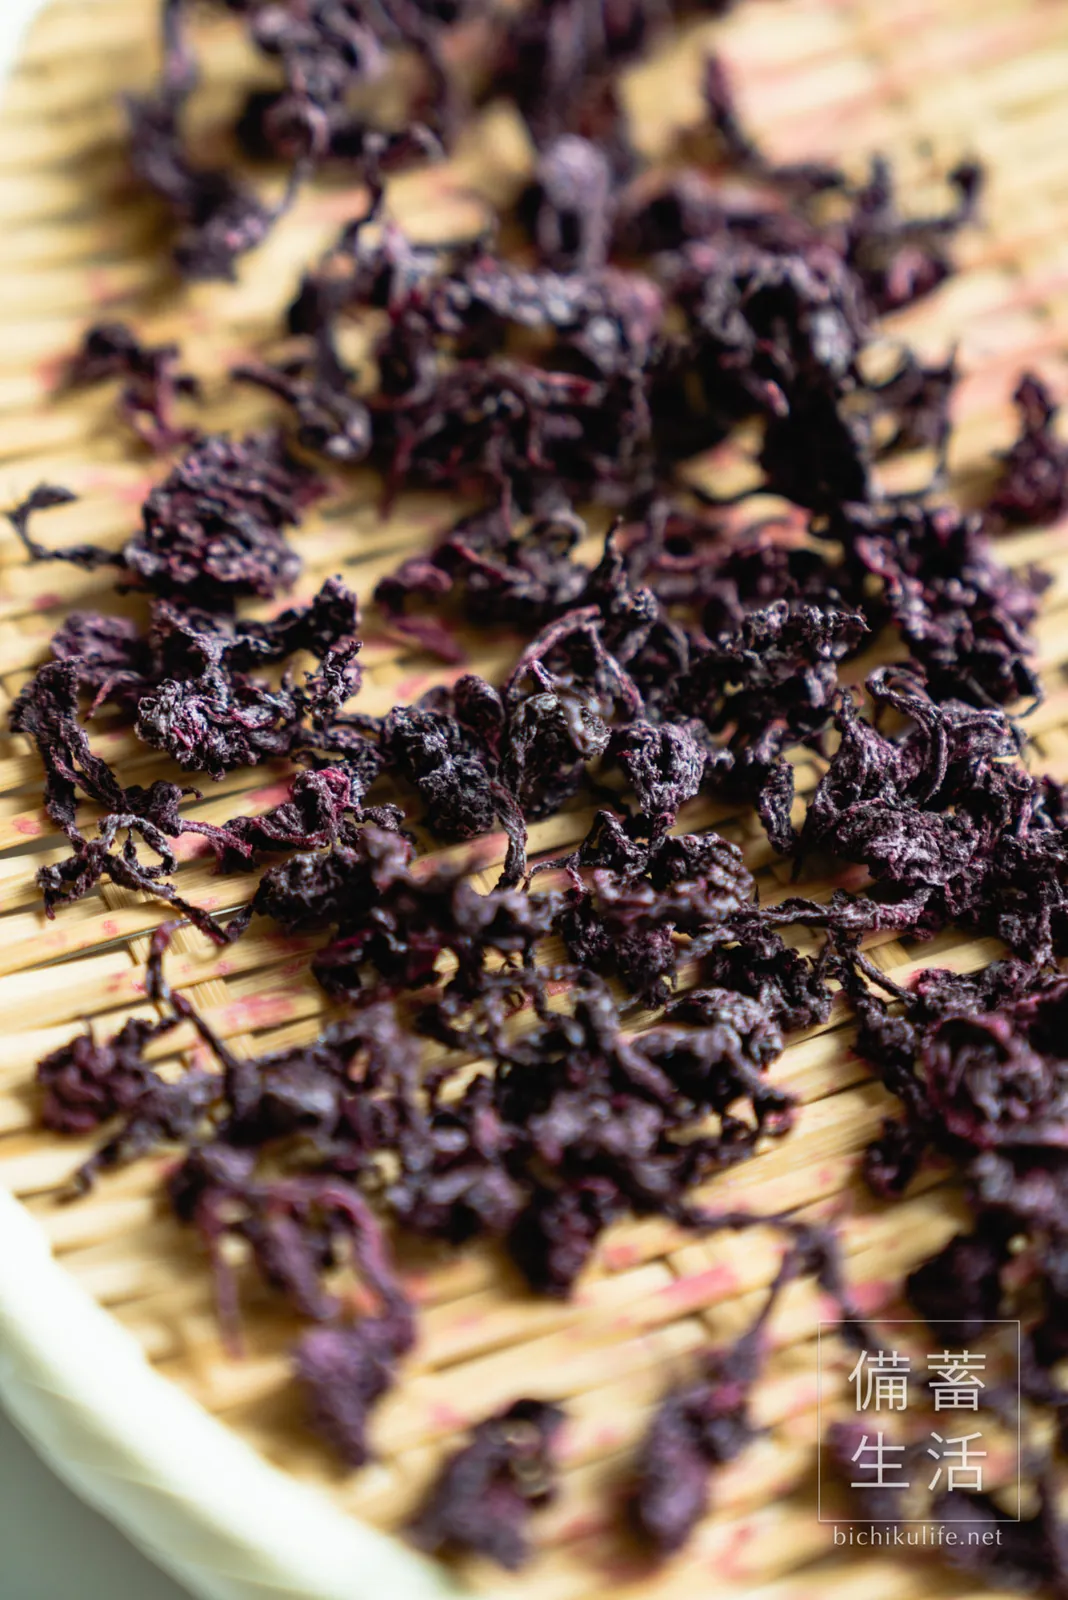
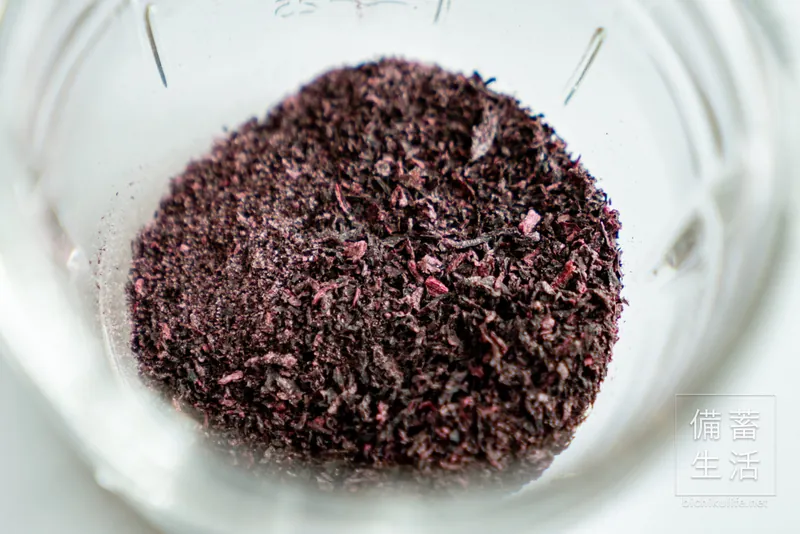
The dried red shiso can be ground in a food processor to make yukari, a rice seasoning.
Done
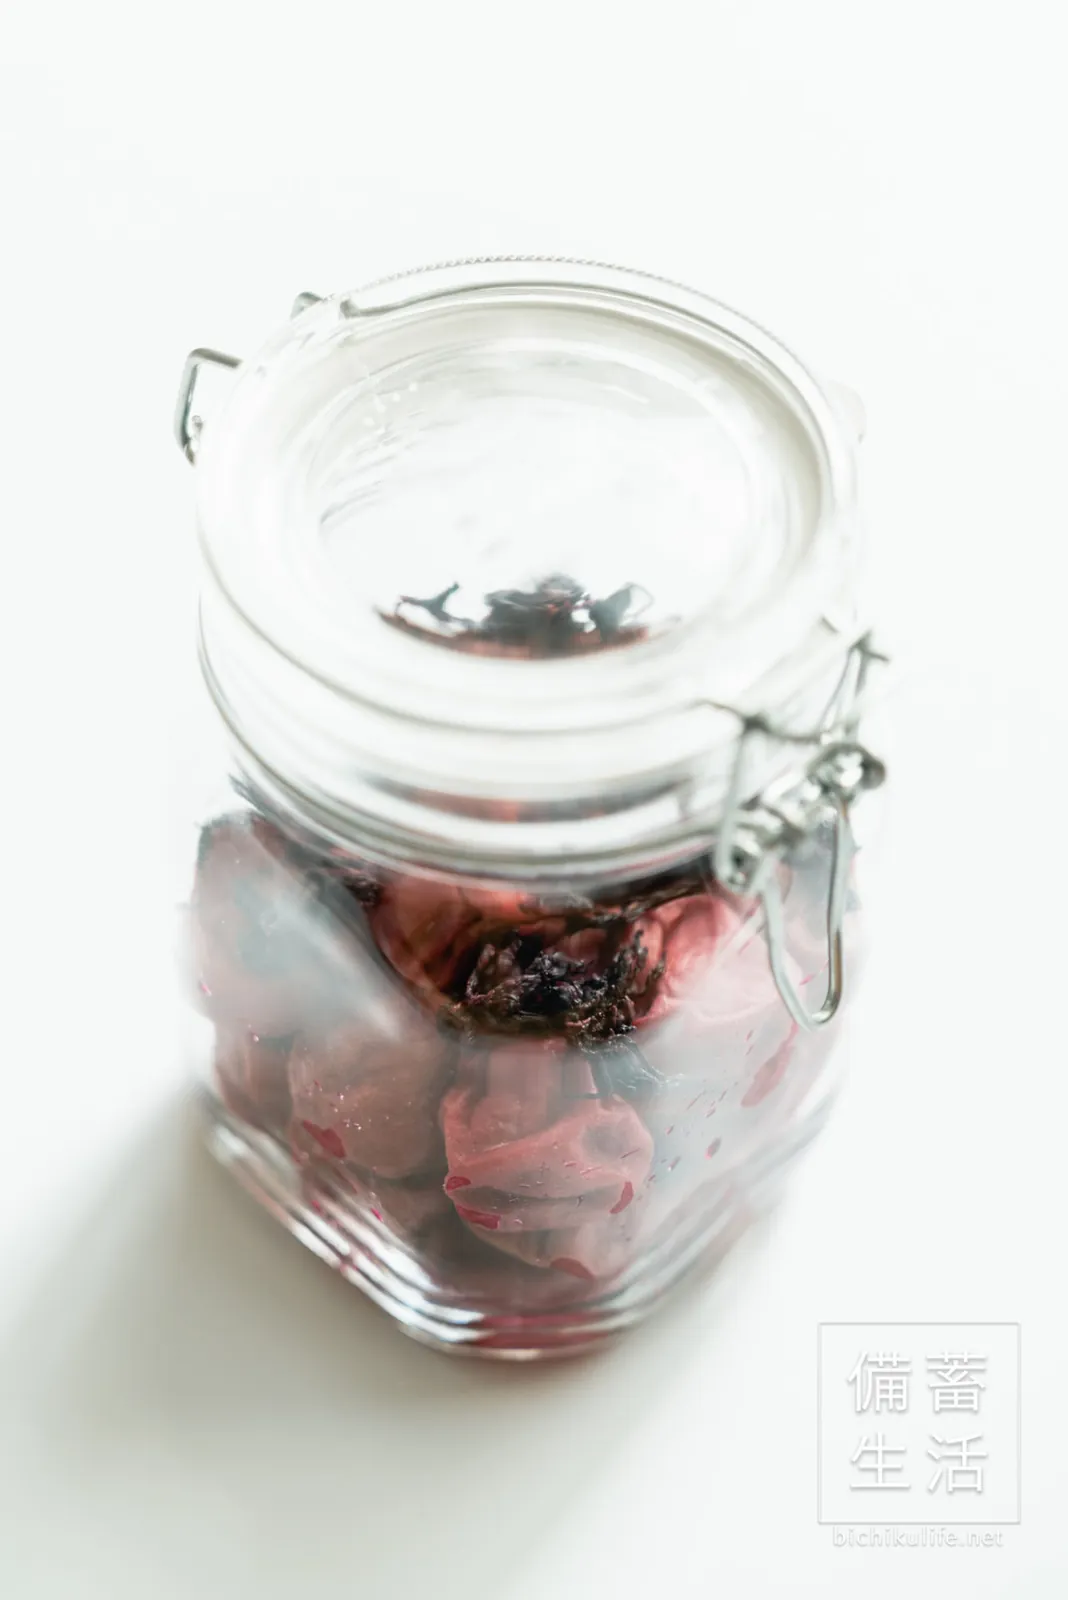
After sun-drying, the homemade umeboshi are done. We keep them in the fridge. They’re best after about 2 months.
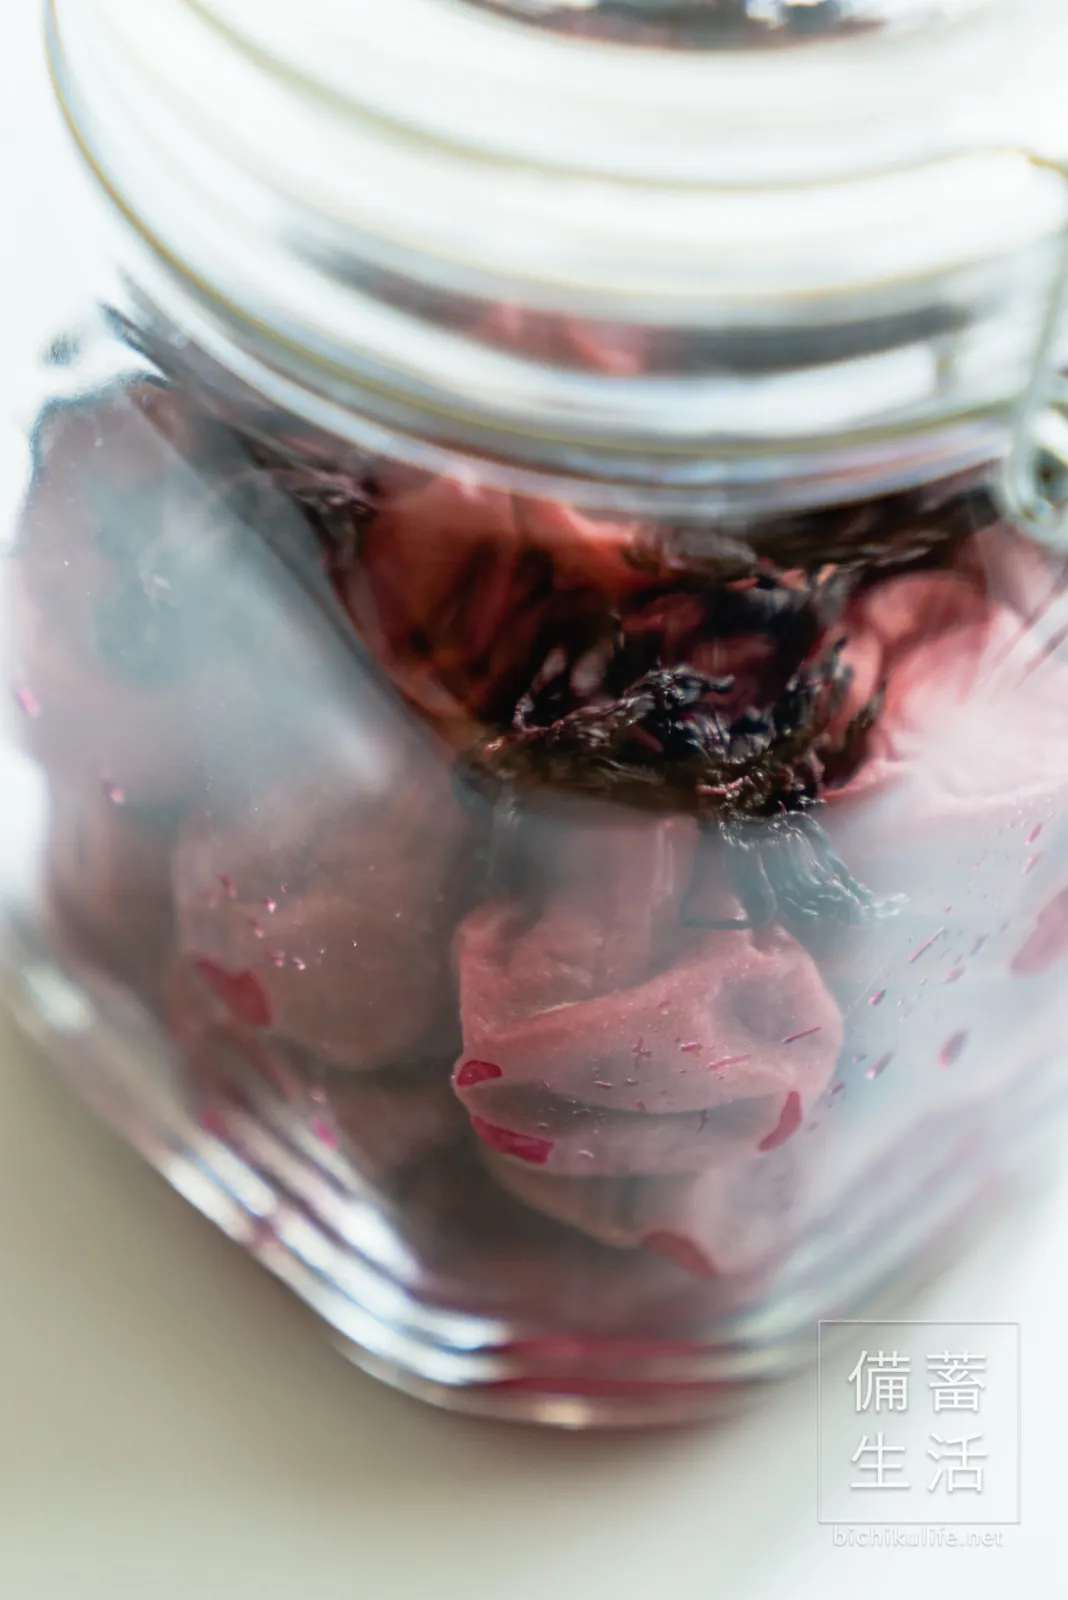
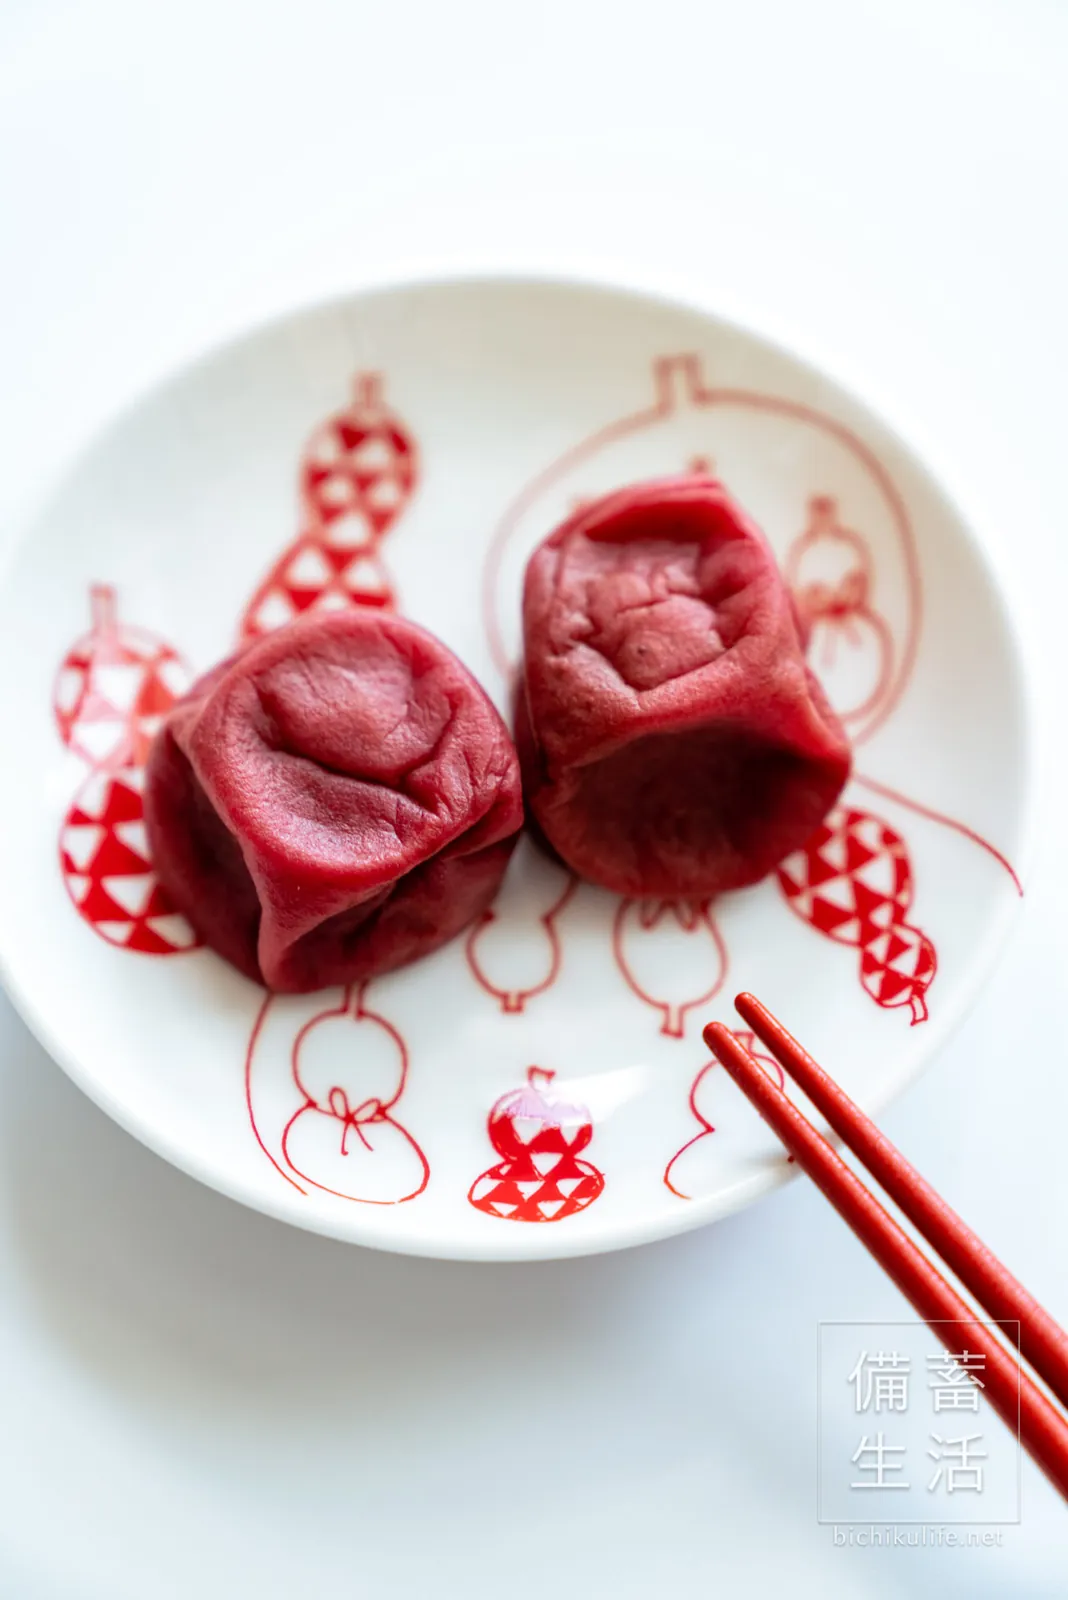
Two months later. They’ve mellowed and look delicious.
Eat them as they are, or chop them finely to add to dishes.
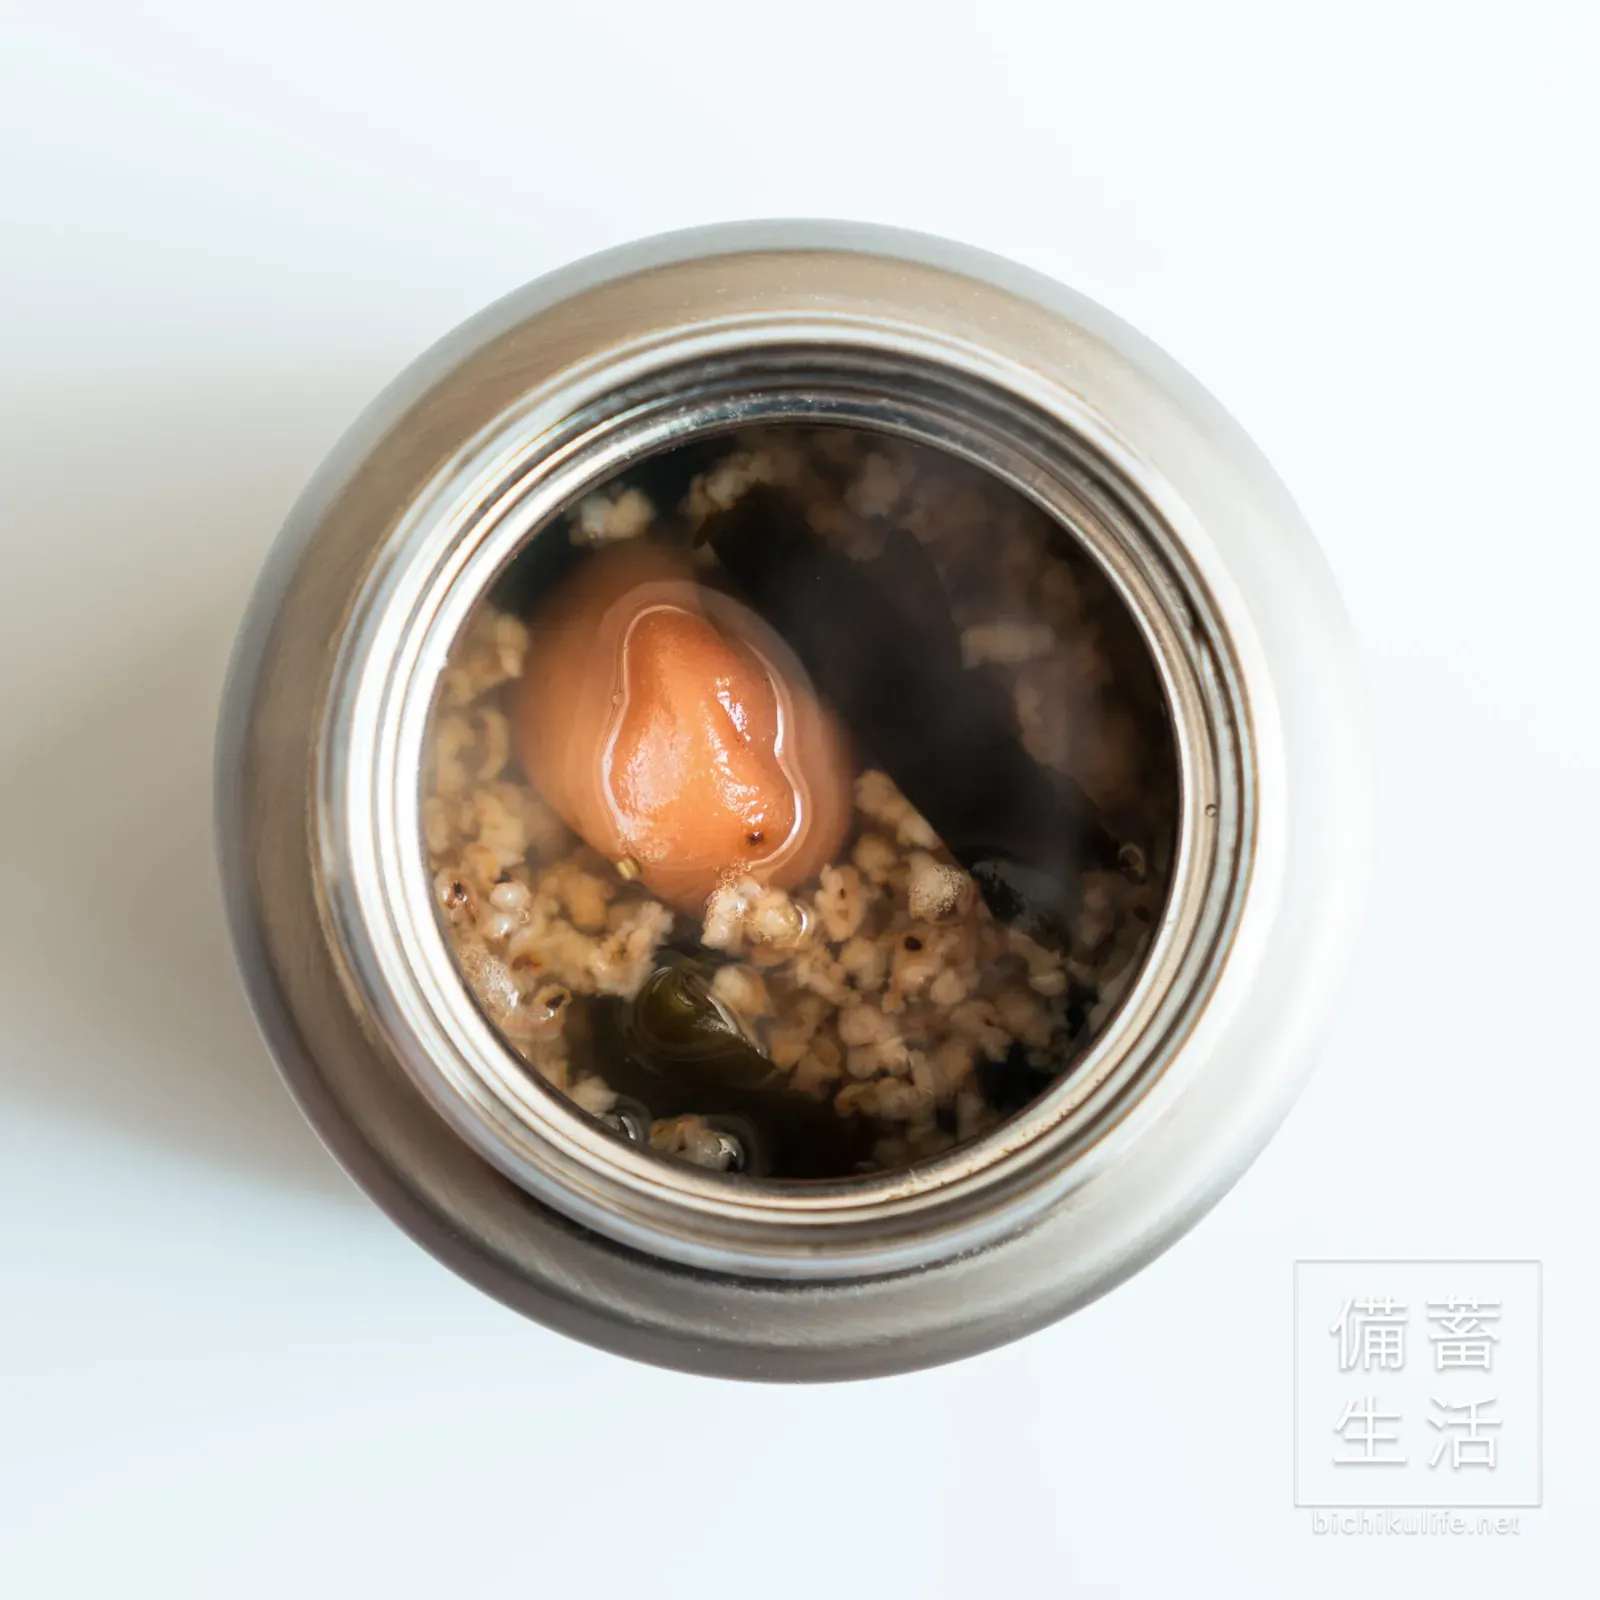
We also use our homemade umeboshi in a soup of toasted brown rice with kombu.