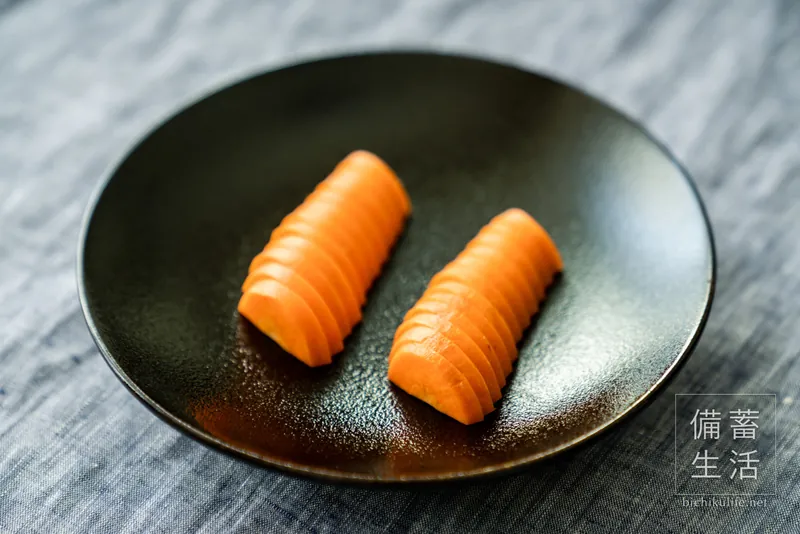
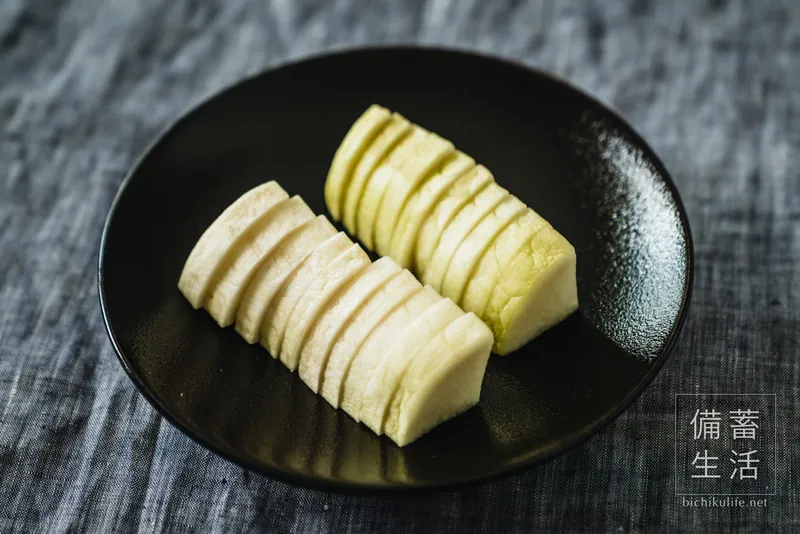
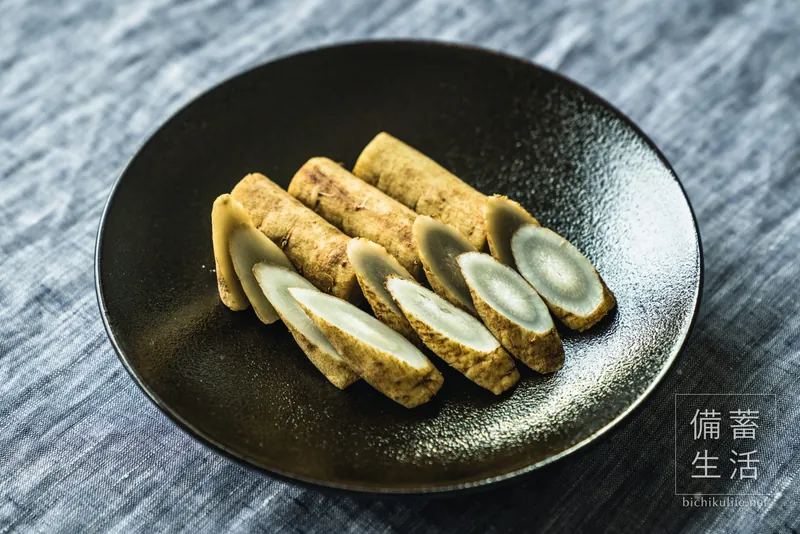
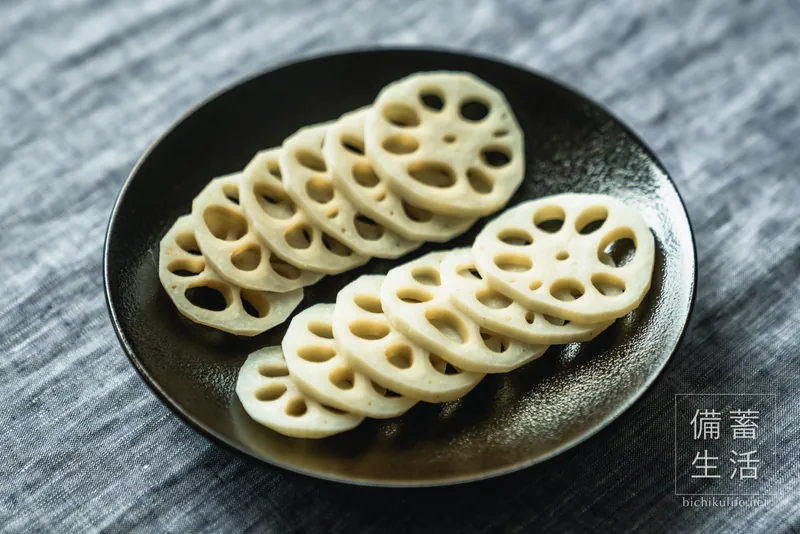
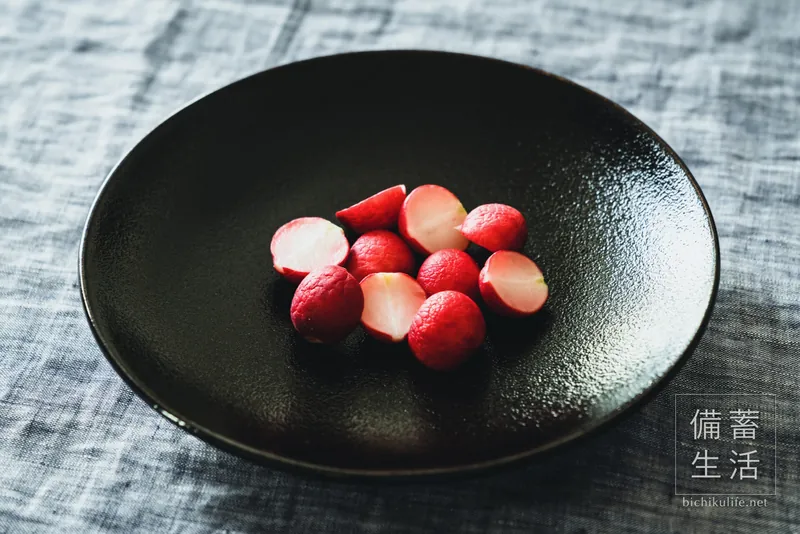
Root vegetables
Turnip NukazukeA Day for the Root, 10 Hours for the Salted Leaves
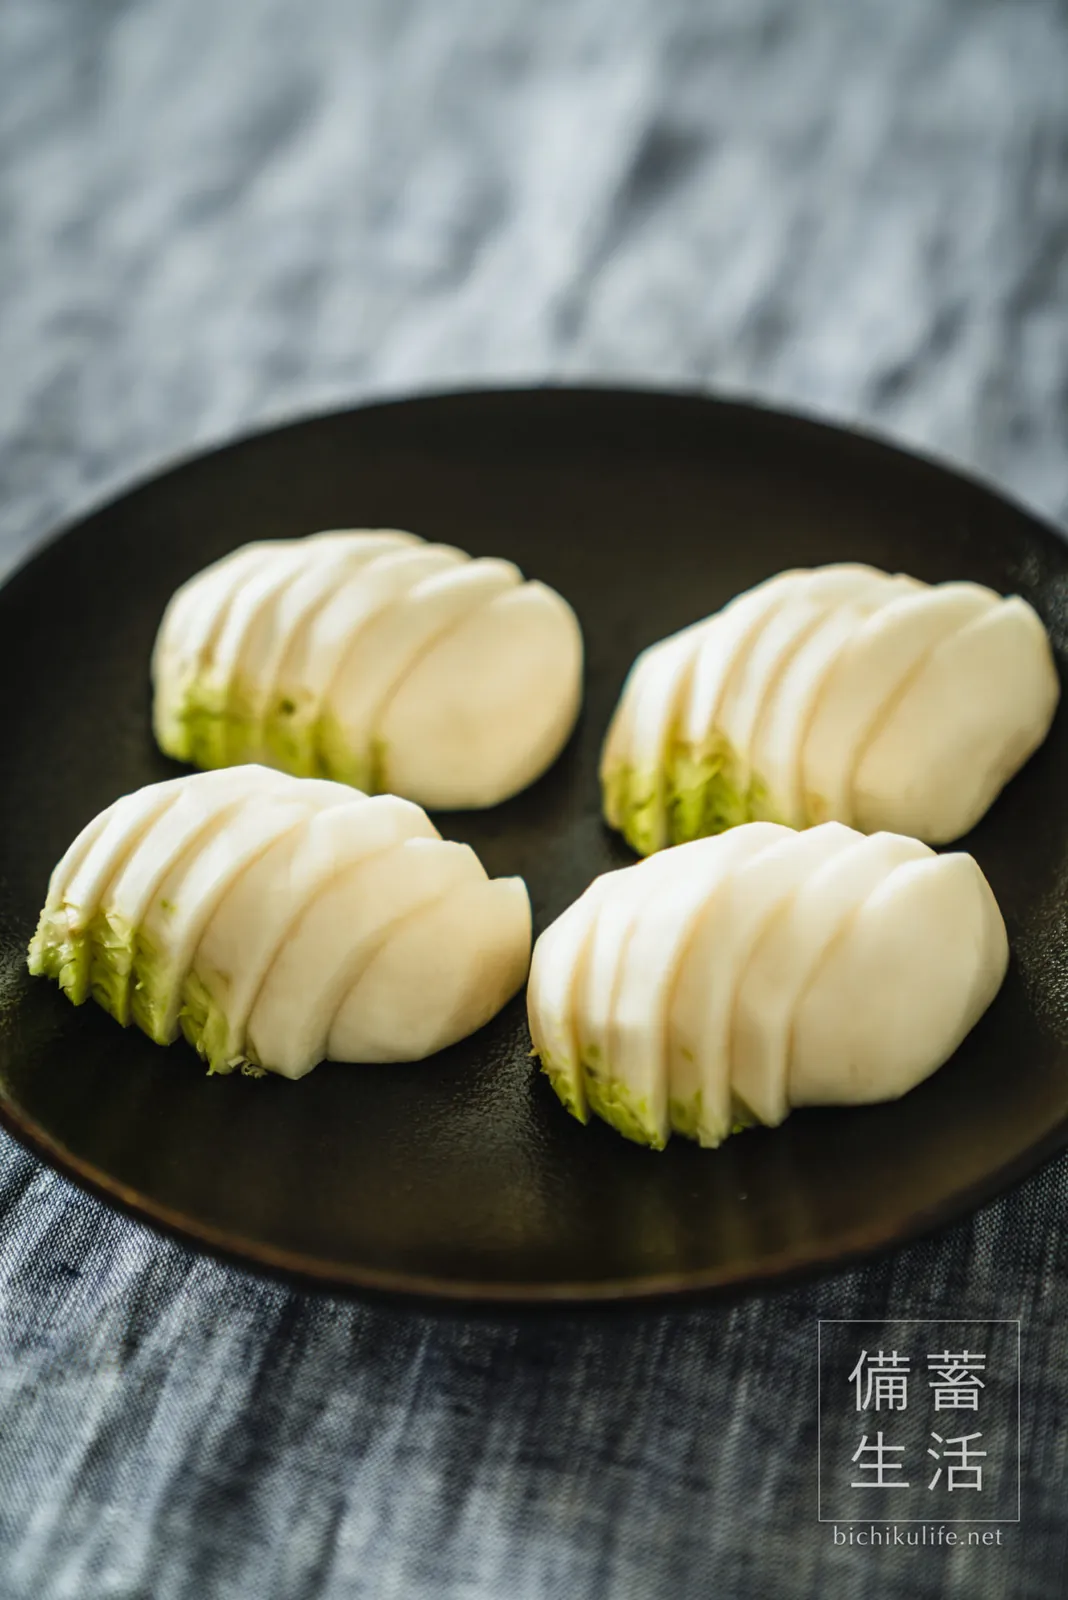
Both the root (the white part) and the leaves of a turnip can be made into nukazuke. The root is juicy and sweet; the leaves are crisp, with a slight bitterness. Small Japanese white turnips (kabu) are the most common in Japan. Outside Japan, look for small white turnips such as Tokyo or Hakurei turnips.
The root and the leaves need different pickling times. The leaves absorb salt quickly and turn too salty if left too long.
If you buy turnips with their leaves, try pickling the leaves too.
| Prep | Pickling time | |
|---|---|---|
| Root | Peel and halve | About 24 hours |
| Leaves | Rub with salt | About 10 hours |
Pickling times are for a nuka bed kept in the fridge. At room temperature it pickles faster, and faster still in summer. The saltiness of your bed also makes a difference. After pickling, keep in the fridge and eat by the next day.
Turnip root nukazuke
- Cut off the leaves: Cut off the leaves, leaving a little of the stems. Pickle the leaves as described under “Turnip leaf nukazuke” below.
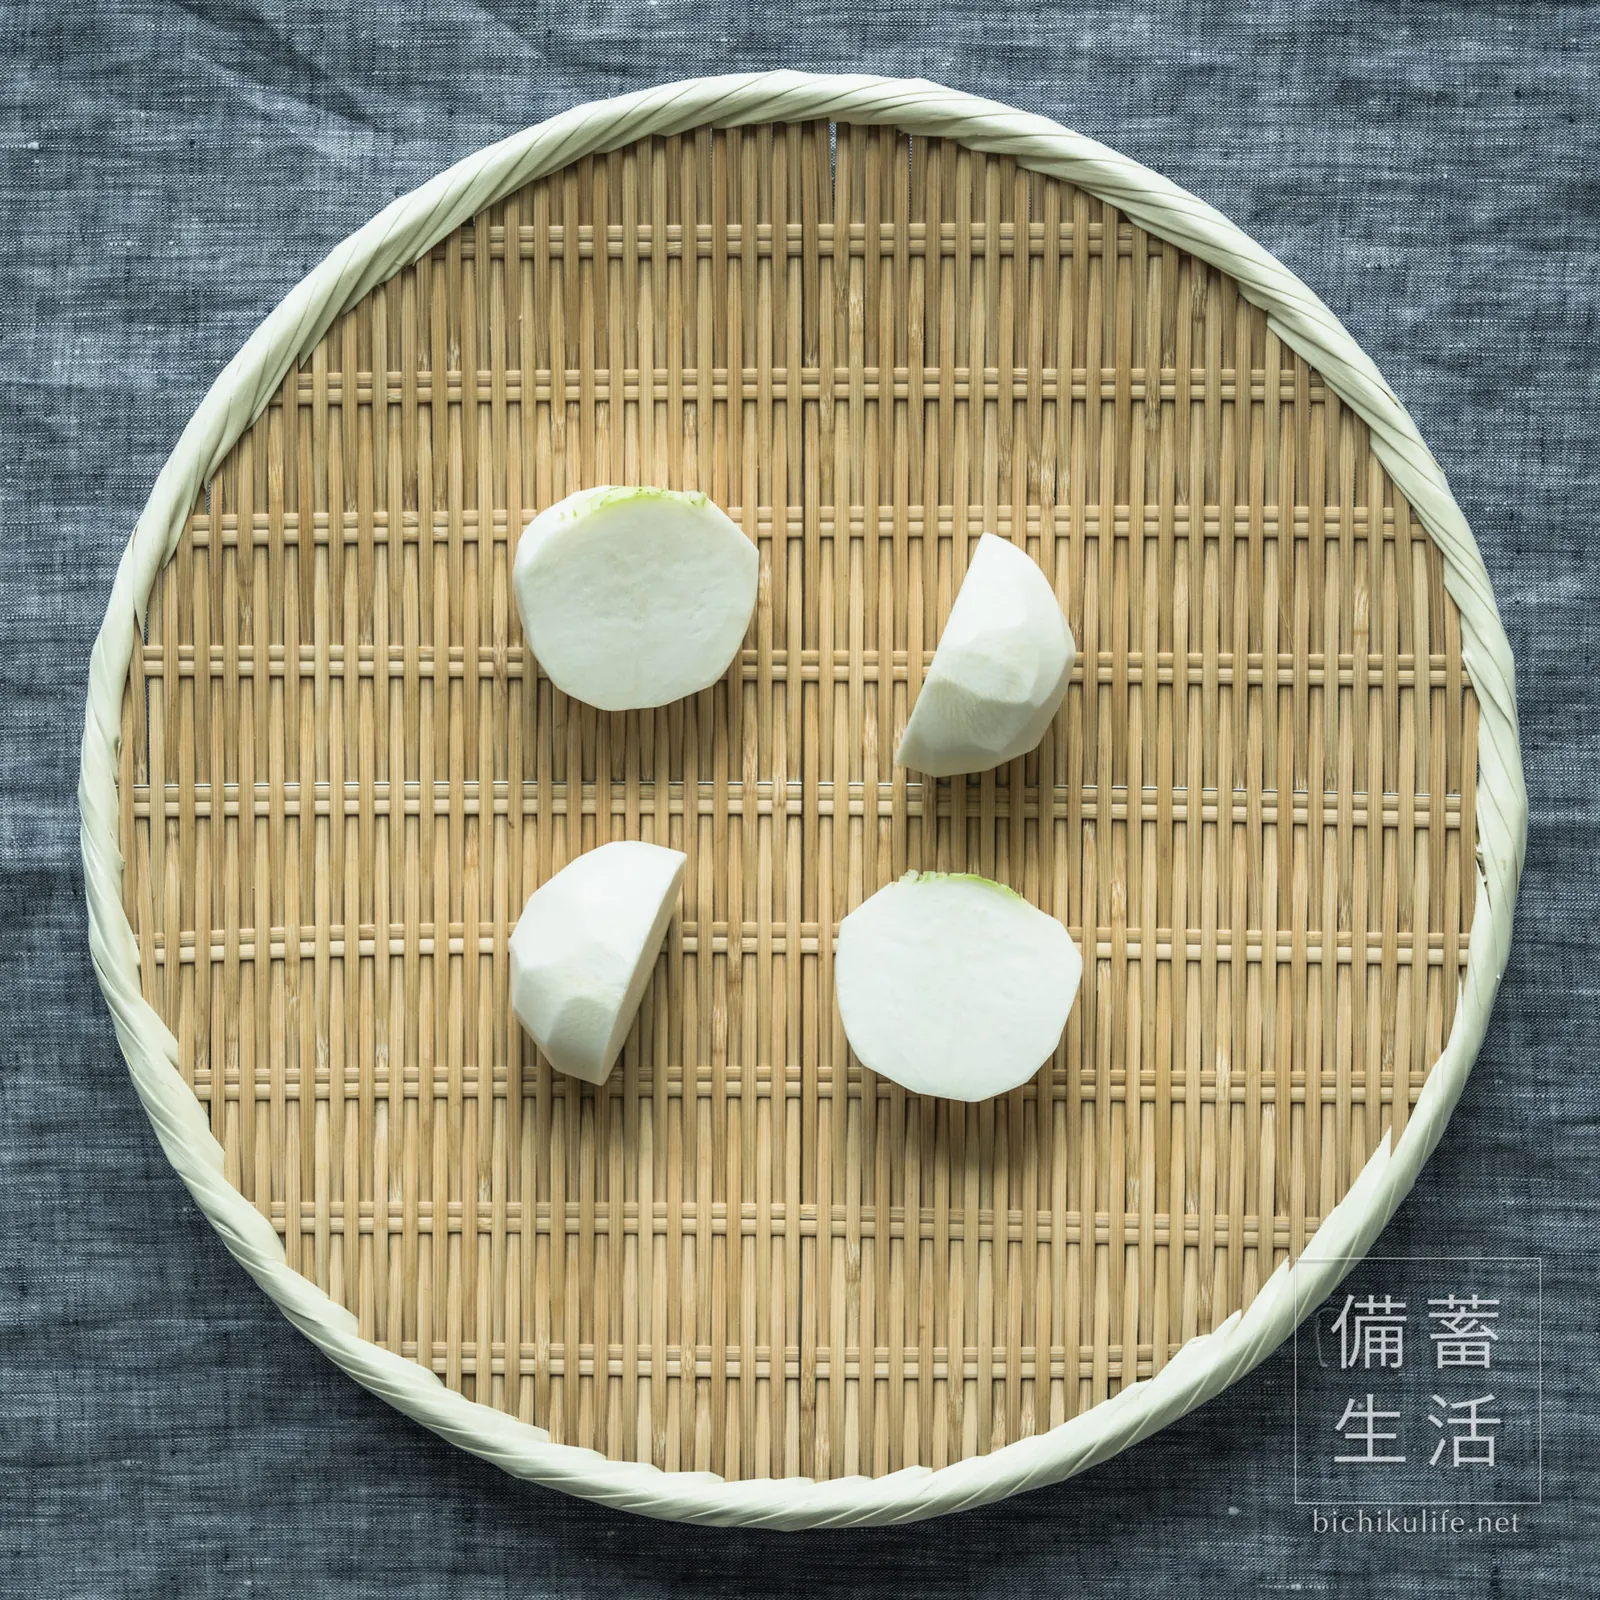
- Peel and cut: Peel the root and cut in half. You can pickle it with the skin on, but peeled turnips pickle faster and taste softer.
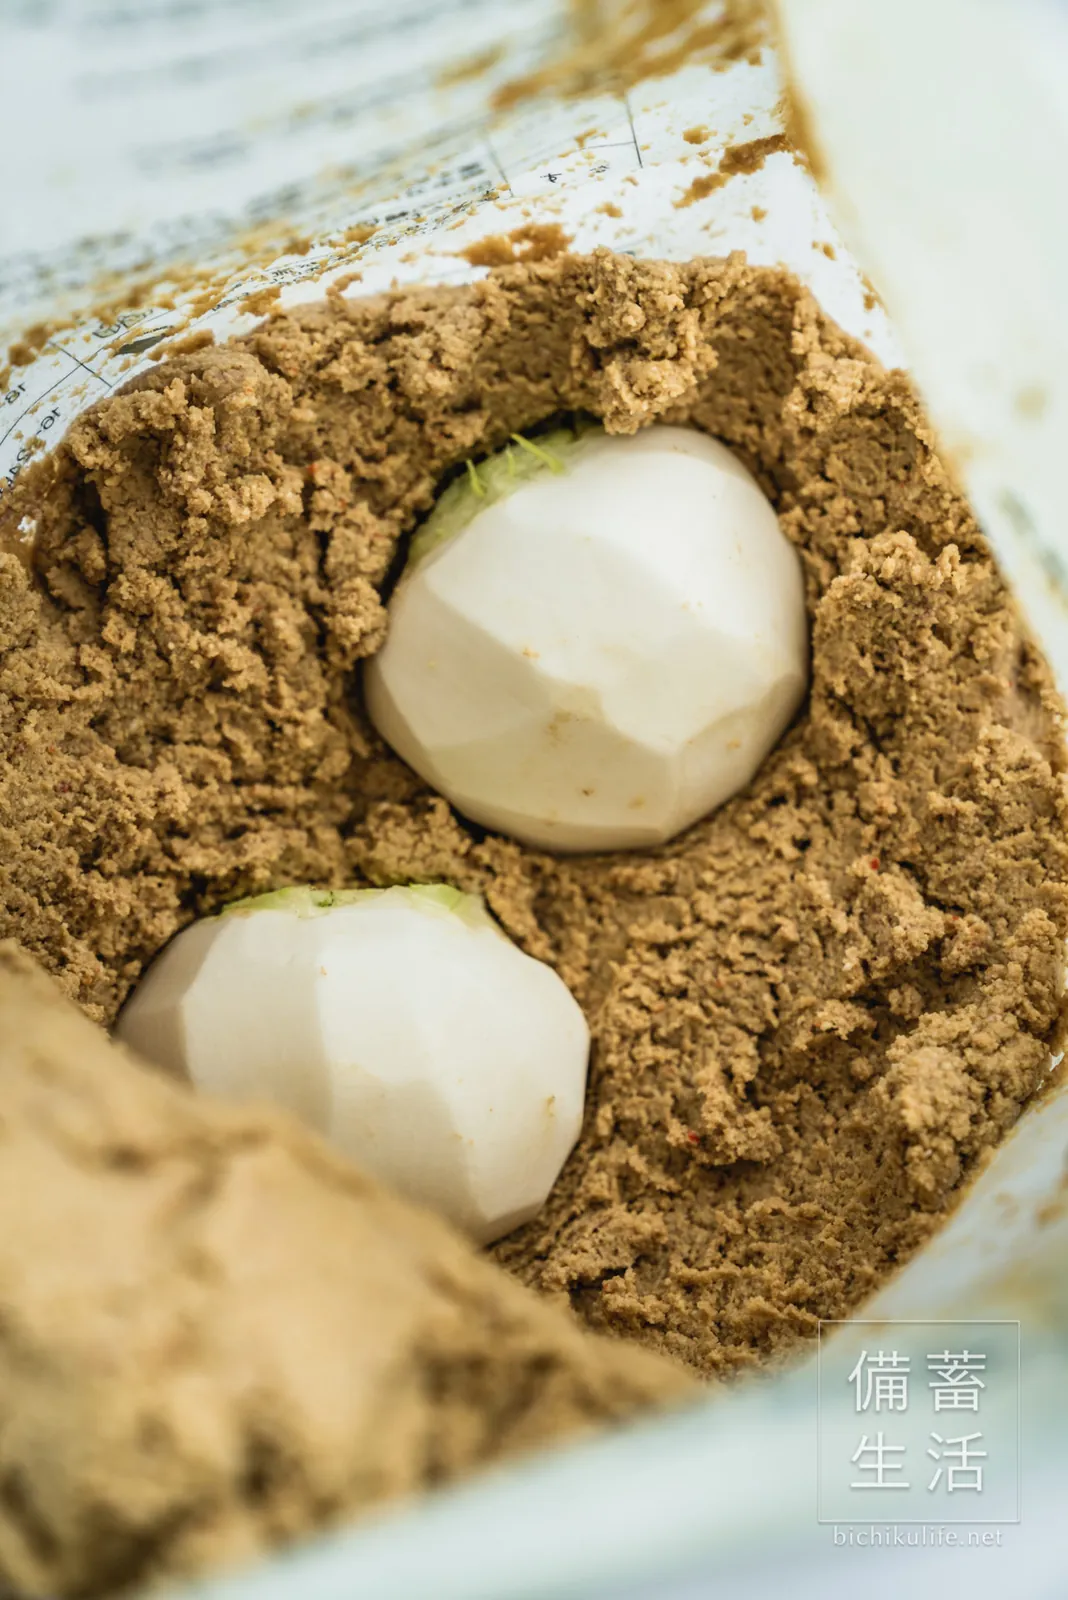
- Pickle: Bury in the nuka bed and cover with bran.
- Take it out: Rinse off the bran, slice thinly or into wedges, and serve.
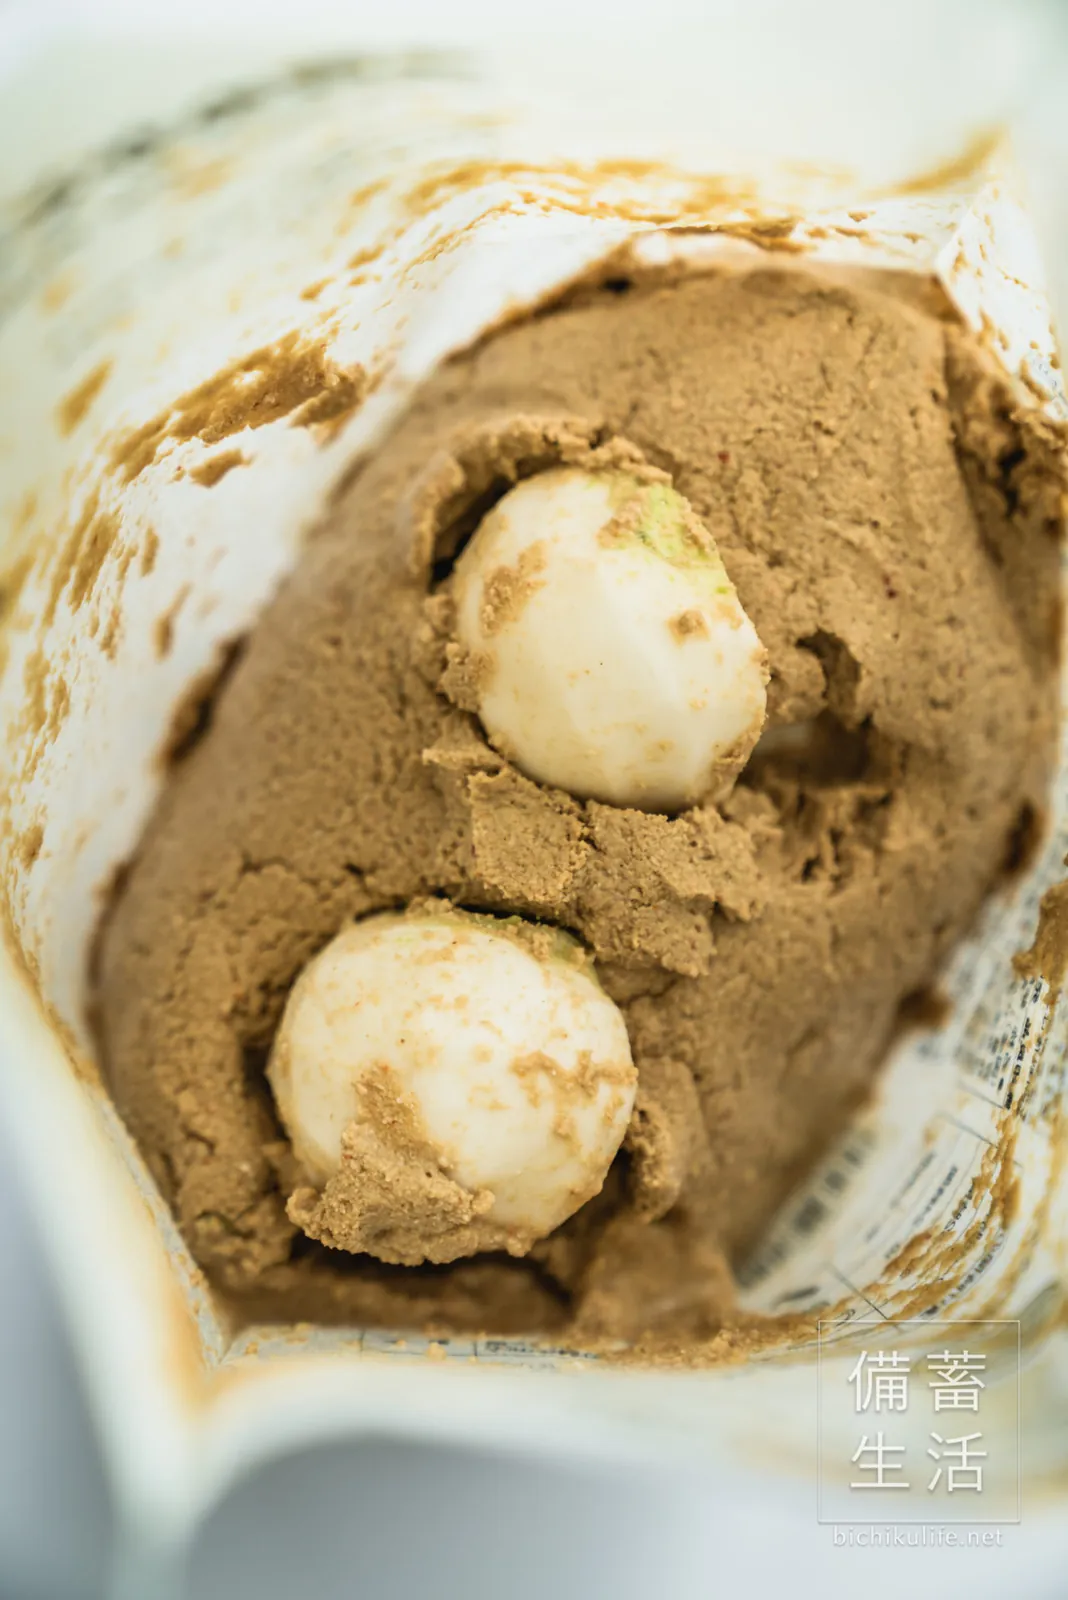
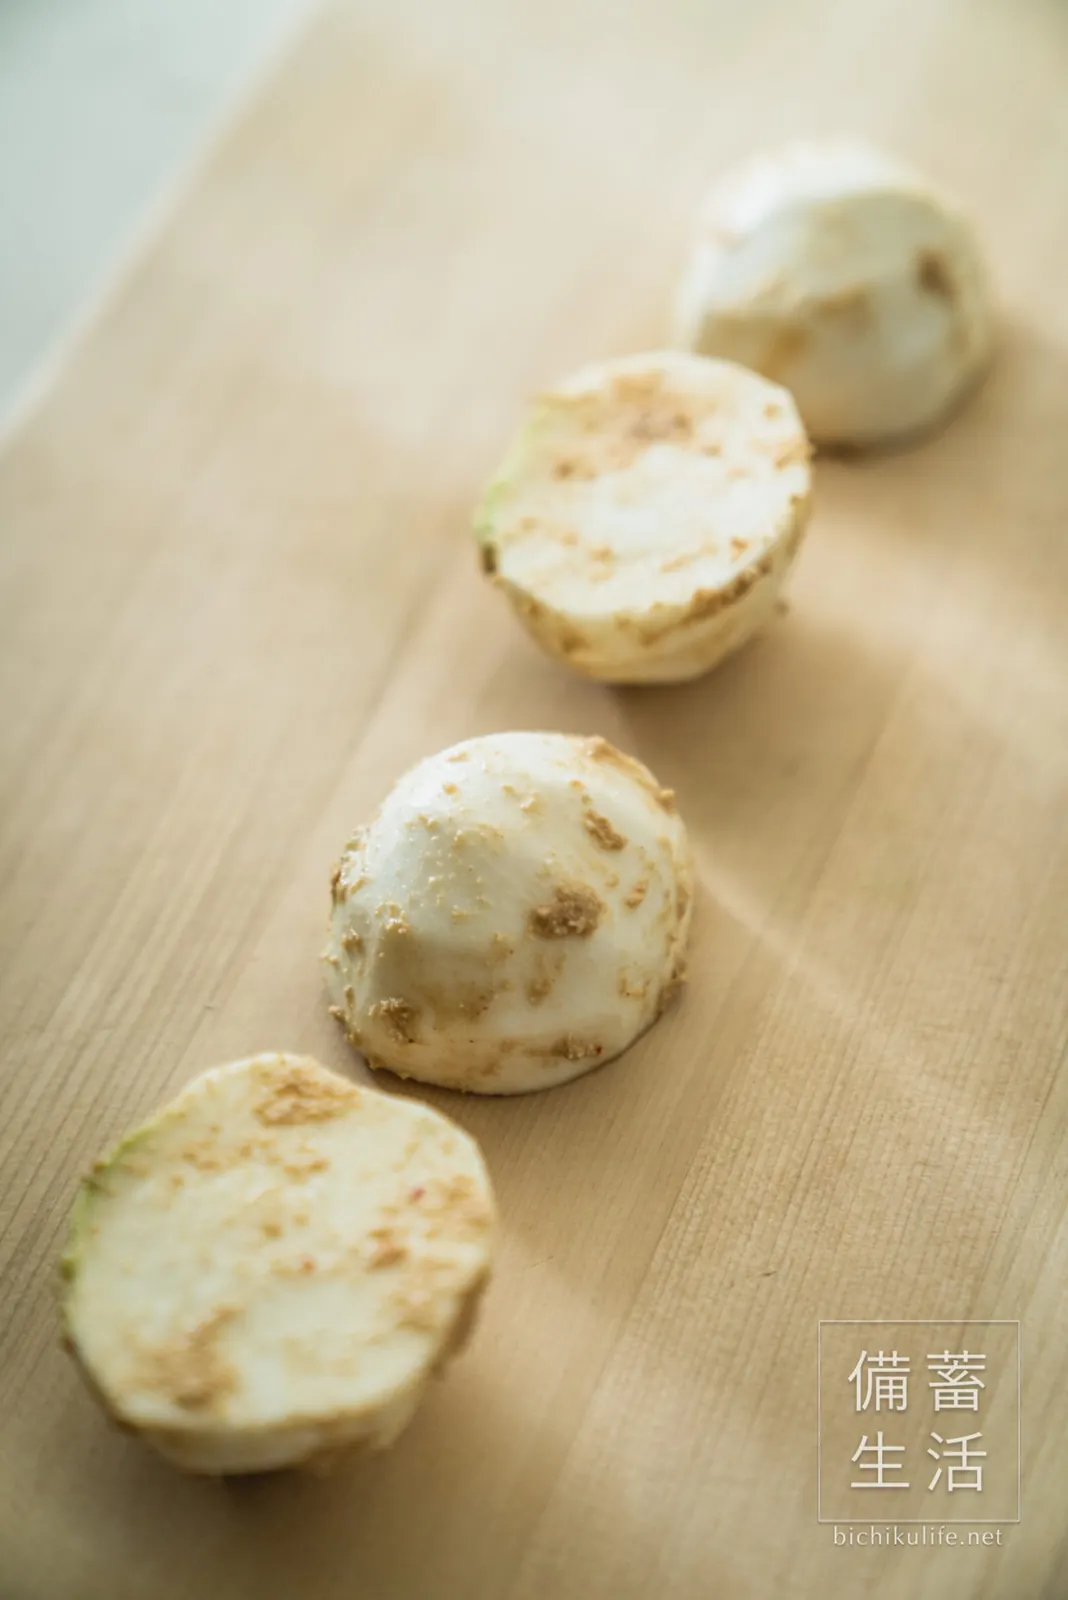
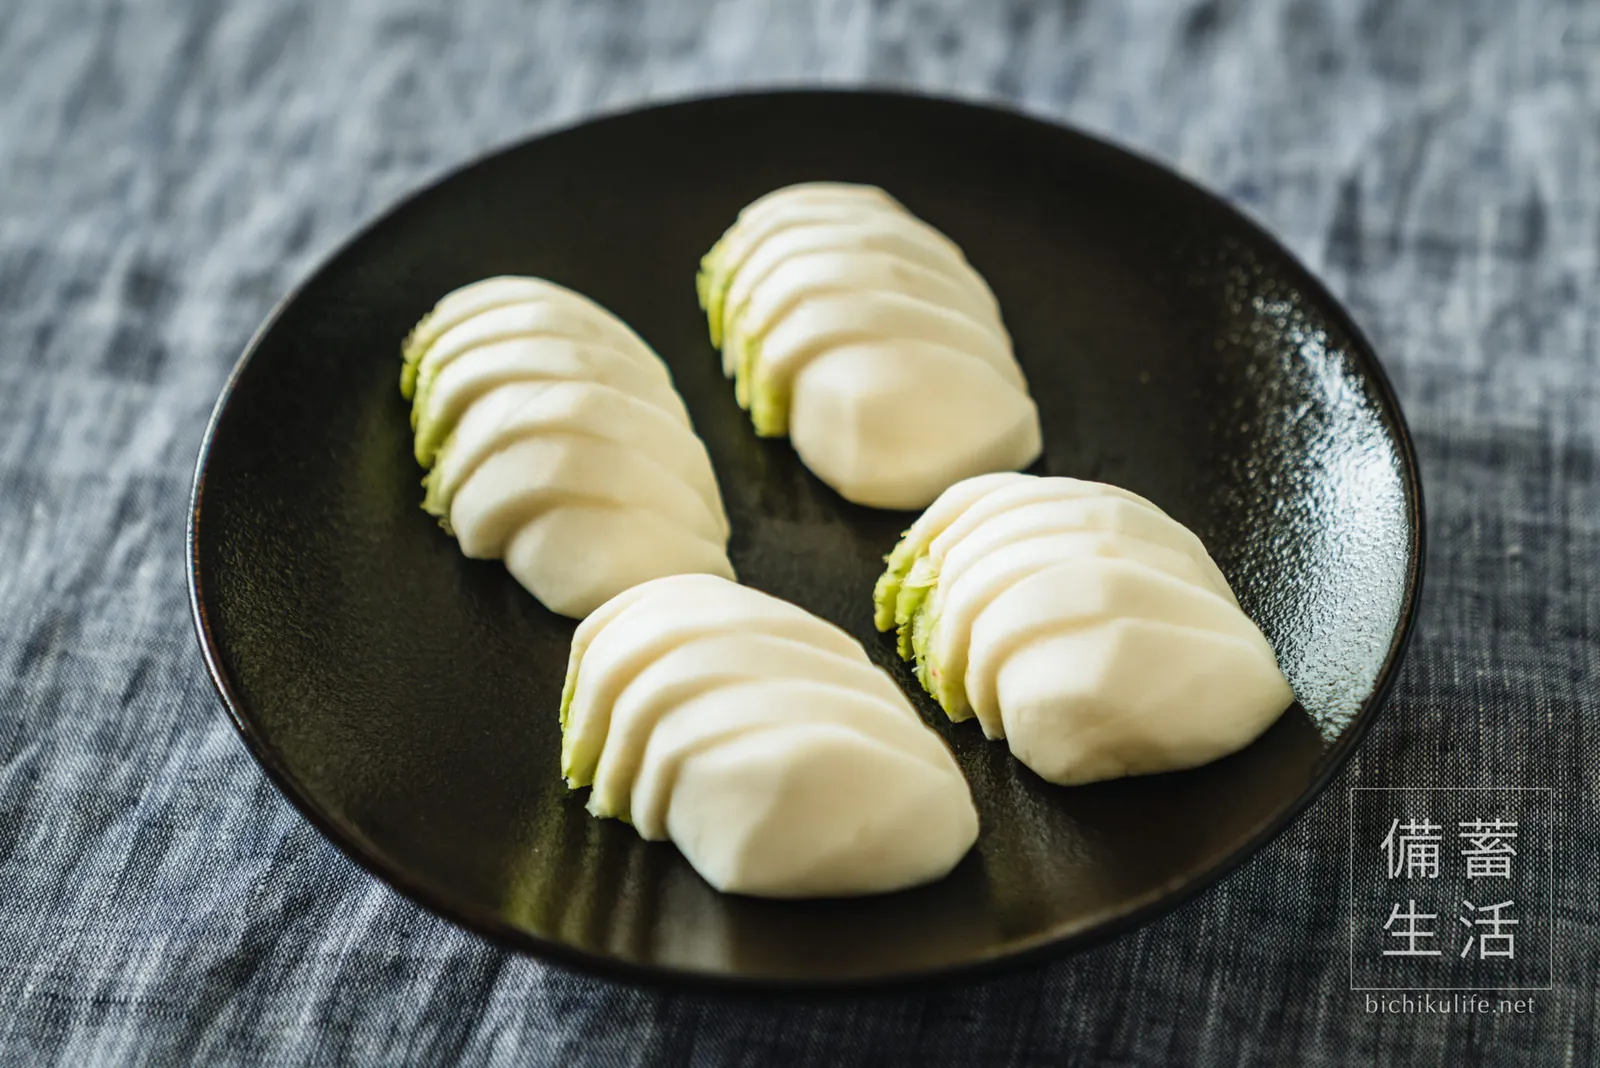
Turnip leaf nukazuke
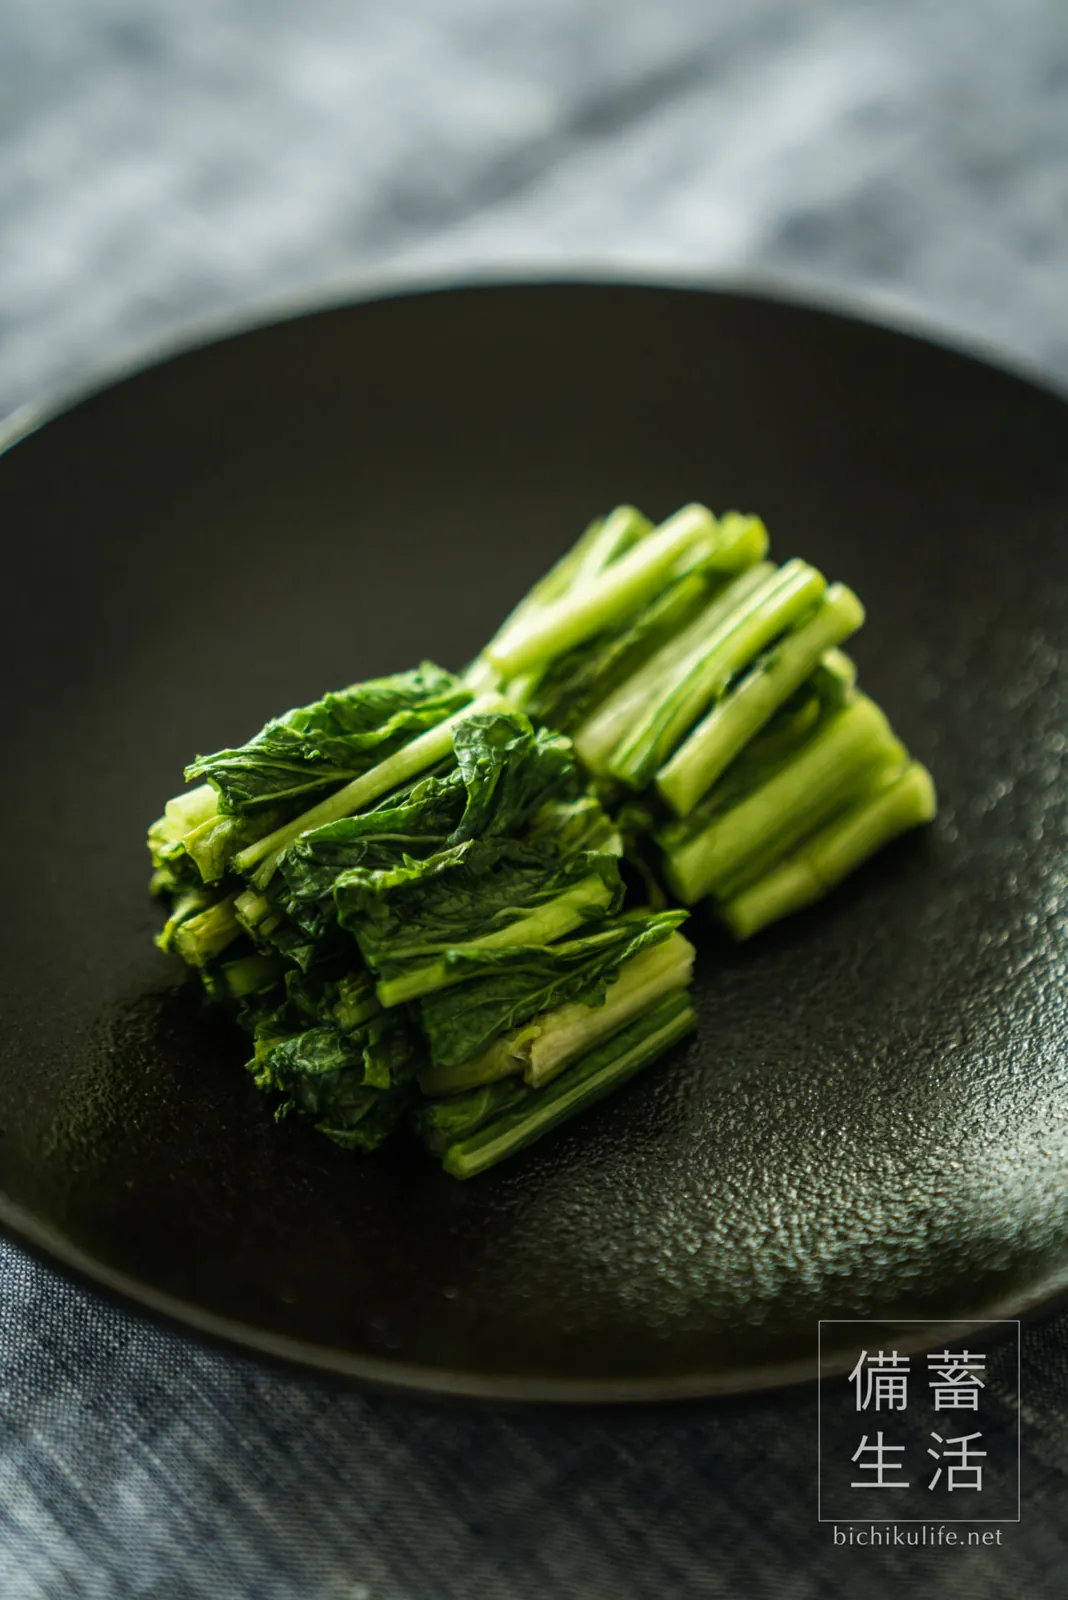
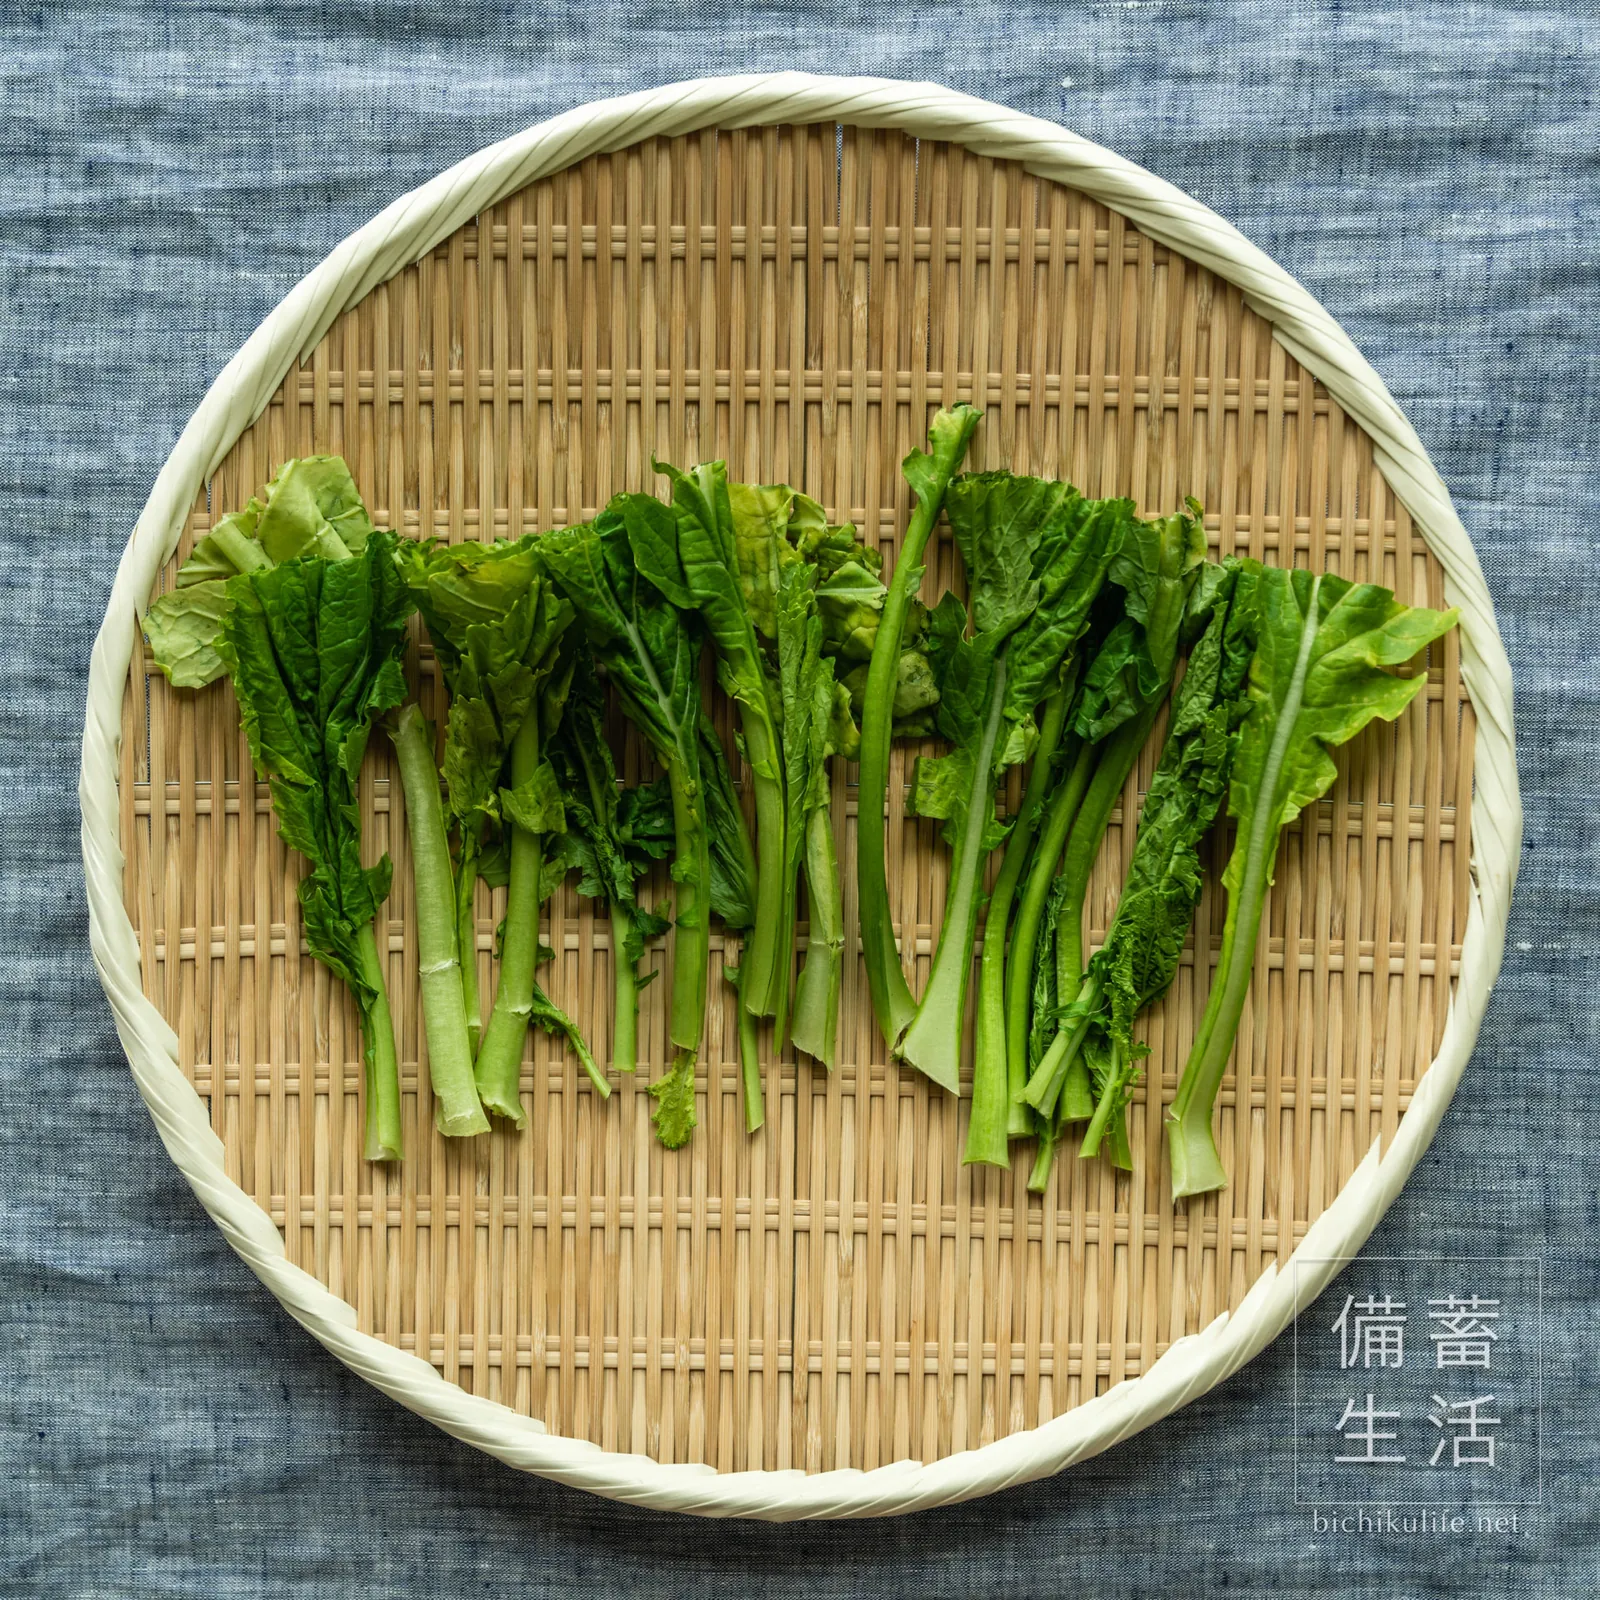
- Wash: Dirt tends to stay at the base, so wash well.
- Rub with salt: Sprinkle with salt and rub gently until they wilt.
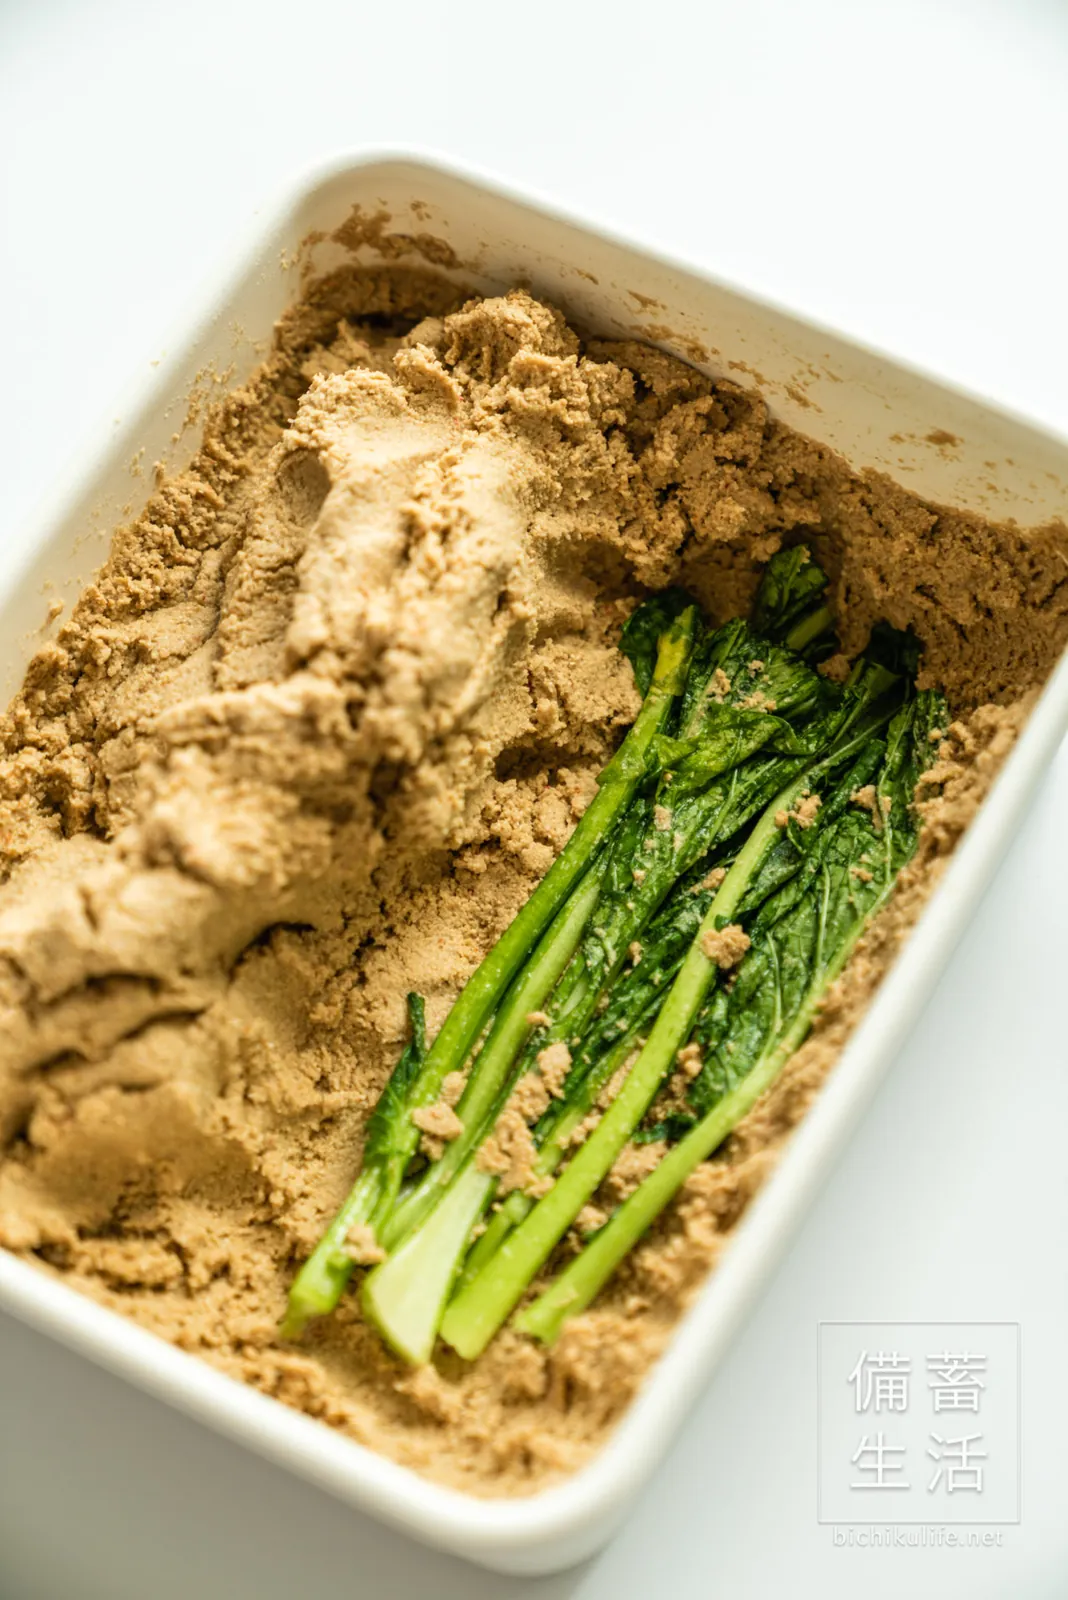
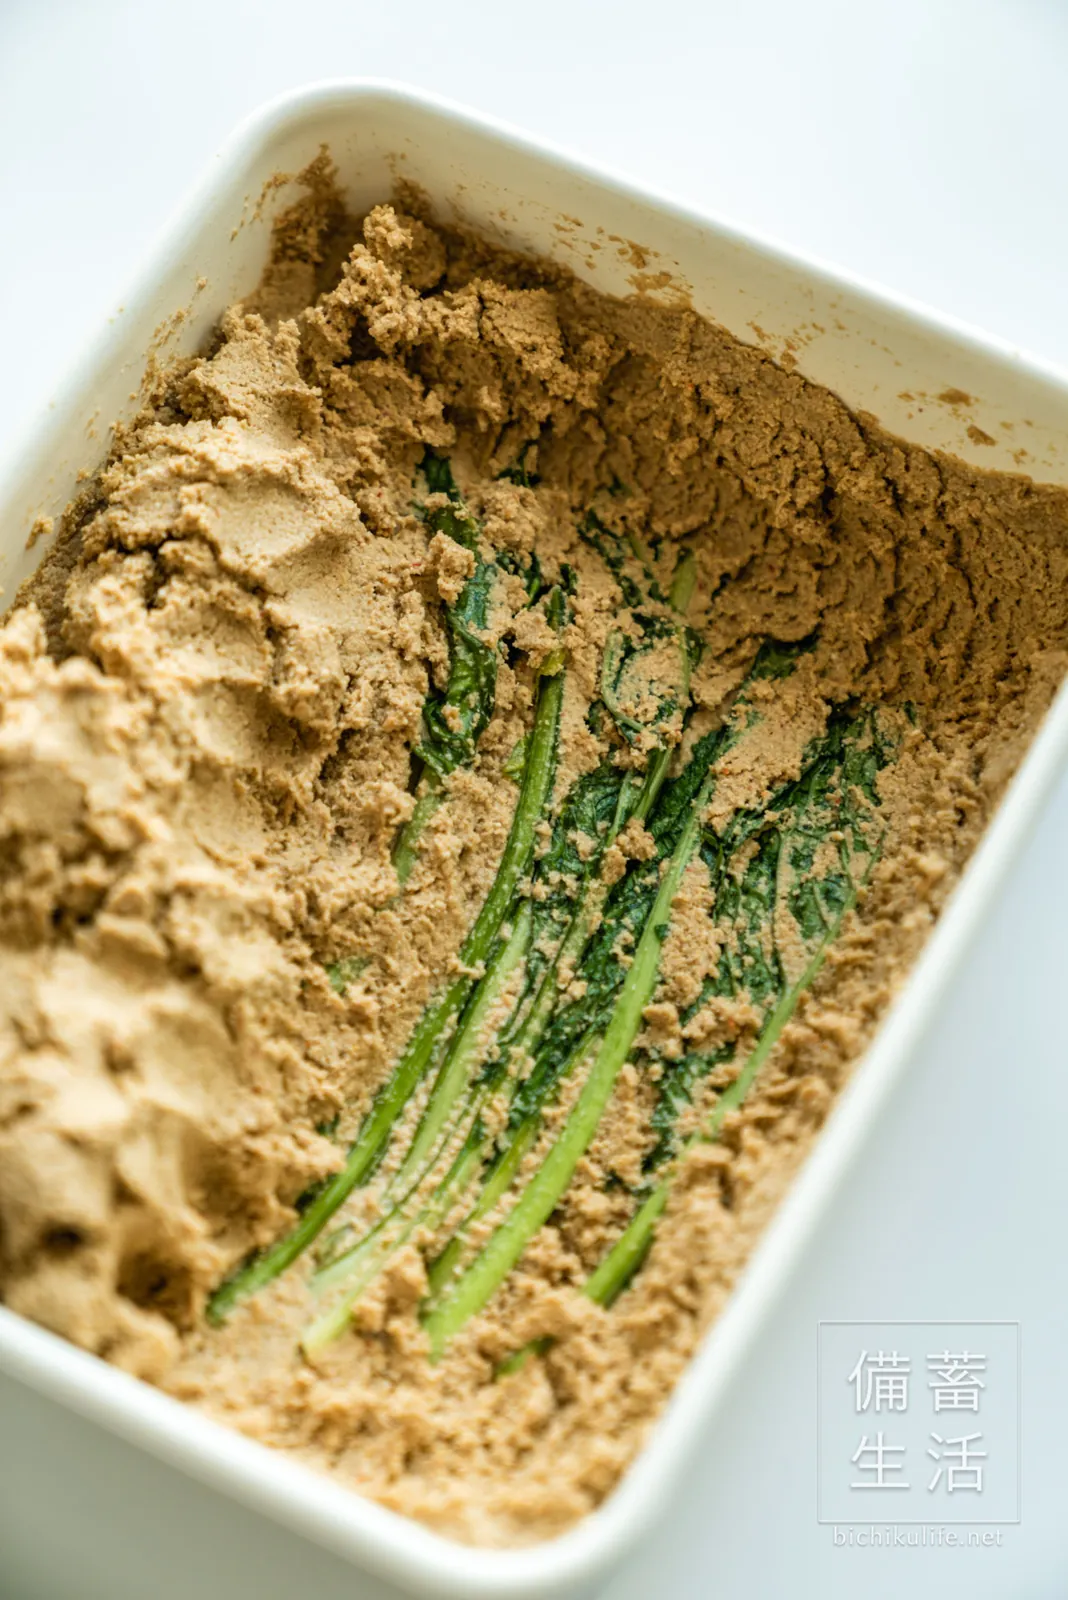
- Pickle: Lay them flat in the bed, stems and leaves stretched out, and cover with bran.
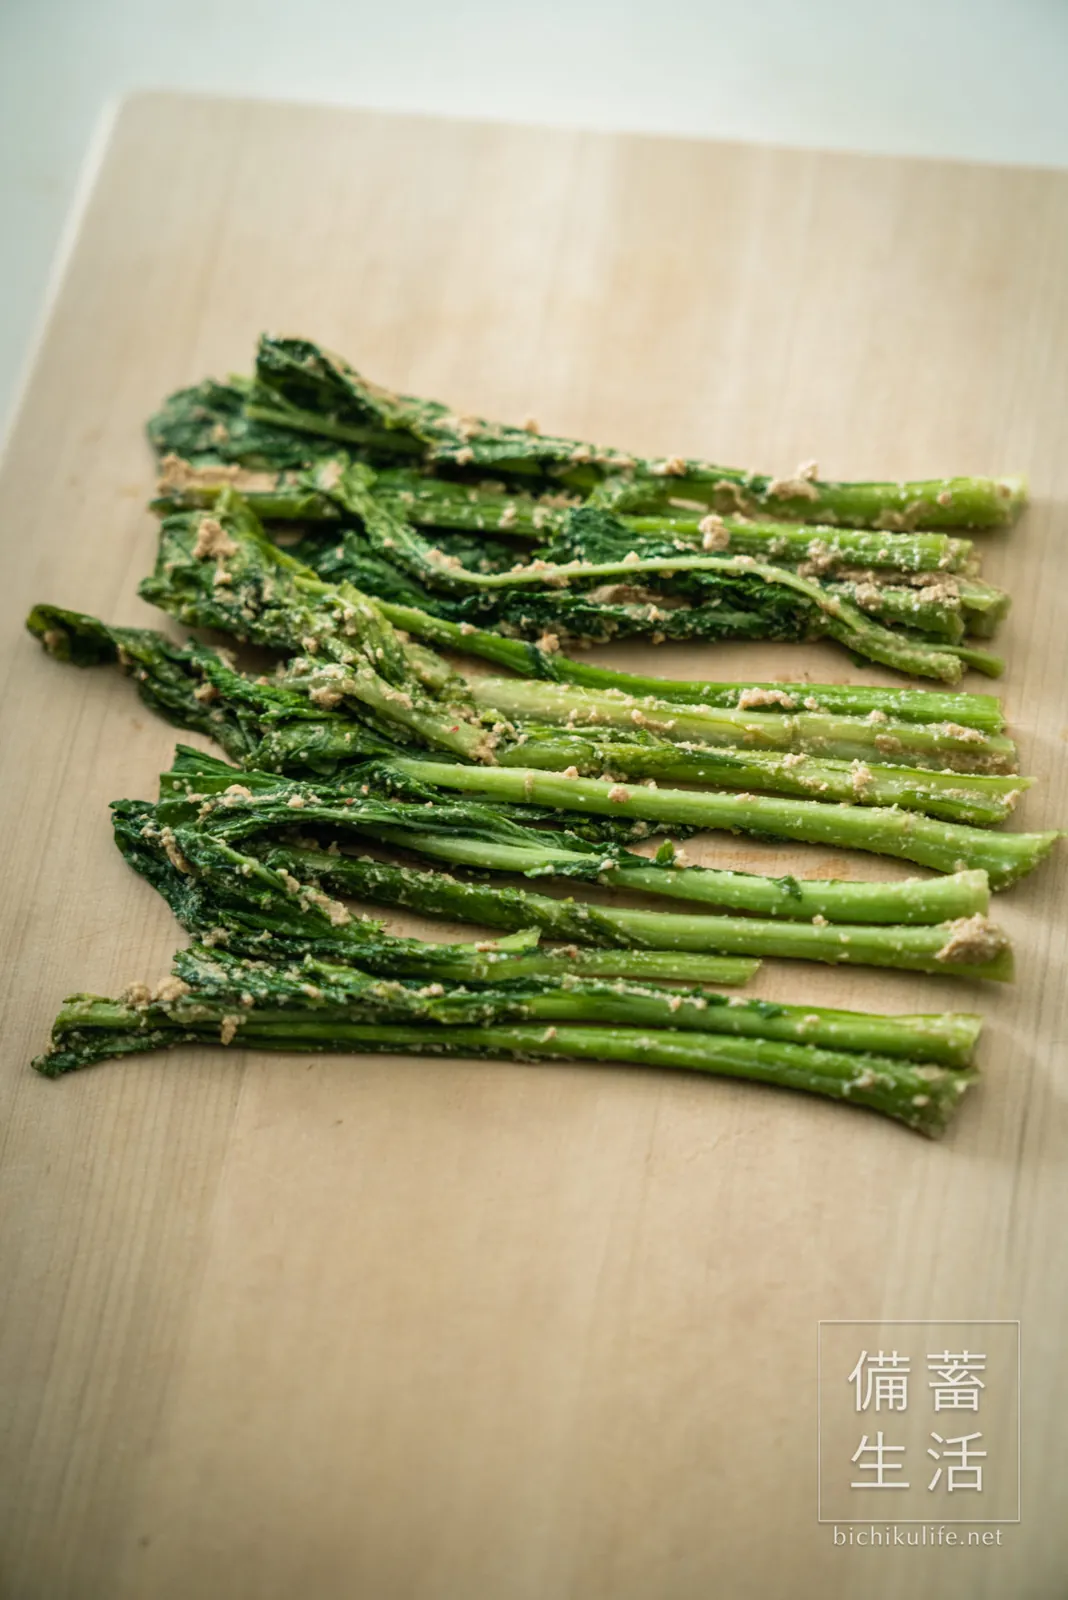
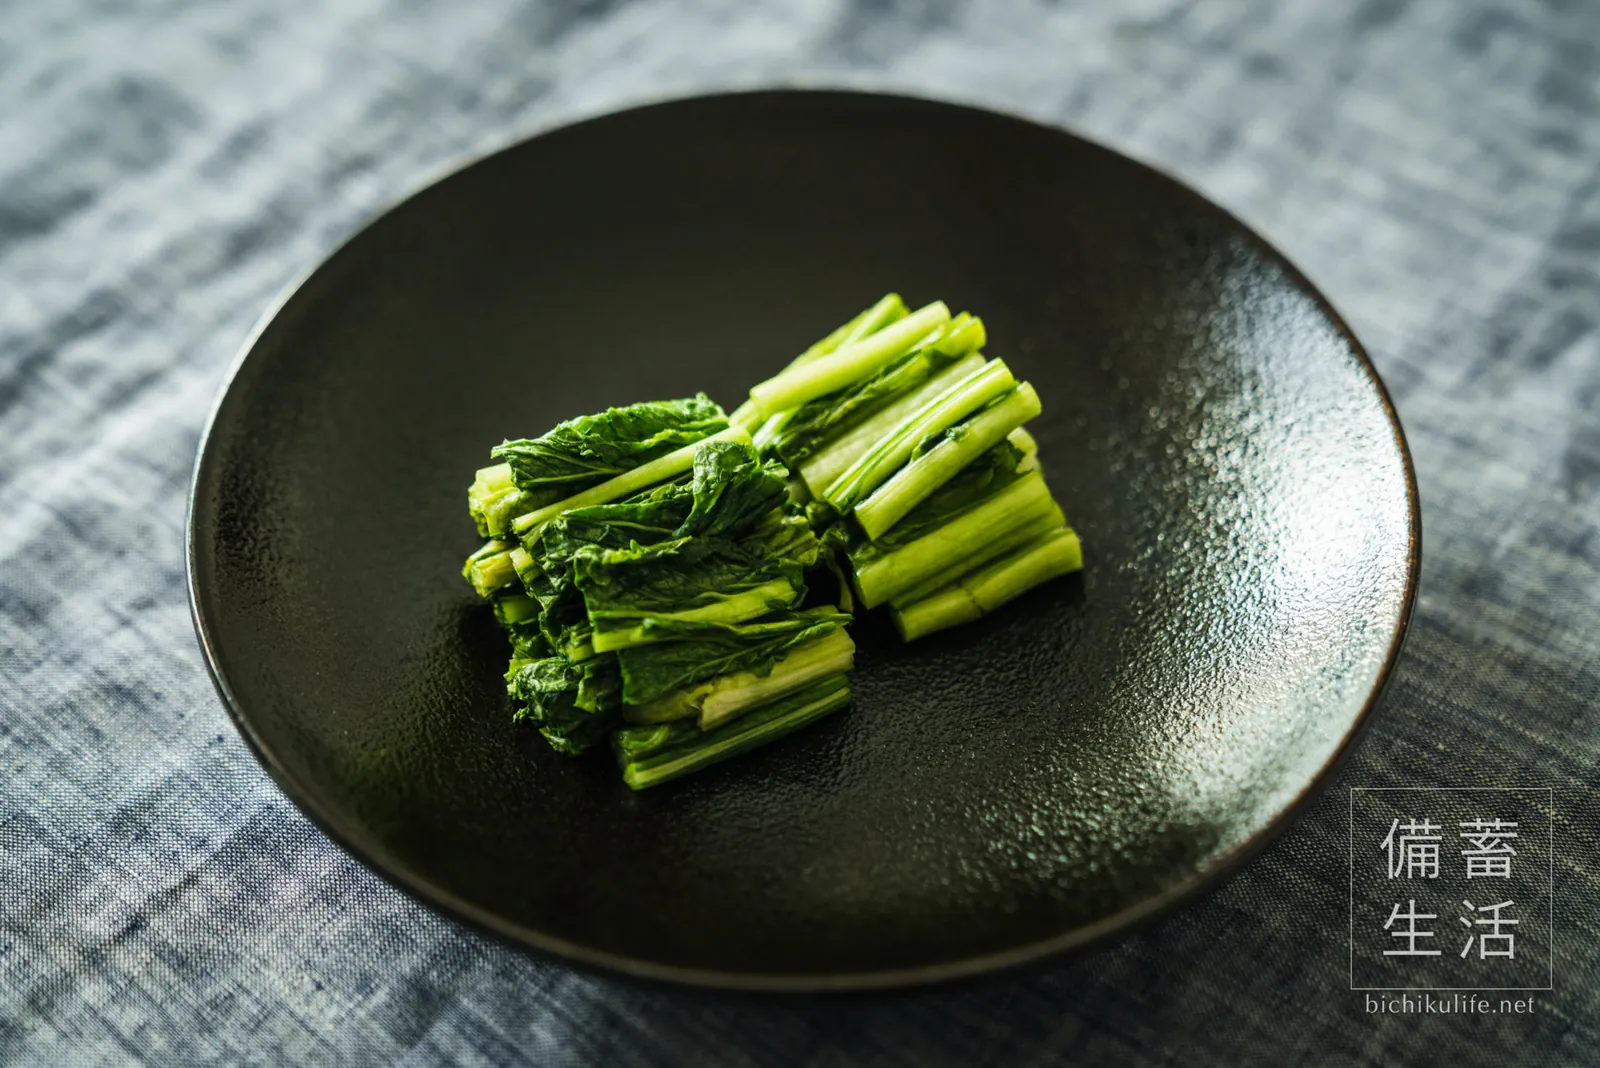
- Take them out after about 10 hours: The leaves pickle quickly, so don’t leave them too long. Rinse off the bran, squeeze lightly and cut into 3–4 cm (1¼–1½ in) lengths.
How to eat it
- Root: Slice thinly and toss with yuzu zest and a little kombu for a dish like senmaizuke, Kyoto’s thin-sliced turnip pickle.
- Leaves: Chop and mix into rice, or use as an onigiri filling. If they’ve turned too salty, chop and soak in water before using.
Care for your bed is covered in Caring for a Nuka Bed, and making one in How to Make a Nuka Bed.